Featured

Mud Play

I know that mud can feel like a HUGE barrier in an outdoor classroom. So NOW is the time to think through the obstacles. (Actually well before mud season is even more ideal, but let’s take action NOW.)

Set up a time to talk with your coworkers and share information with currently  enrolled families so that your muddy play area can be a YES space. Children thrive with daily outdoor time, so canceling outside play time for the entire mud season is NOT an option. Mud builds healthy immune systems, supports physical and cognitive development, and so much more.

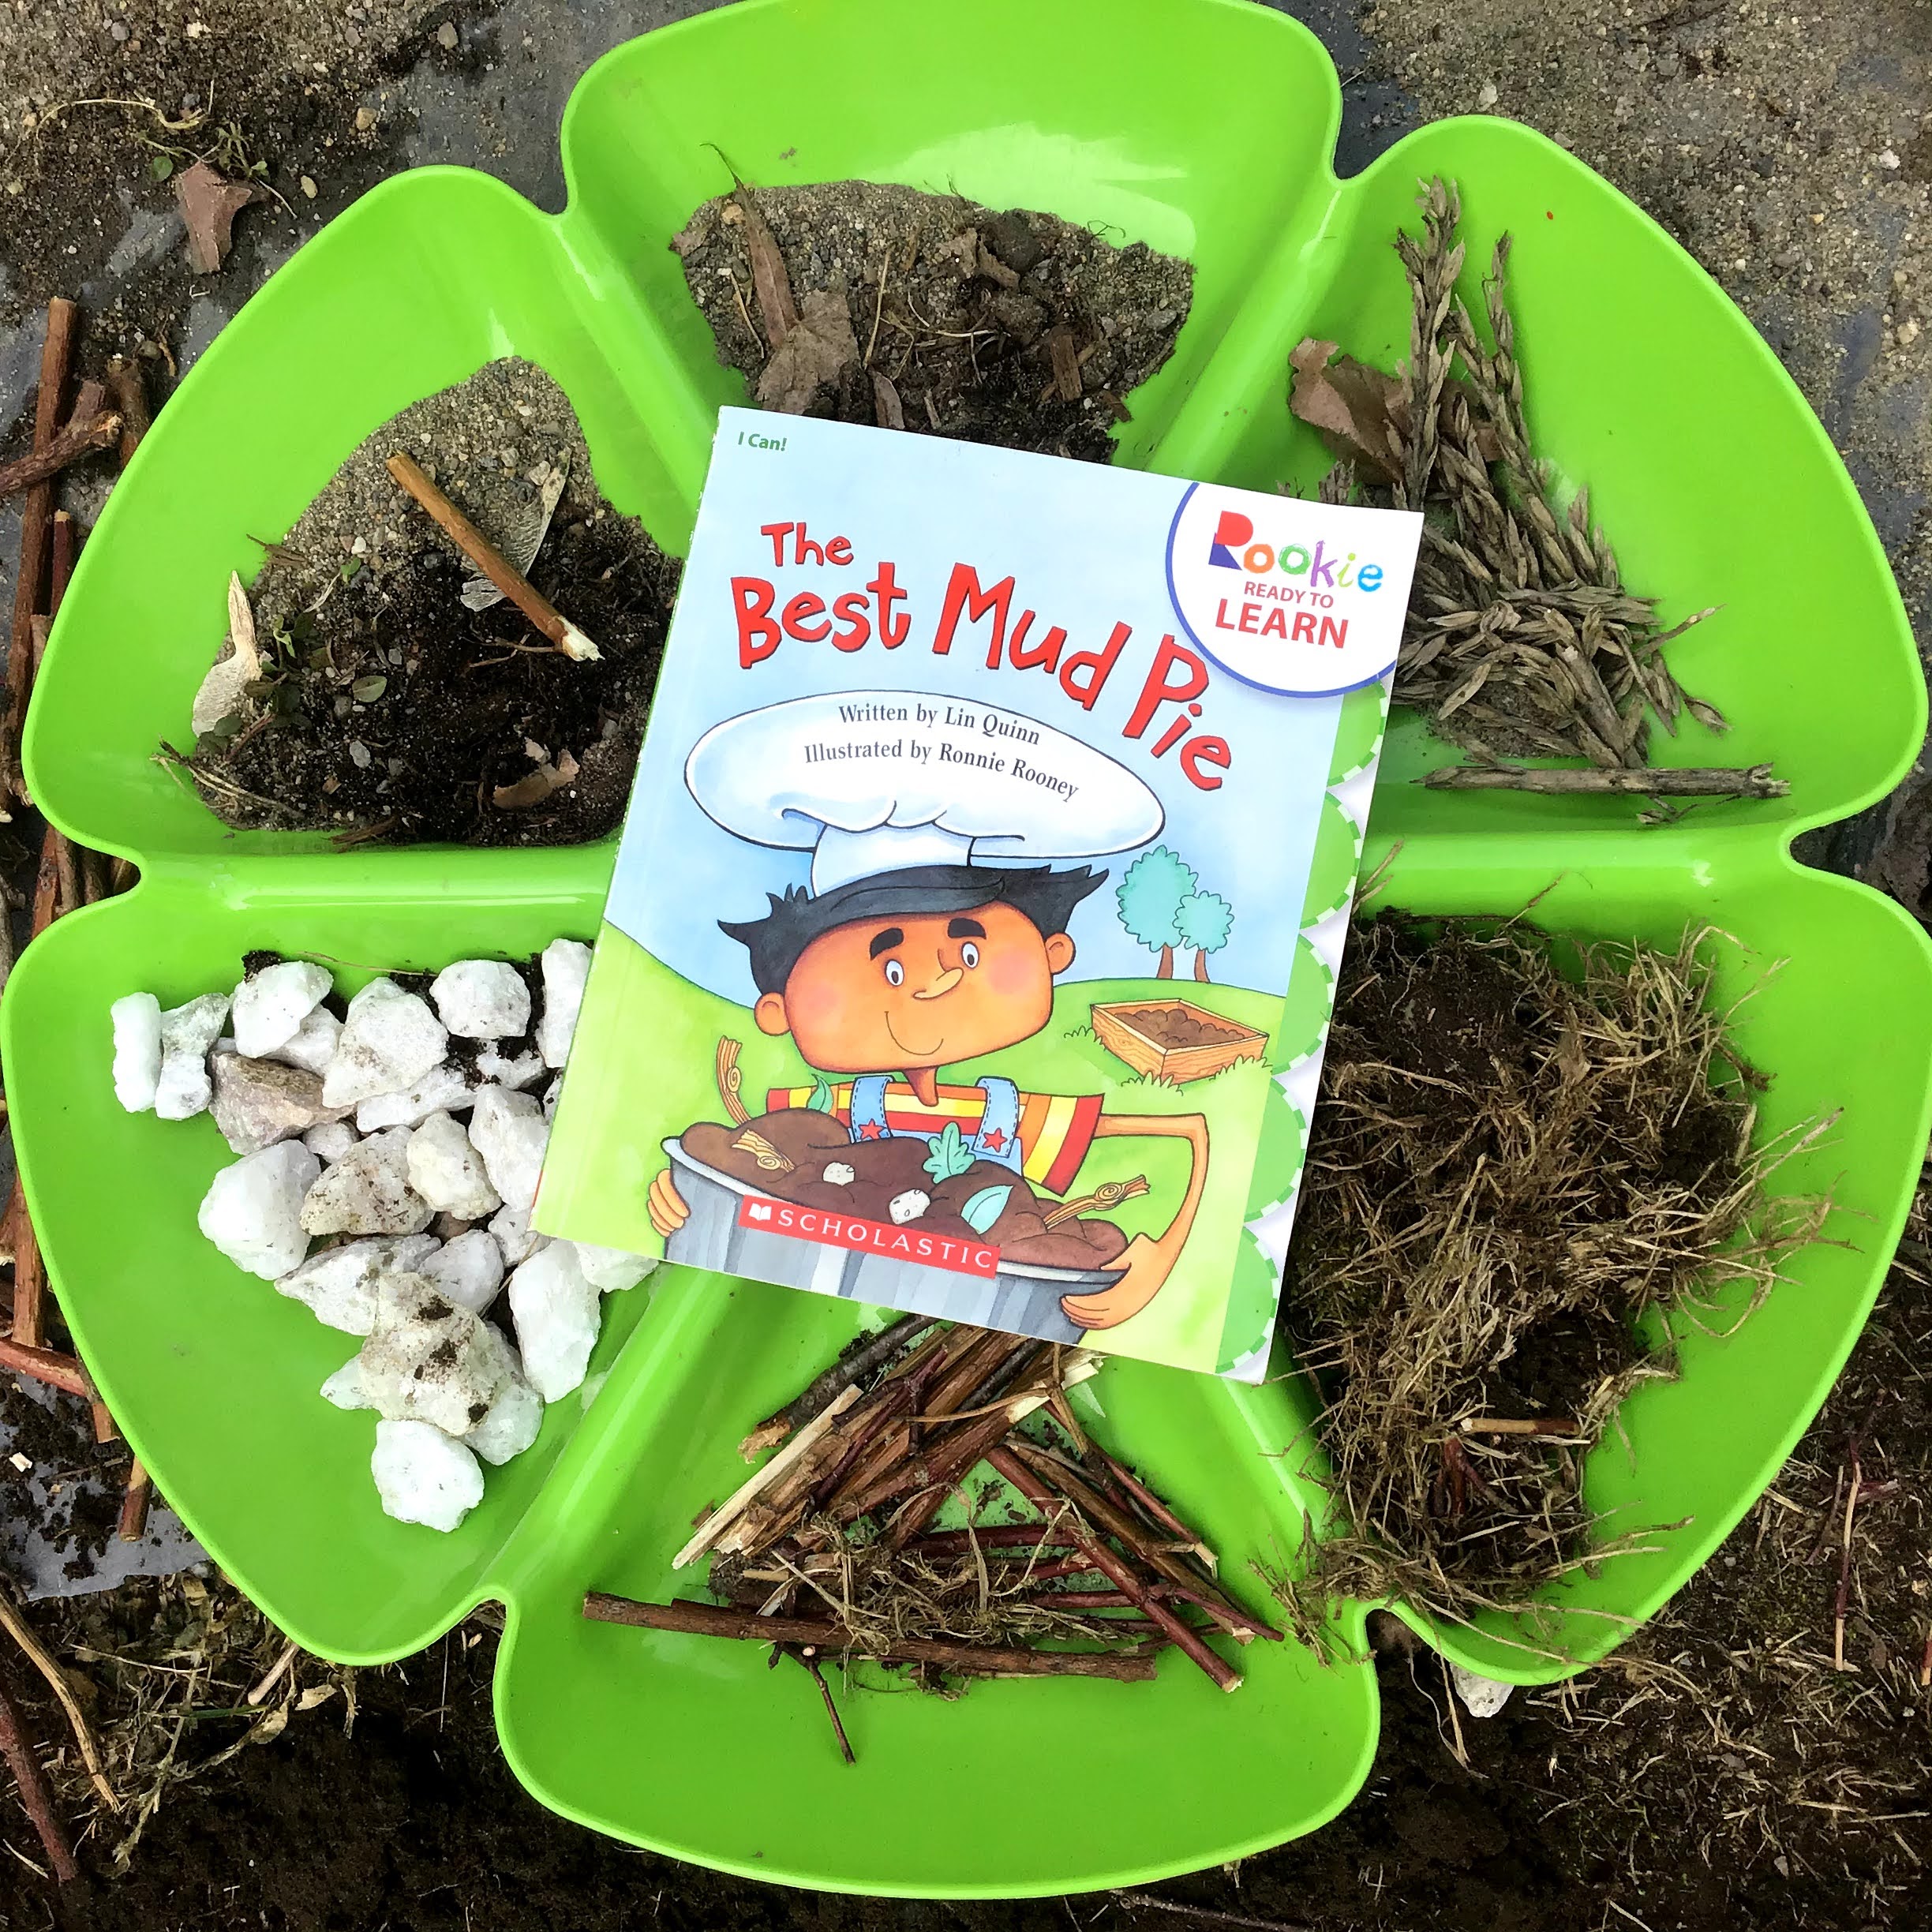
I have compiled a FREE “Mud Play Resource” to hopefully make mud easier this year!  In this resource you will find links to:

  • Mud Play articles to share with families
  • Mud Curriculum Ideas for teachers
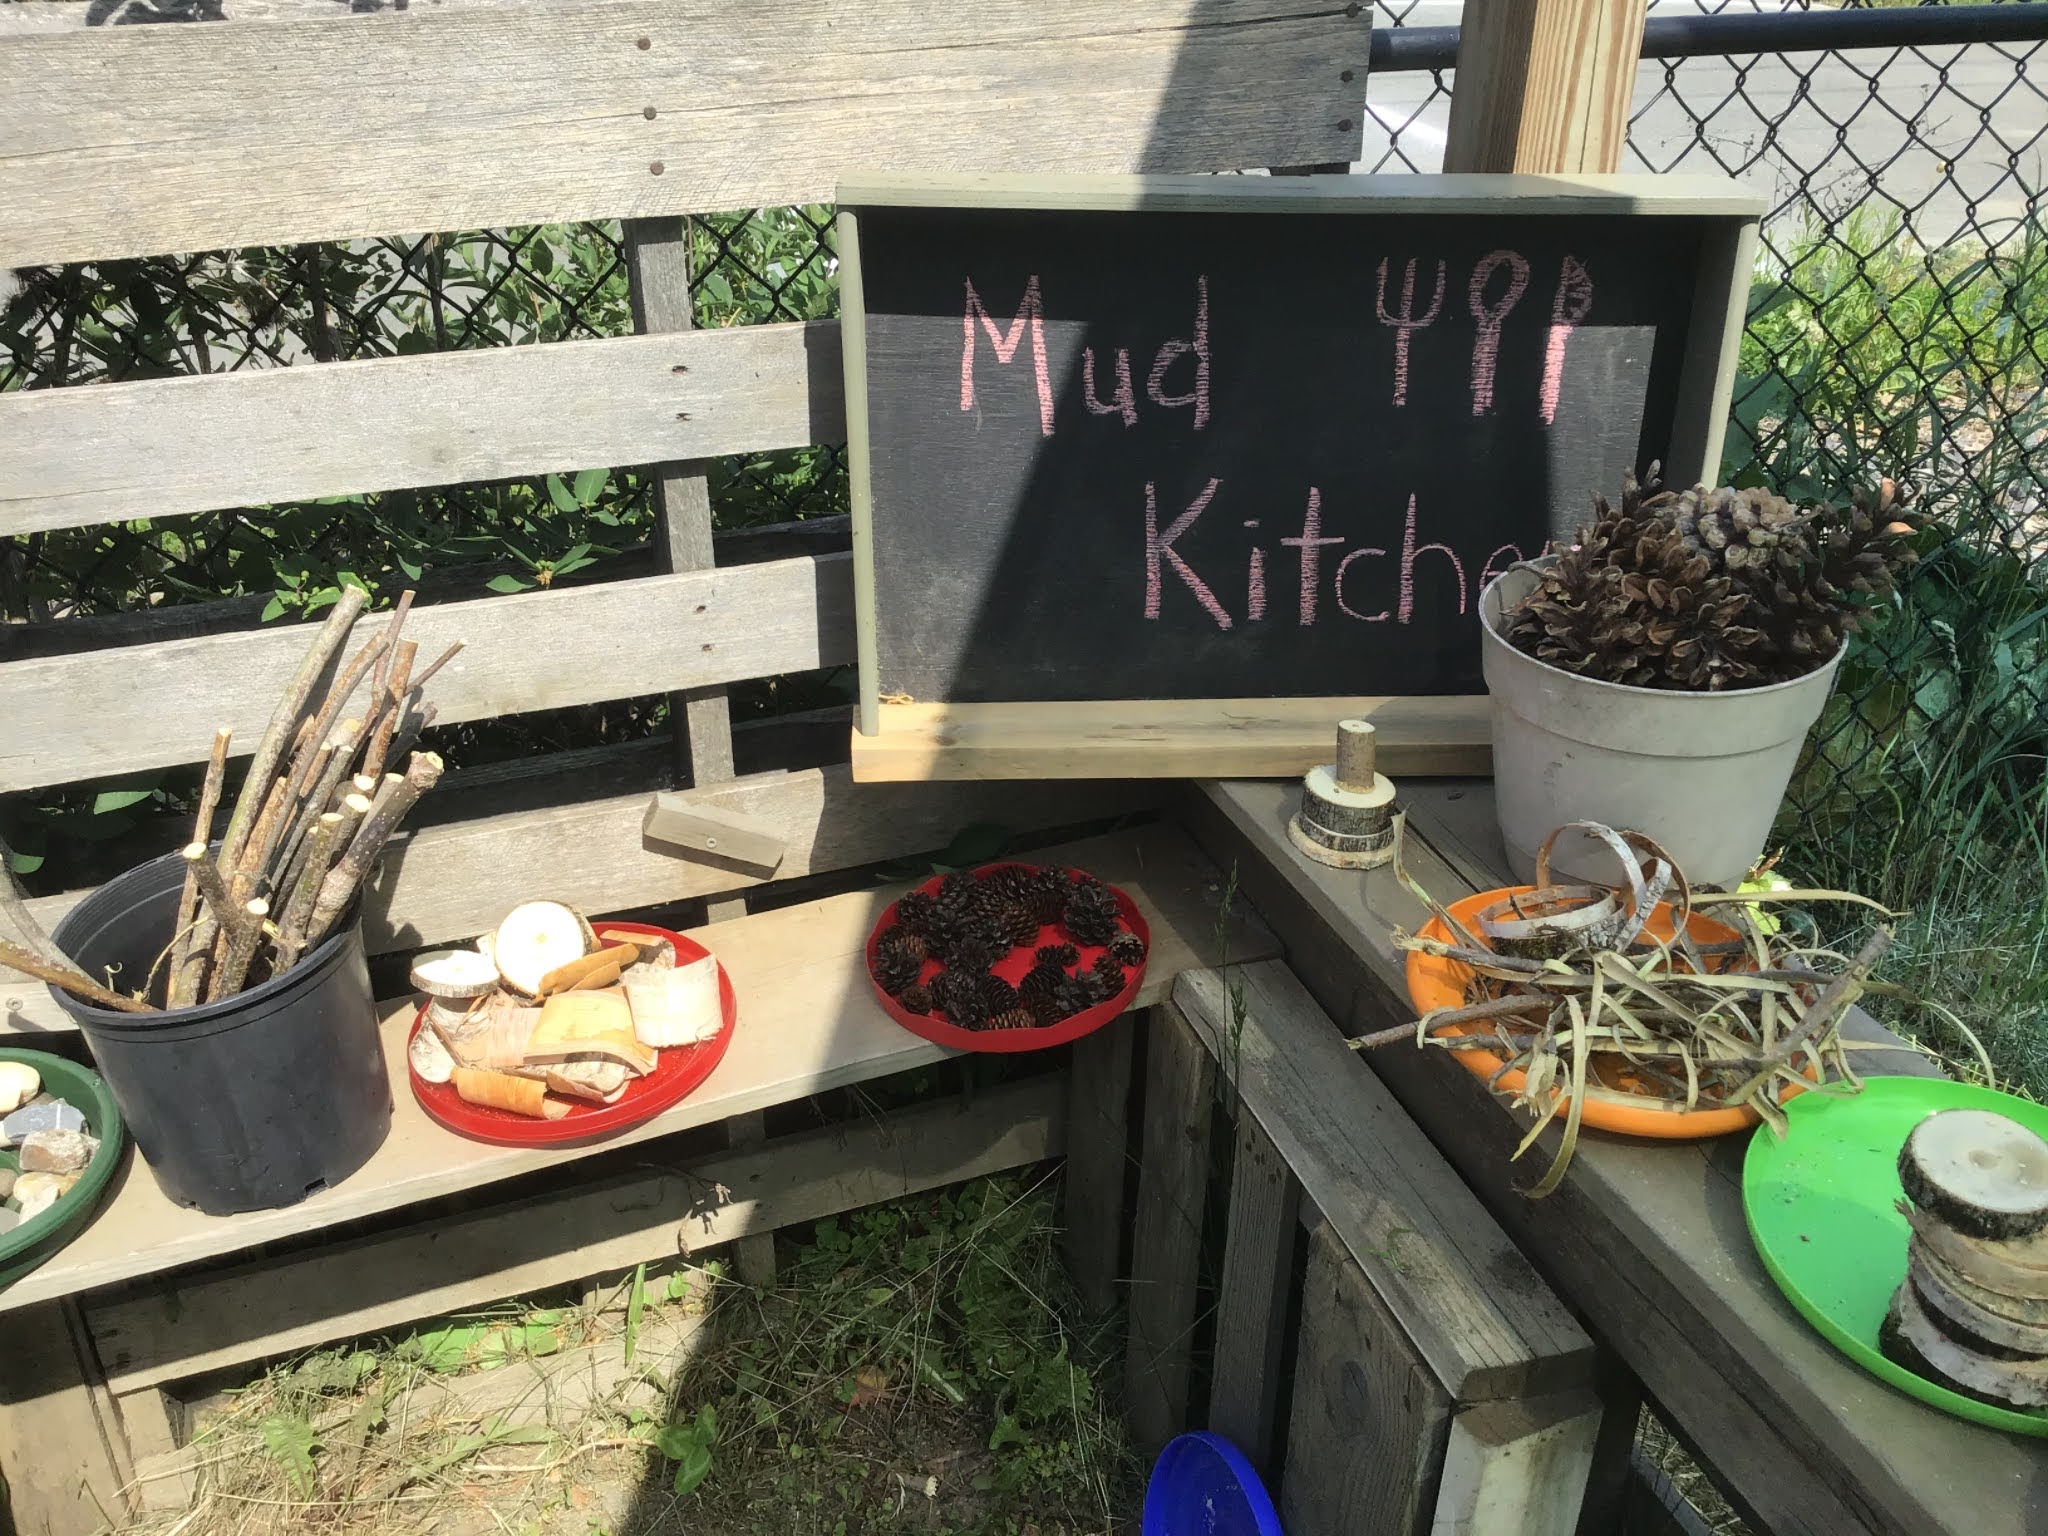
  • Mud Kitchen Resources for teachers
  • Children’s Books about MUD!

Three steps for embracing mud play! (And then three cheers for bringing back mud pies!)

Muddy Mindset for Staff ~ even BEFORE mud season, schedule a conversation with your teaching team about their perception of mud play. Come to a consensus about your program’s ‘mud rules’ and ensure that children hear the same message from all staff. Perhaps pre-read a Mud Play article and talk about the Pros & Cons at a staff meeting.  {During mud season, continue the conversation, document the children’s learning and JOY with mud. Then revisit your ‘mud rules’ after mud season. Step by step is how we make change.}

Muddy Solutions – if you have extended ‘mud seasons’ at the beginning and end of winter….consider investing in Muddy Buddy types of suits, have a place to hang them to dry, and a system for drying boots. Having functional systems for dealing with muddy gear when coming in and how to manage so the indoors space isn’t too hard to clean. {Would fundraising or grant writing make gear more accessible for your children? Think NOW about how to set yourself up for success in the future.}


Mud Chat with Families ~ even BEFORE mud season, prepare families for what to expect. Remind them of your messy clothes policy, share mud articles about why it’s valuable to play outdoors even when it’s muddy, get their support in sending in extra dry clothes, and build in an understanding of what you need for this season to be successful. We need to work in partnership with our families. If families have a bunch more laundry as a result of being in your classroom, they are going to understand the WHY.
Featured

Art Prompt Project 2023

{drumroll please} I am so excited to invite you to join me for my virtual ART PROMPT Project 2023 

I believe that as WE explore different art materials, mediums, textures, sensory materials, loose parts and art processes our connection with our own personal art practices are fortified and our playful sides are ignited! 

Maybe your last art class was way back in middle school, or maybe you haven’t picked up a paint brush in decades. Or maybe you are already doing art pretty regularly but are always up for new ideas. My ART PROMPT Project 2023 series is for ANYONE who wants a little nudge to explore their creativity...no art experience is necessary.

I believe that we can move past perfection, and remember that our purpose in making art is to find our JOY!

When we carve out time for our OWN creativity, we awaken and remember the simple joy of creating. Experiencing “process art” (not worrying about outcome) will you feel FREE in other areas of your life.  

ART PROMPT Project 2023  will be sent at the beginning of each month. If you are already on my email list the prompt will be delivered to your inbox. The first one will go out Thursday, Jan. 12th, 2023 where we will be exploring Painted Papers!  

The subject line will start with Art Prompt:  so look in your inbox for an email from  April’s Teaching Tree with the subject line = Art Prompt:  I know inboxes get full but it will be fun to be part of this YEARLONG journey! Several people have already responded and said they were excited to have a monthly nudge to remind them to make art! 

If this project sounds exciting…I’d love to hear what art materials you hope we explore in our monthly prompts. Do you already have a personal art practice? What holds you back? ~ HIT REPLY and tell me!

Not on the April’s Teaching Tree email list? Send me an email or DM me your Name and Email and I will add you!

“I’ve seen women insist on cleaning everything in the house before they could sit down to write… and you know it’s a funny thing about house cleaning… it never comes to an end. Perfect way to stop a woman. A woman must be careful to not allow over-responsibility (or over-respectability) to steal her necessary creative rests, riffs, and raptures. She simply must put her foot down and say no to half of what she believes she “should” be doing. Art is not meant to be created in stolen moments only.” ― Clarissa Pinkola Estés, Women Who Run with Wolves

With gratitude, 

April 

Featured

Winter Solstice & Embracing Winter

Winter solstice signals the official beginning of winter, the coldest season here in the Northern Hemisphere. By taking time to mark and celebrate this day by pausing and thinking about the start of winter, we can be intentional about how we approach the darker and colder days ahead. Today is officially the Winter Solstice, and I will celebrate by having some friends over for a bonfire and solstice celebration.  Carving out this time prior to the busyness of the holiday season is a wonderful way to reconnect with friends and to set intentions for the coming year. 

Winter Solstice Bonfire Celebration ~ this is the invitation that I give to my small circle that I invite)

🔥 ❄️ Winter Solstice Gathering ❄️ 🔥 Bonfire in the forest at my house with potluck dinner ~ arrive by 4pm ~ so you will be able to see your way down our paths to our fire circle in our forest.

We will do a releasing ceremony ~ letting go of what we no longer need. You can write this down ahead of time or use some wood to write on here. You can choose to share with the group or just release it silently.

Those who want to choose a word as their intention for the coming year, can name their word. We can breathe life into it by sharing with our group your intention word and vision for how to bring that word to life this coming year.

We will feast with a potluck ~ let me know what you’d like to bring so we have a well rounded meal.

Things to bring ~ flashlight, dress in layers, boots since we have 1 ft of snow, and food to share. I have some rustic seating, but if you are more comfortable, feel free to bring your own more comfy chair!

Releasing Ceremony details:

Using paint pens and sharpie markers we write down what we want to let go of in this season. In the photo above taken last year, we used driftwood as our canvas. We each took quiet time to create words or symbols to represent what no long serves us. The quiet reflective time is meant to tap into our own creative process and to really feel what we are ready to release. The wood is then placed into the fire to burn & release into the ethers. There is synergy when we do this in community with others, as they too are doing this inner work.

🔥❄️Winter Solstice Celebrations & Ways to Embrace Winter ❄️🔥

Maybe a bonfire isn’t your thing. Well, there are many ways to celebrate the arrival of winter. So whether you do one today or spread the ideas out over the next couple of weeks, you may find a more gentle connection to embrace winter. 

> Light a candle and bring in natural items that symbolize the winter season for you. Create a special display around your candle with pine boughs or pinecones, or lay out many of the natural items you’ve collected over the last year as a reminder of your connection to nature. 

> Foot baths ~ make a simple blend of epsom salts, baking soda, and a few drops of an essential oil that you enjoy. As you soak your feet, feel grounded and renewed. 

> Journal and reflect on the last year 

> Winter book stack ~ earlier evenings means carving out time for reading. Having a stack of books that I am eager to read helps me turn off the devices and cozy up for reading time. 

> Cook a hearty soup with root vegetables. Nourishing and grounded foods help us feel warmth in our bellies and soul. 

> Make time for tea with warming spices like ginger, cardamom, or cinnamon. Explore a variety of teas and find one that uplifts you. 

> Celebrate the quiet ~ freshly fallen snow creates a sound buffer that is as much a delight for the ears as it is for the eyes. Go for a winter walk and notice the quiet. 

> Star gazing ~ earlier sunset in winter allows ample time to enjoy the night sky. 

> Sunrise ~ scout out a location where you can see the sun rise out of the horizon. Dress in layers and arrive a few minutes before sunrise so you can settle in with your mug of hot cocoa and watch the sun rise up out of the horizon. The time of sunrise changes each day, so be sure to check on the time so you don’t miss it.  

> Full Moon Snowshoe ~ there is something magical about snowshoeing by the light of the moon. Our next full moon is 1/6/2023, but even if you plan 2-3 days before or after the full moon there will be ample moonlight to guide you on a clear night. (The other full moons this winter are on Feb. 5 & March 7, so you can plan ahead with friends to do this a couple of times.)

I would love to hear your ideas as well…what activities or celebrations are special for you in winter?

With gratitude,

April 

Featured

Setting Up a Quiet Space Outdoors

Often we see quiet spaces or calm down spaces indoors in early education programs, but what could it look like if created a similar space outdoors? I believe children benefit from having a similar structure in their learning environments, both indoors and in their outdoor classroom. Here are some tips to get you started!

(Do you have pictures of your outdoor quiet space? I’d love it if you share them so I can add a variety of pictures to this blog post!)

Tips on creating your Outdoor Quiet Space:

  • Establish a space in your program as a “quiet” place and teach that this is a place a child can go when they need to relax, reset, and calm down. 
  • In one program they had designated spots outdoors as “Quiet Zones”. They used rope and triangle cloth flags to indicate these spaces (see picture above). This could be an easy way to create multiple areas and children could even help with the creation of flags so they had some feeling of ownership or belonging to the space.
  • I often establish a bean pole trellis (see picture below) that is easy to create and affordable. I just set up five bamboo poles that are 6 feet tall. Tie the top and create a trench around the base to plant bean seeds. This is a small enough space that creates some privacy and feels cozy. This same structure could be covered with cloth for similar privacy earlier in the season or when the plants have died off.
  • Another affordable space would be to build a simple fort structure. My son built the photo below for an outdoor program in my area. He built a solid main structure and the children added pine branches, other sticks, and leaf debris to create privacy.
  • Maybe the space is mobile ~ What about establishing a special “Quiet Chair” ~ perhaps tucked away in the garden or in an area of the Outdoor Classroom that tends to be less busy. Having a folding chair makes it mobile and could give children the options of moving their space or having multiple spaces.
  • Reinforce that this is a safe and cozy space that helps us feel calm and safe and that children can choose to go to this space to play alone for a while
  • Offer calm down materials, which outdoors might look like a bin that you bring out from storage with a few board books, a non-breakable sensory jar, and various loose parts to explore. 
  • Post a visual of the calm down technique you use in your program. To make this work outdoors, I laminate the visual and post it on the storage bin so it’s protected from the elements. In my preschool classroom I use the Tucker Turtle Technique. (see resources below)
  • Create a durable mini version of books that you use to teach social emotional skills. Lamination can help them last longer and you still may need to replace them yearly. 
  • Introduce the space during outdoor circle time and model how it is used. For our indoor “Tucker Turtle’s House” we only allow one child to be in the space, but I find this harder to manage outdoors. I would decide with your teaching team if it’s an ‘alone space’ or if a pair can be in there together. 
  • I tell a lot of social emotional stories with my turtle puppet. There are many life lessons that we can
  • Reinforce with simple tales of how turtles see things differently. Moving at their own pace, taking time to tuck & breathe, resting when they need to, have calm and confidence to race a speedy Hare, and the list goes on. 
  • Work with small groups to practice using the space and revisit it often so children remember why the quiet space is there. 
  • Reinforce the quiet place when you see them experiencing strong emotions or if a child seems like they need to regroup
  • Reinforce to staff that this space is NOT used as a punishment.
  • What if your group is on the go? Instead of a designated spot for the quiet space, maybe have a piece of cloth or small portion of yoga mat that serves as a spot that children can go to be alone. 
  • Our space indoors is a wooden cube, and using more durable materials I can imagine creating something similar outdoors though I have not yet created that myself. (If you have, I’d love to have additional pictures to add to this post!)
Affordable & easy quiet space ~ bean pole trellis!
Simple fort structure & kids add pine branches or leaf debris

Related Resources:

“The Quiet Chair” ~ tucked away in the garden

Resources for teaching “Tucker Turtle” from the Pyramid Model / Challenging Behavior 

https://challengingbehavior.org/?s=tucker+turtle

Check out Susan Cain’s Ted Talk and Book – “Quiet: The Power of Introverts”

Read more thoughts on my blog post ~ “Private & Quiet Spaces”

Wonders of Worms ~ Free Training!

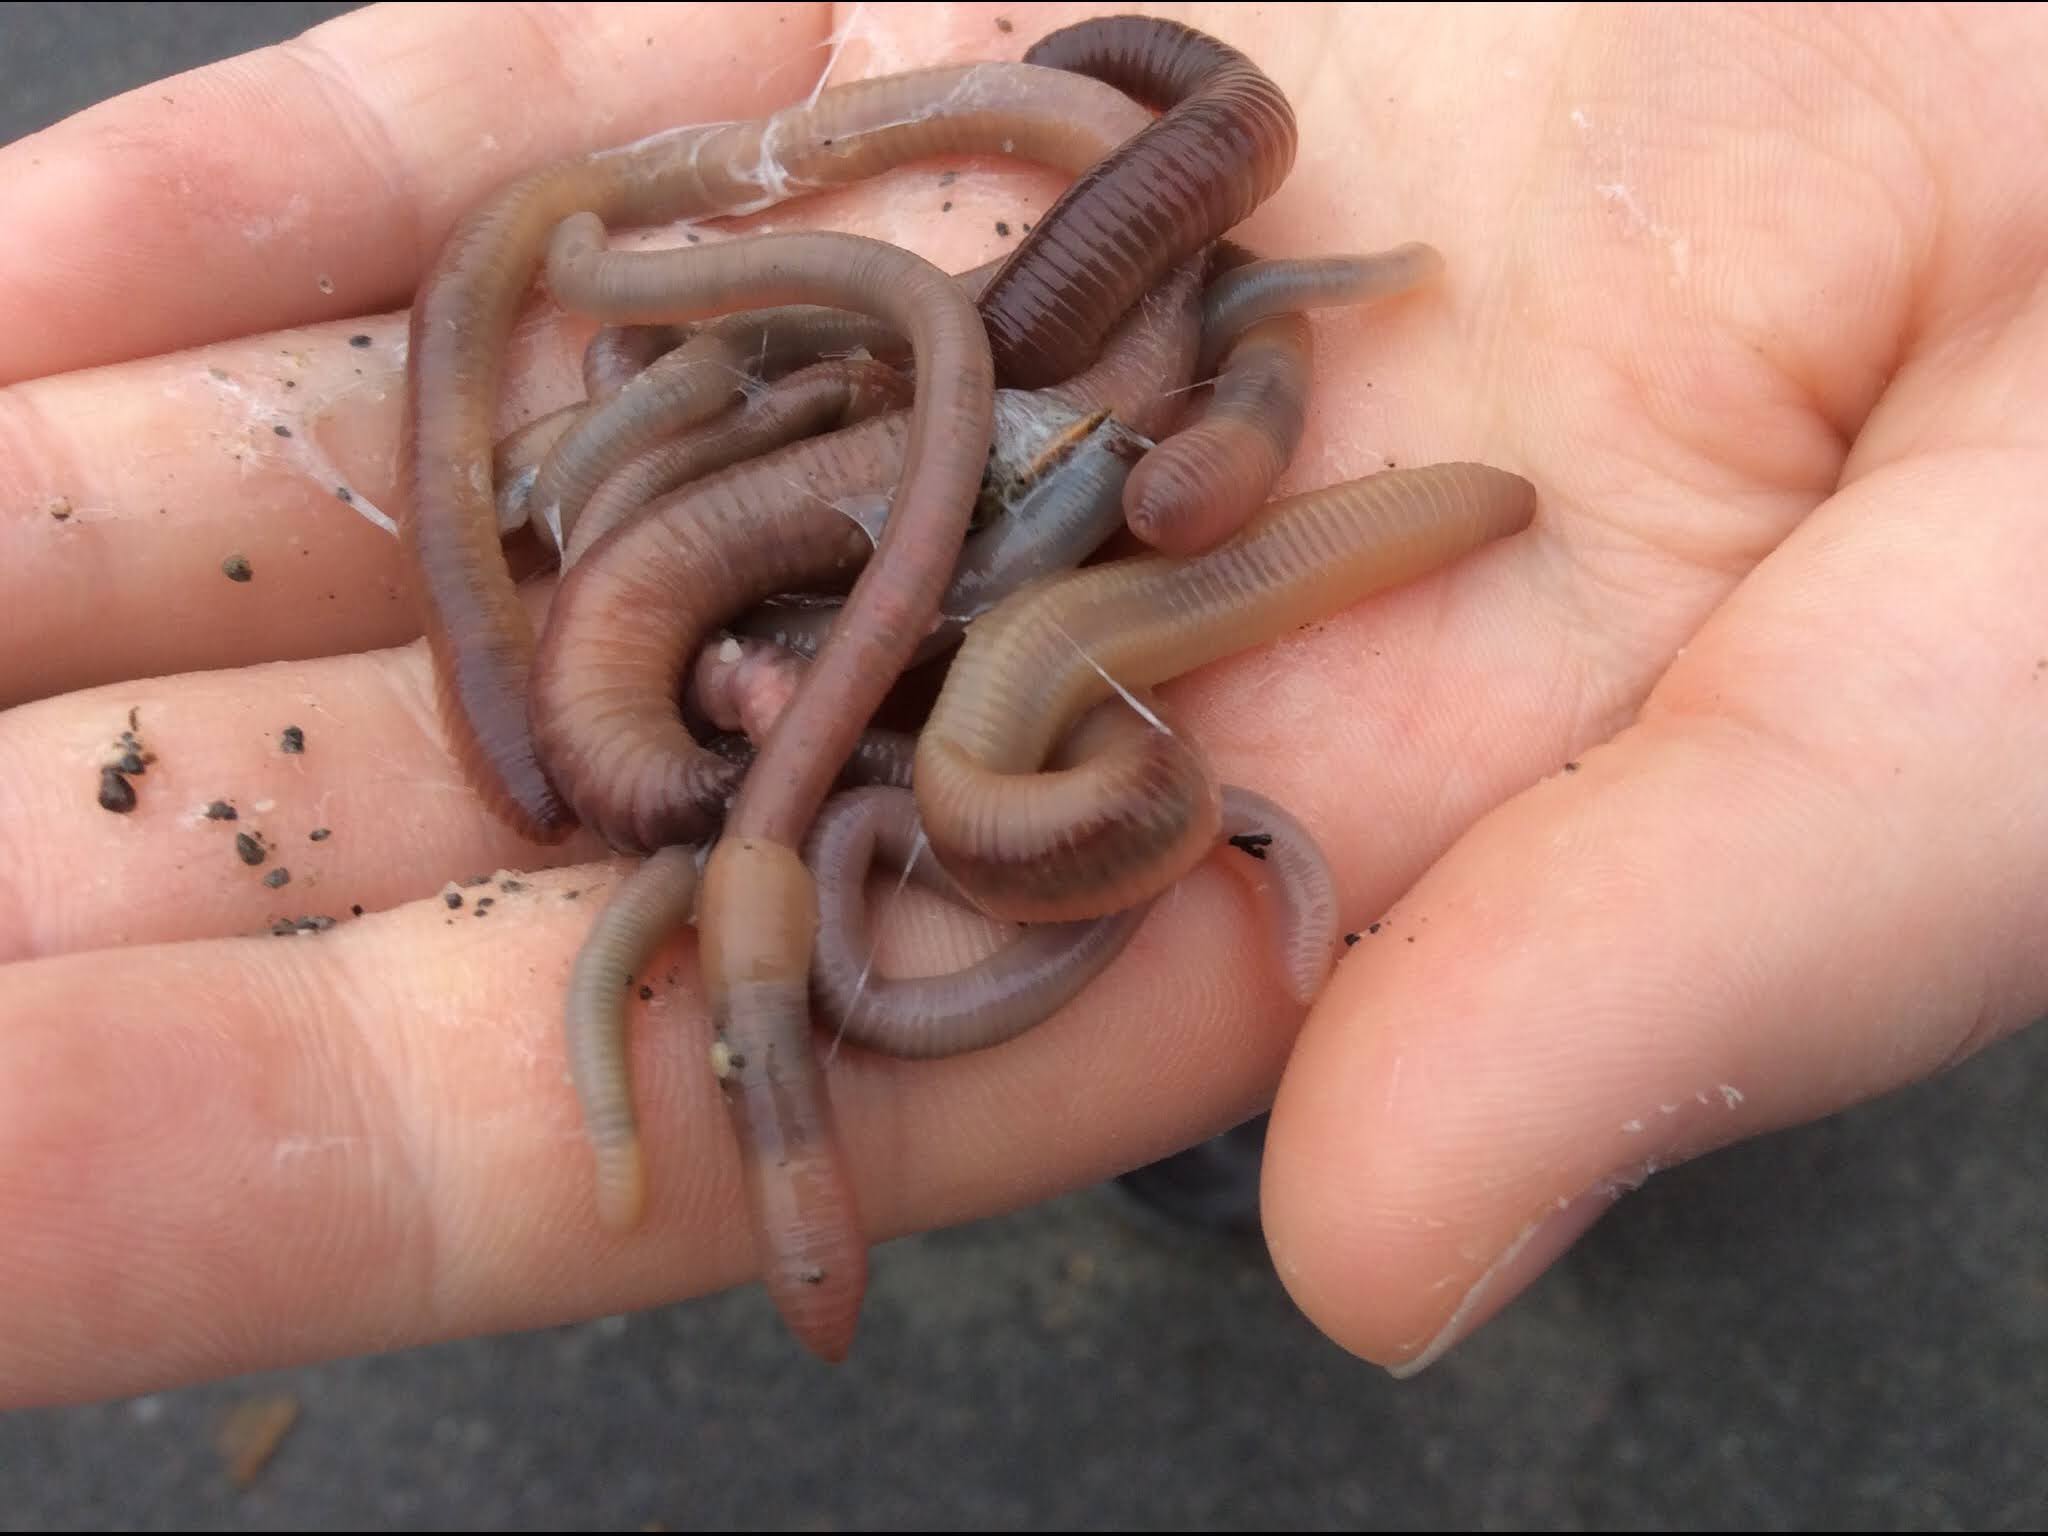
Wonders of Worms ~ Spring is a wonderful time to get children digging in the soil and discovering our nearby nature. What a joy is it when a child discovers that first worm?! Something as simple as studying worms sparks children’s wonder and curiosity of nature.  Research validates that young children thrive with ample “hands on” learning opportunities. This two hour session will focus on equipping educators with ways to help extend the children’s questions and inquiries about worms, while also aligning to early learning standards!

In this two hour session we will co-create an a *rough draft* of an early childhood “Worm Unit” as a digital download. All participants will have access to print the “Worm Unit” and use with the children in your classroom!

You will hear how experienced nature based educators have moved away from thematic units and into authentic and emergent teaching practices utilizing integrated curriculum design.


Details ~ This two hour workshop is FREE! 
Date / Time: March 27, 2023 – 6-8pm EST 

To register for the free training, complete the Wonders of Worm Google Form: https://forms.gle/LWYGfz7kgkGFHScx5

NOTE: You will NOT get an immediate automatic confirmation (because I am just learning Google Forms) but I will send out Zoom links every few days so it will land in your inbox to the email you put on this form! 

  • A Zoom link will be sent to you a few days ahead of the training and in the morning of the event, so be sure to check the email you listed on the google form.
  • This session will be recorded and will be published on the April’s Teaching Tree website and YouTube channel.  
  • This session will include an interactive 20-25 minute break out room activity so please plan on having your camera and mic working for that portion of the session. 
  • Participants are encourage to bring ideas with them about how to teach about worms. You will self select the breakout room to engage in and each will focus on a different learning domain: literacy / math / gross motor / science / social emotional / and “Worm Phobic” 
  • Are you “Worm Phobic”? Does “Woes of Worms” sound like a better title than “Wonders of Worms”? Maybe you are sort of curious and also pretty sure you’ve never touched a worm in your life. I invite you to join us, and dig in to think about how to shift your mindset about worms. One of the breakout rooms will be titled “Worm Phobic” and April will spend time with this group thinking about ways to help support your children outdoors while not really identifying as a nature loving teacher! All are welcome!
  • For all my fellow Vermonters ~ I am a Master Trainer on the Northern Lights / BFIS system and I have submitted this training to count for BFIS PD hours. If you are Vermont ECE and input your BFIS number, you will be able to earn 2 hours of Professional Development that I will submit directly to Northern Lights. 

Art Prompt: Collage

COLLAGE ~ this month we are going to dive into one of my favorite art processes, COLLAGE! Collage is an art technique where we combine painted papers, clippings, photos, recycled papers, or small objects onto a surface to create a one of a kind piece of artwork. We think about how we combine colors, textures, and materials to add visual appeal to our piece. We can work flat or we go work three-dimensionally depending on what we want to create. For me, it’s all about enjoying the PROCESS of selecting and combining materials.

 Three prompts to getting you collaging this month:

“Explore Children’s Books featuring Collage”

“Collage Buffet”

“Card Making with Collage”


“Explore Children’s Books featuring Collage” – warm up to the idea of collaging by admiring collages in children’s books. Take some time in your classroom (or personal book collection) to gather up some children’s books that feature collage. Pour yourself a cup of hot tea and spend time noticing the layers, admiring the layout, and savoring the colors that the artist used to create the collages in their books. You might notice details that you never noticed before, despite the fact that you have read that book a gazillion times. My favorite collage artist is Eric Carle and revisiting his books is a favorite way for me to get inspired. Eric Carle’s process begins with making beautiful painted papers in different colors, adding details like patterns and polka dots, and scratching into the paint to give different textured effects. He would keep his different colors and textures in different bins and use those for creating is amazing works of art. (To learn more about his process you can find videos of him on YouTube creating his works of art -or- treat yourself and visit his museum in Massachusetts.)

I also adore Lois Ehlert, especially her nature collages and loose parts in her books Leaf Man and Snowballs! We will do “Land Art” or “Nature Collage” as one of our prompts this summer!

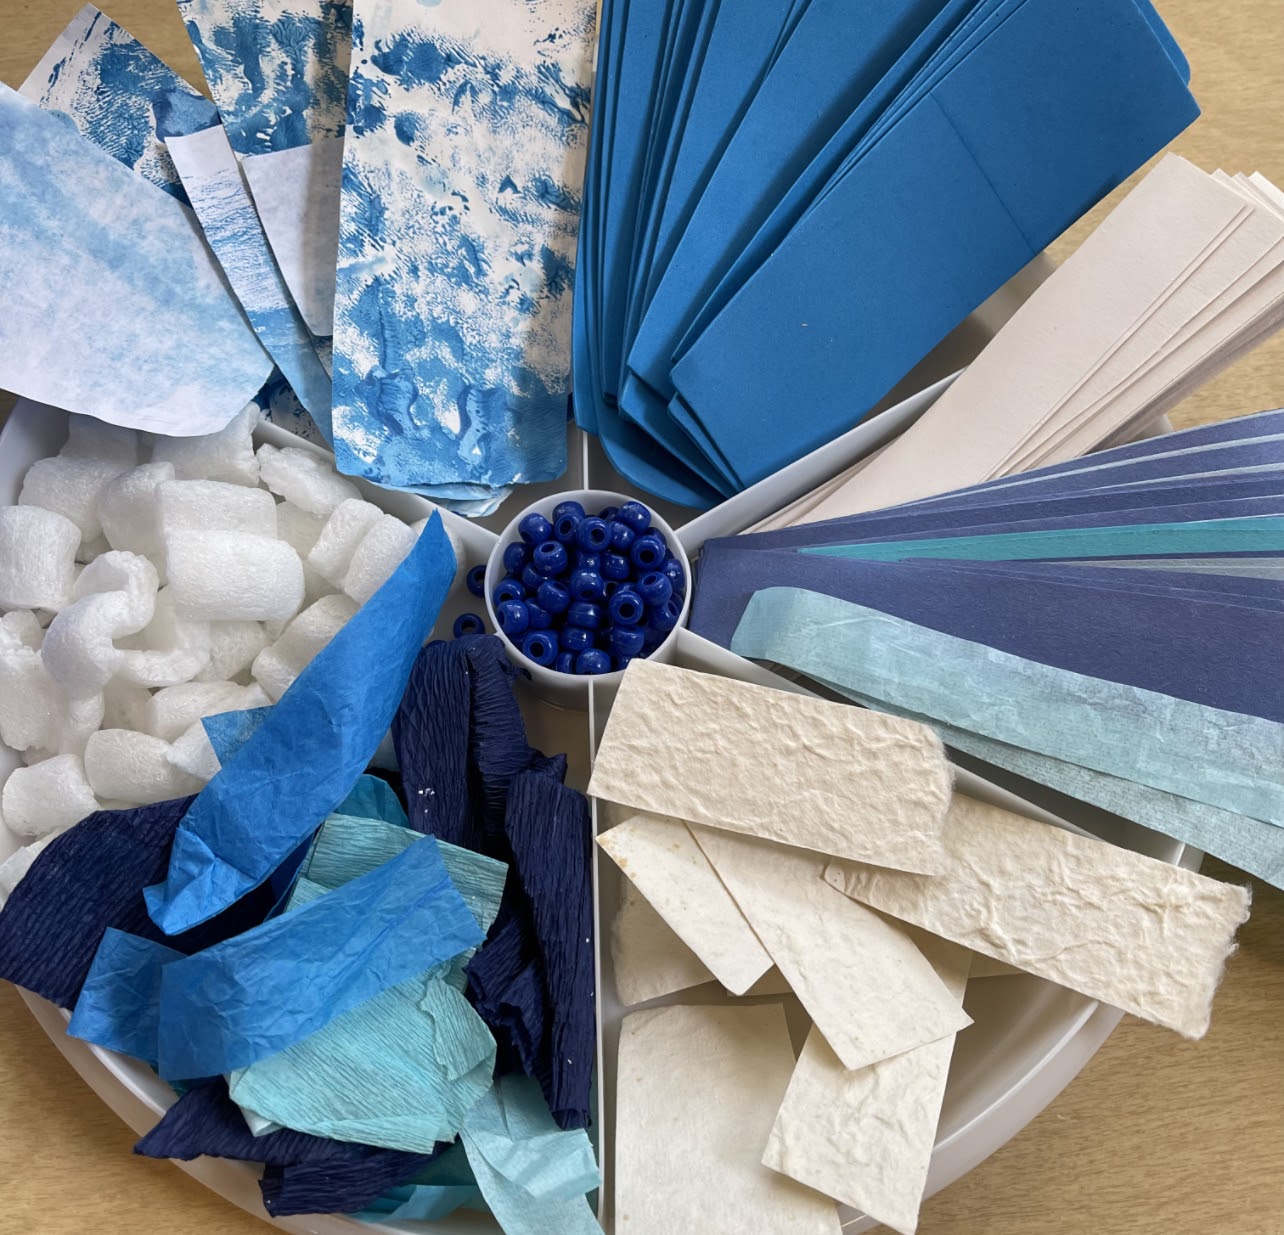
Collage Buffet” – Even before making a collage, take a bit of time to set up a “Collage Buffet” for yourself by putting a variety of complementary colors together with a variety of different materials. In each partition of the chip and dip container put a new material and keep filling up the container until you have a well rounded selection of materials. Admire your collection and think about creations that you might make. For me, I enjoy the gathering process and often do that part the day before collaging. Then on the day I am going to collage, I appreciate being able to sit down with a variety of materials to dive into my creativity.

Card Making with Collage ” – receiving a handmade card is such a wonderful feeling. Think of someone you love that you know would appreciate a homemade card. Think about colors, images, or art materials that come to mind when you picture that person. Perhaps print out a special photo of you and that special person to add to the card. Sit down and create a card for them. Don’t allow perfection to stop you, and even if you think it looks too childlike, send or deliver the card to them. I promise…heartfelt cards are treasured for years to come. I have some ideas in a blog post about setting up a card making station that might inspire you to bring this into your classroom as well!

Last month we explored, “Art Prompt: Painted Papers”. Did you make a bunch of papers and wonder what to do with them all?! Here is my portable go to way to sort and store my stash of painted paper and scraps for collaging. It’s easy to keep organized and helps me to control how much paper that I keep.
(Full disclosure ~ hoarding painted papers is a weakness. I have two of these boxes ~ one at home and one at school because you never know when the urge to create with hit!)

I’d love to hear who your favorite collage artists are! I’d also love to see your process and collages this months too! Send me an email or tag me on social!

With gratitude,

April

FB Page: “April’s Teaching Tree”

Instagram: @aprils_teaching_tree

Link in bio page: https://aprilsteachingtree.mykajabi.com/links


Printmaking Tools for Open Ended Process Art

Oh the joy of printmaking with children! Here is a lovely wintery scene we made recently in my preschool classroom!

Printmaking is one of my favorite process art invitations. I love gathering a variety of interesting materials to offer to my students to have them explore the process of printmaking. What I love is that ALL my students can find joy in the process and often express how much fun they have when making prints. 

A new favorite tool that I found on Discount School Supply are these “Colorations Fingers and Hands Stampers” (set of 12)

I reached out to some other process loving educators to brainstorm a list of materials to explore. And because nothing is quite as satisfying as making a handy ABC order list to share with my GROWN UP students in my workshops and courses…I did just that this week! 

{Drumroll please} Here is your very own access to the “ABCs of Printmaking Materials”. Hit reply and tell me what I missed…what is a material you love to use in printmaking that I left off the list! I’d love to hear about your process for doing printmaking with children! Or do you dabble in the FUN of printmaking yourself?!

ABC List of Printmaking Materials

  • Alphabet magnets 
  • Balloons – inflate and dip in paint to make interesting paint circles, push different amounts to vary the size of the circles (make a snowman?)
  • Bottle caps & milk jug lids
  • Brayer roller – (ink roller) the hard rubber kind, if buying new get the 4in and 2.2 in – these are great for ink for older kids/adults, or experiment with liquid watercolors!
  • Bubble wrap (makes great prints that look like snowballs falling from the sky)
  • Burlap pieces ~ different weaves and textures; after the print making, perhaps chop up the painted burlap as a collage material?
  • Cardboard cut into geometric shapes
  • Cardboard tube – thick ones from Cricut vinyl rolls are really durable
  • Clothespins with pieces of sponge (geometric shapes); extra clothespins as some kids like to attach things so their fingers stay paint free 
  • Cookie cutters
  • Corrugated cardboard edges
  • Cotton balls; 
  • Cotton rounds in 3 different sizes
  • “Colorations Fingers and Hands Stampers” (set of 12) – see last pic in blog post, these are from Discount School Supply
  • Dice
  • Egg cartons – cut up into different shapes
  • Fruit basket / berry baskets from the market – cut apart to make a snowflake shape
  • G
  • Hair combs – different widths and tooth sizes 
  • Hair rollers – different textures
  • I
  • Juice lids – like frozen OJ lids that are metal 
  • Kitchen tools – potato masher, small sieve, scrapers, spatulas 
  • Lace scraps
  • Legos or Duplos 
  • Liners from candy boxes – different textures. Create a negative space print. (great excuse to buy and eat candy, too!)
  • Mason jar rings 
  • Mesh bags that onions & oranges come in ~ snakeskin or mermaid effect
  • Natural loose parts – from your stash: seashells, 
  • Organic plant material from your aread – go for a winter walk and gather: leaves, sticks, lichen, bark, pine leaf clusters, pinecones 
  • Packing peanuts 
  • Plastic woodland animals (or dinos) – make tracks in the snow!
  • Pencil – use eraser end
  • Q-tips 
  • Ribbon spools – empty circles that thin or thick ribbon comes on are great for printing larger circles as little hands can hold on to them!
  • Shoes – children’s shoes can make great prints, like walking in the snow or mud using paint
  • Soup cans with label off & ends cut off with a tool that makes them not sharp
  • Spatula blades – cut different textures into them for printmaking – inspired by Princeton Catalyst blades https://www.dickblick.com/products/princeton-catalyst-blades-mini-blades/
  • Sponges with different textures 
  • Styrofoam trays – cut into different shapes / use a chopstick to etch in designs to print (use a Brayer with liquid watercolor for finer detail)
  • Thread spools – look for ones with different designs, narrow spools
  • Tubes – especially those thick ones from vinyl from Cricut machines
  • Toy cars or trucks – tracks with paint 
  • U
  • Valentine chocolate boxes ~ add a bunch of heart shaped tools: heart cookie cutters
  • Wine corks – different sizes
    X
  • Yarn – string painting – dip in string and splat or print onto paper
  • Yarn wrapped block – dip in paint and press onto paper, turn block different ways for different effects. 
  • Z

Supporting Babies & Nonwalkers in Winter

Photo by Alexander Dummer on Pexels.com

Supporting Babies and Non-walkers in Winter ~ I’d love to hear tips you have! These are some ideas that a group of family child care providers suggested when we worked together last winter.

  • Remember that babies and non-walkers are not getting the same kind of active movement and will get cold easily.
  • Even if outdoor time is short, babies benefit from being outdoors as well!
  • One piece snowsuits with attached mittens and booties are the best way to keep little ones warm. Ask for donations of high quality snowsuits that families are finished with when their child outgrows them.
  • Try to build in compassion for mixed aged groups so that older children interact with babies and help ‘entertain’ them a bit outside. Don’t blame the ‘baby’ for the reason you have to come in early or there could be an animosity that builds between the older children and the younger children.
  • Time tested ways to keep babies comfortable outside in winter – blanket laid into a sled, wagon or stroller; baby swing; flattened cardboard box to crawl on; mesh pop up playpen, or bouncy seat with umbrella protecting them from falling snow.
  • Wearing babies can work in winter- backpack or front pack – just be sure to continue to check on their warmth
  • Remember to add an extra layer of clothing for sedentary children and be sure to check that little skin is exposed to the air.
  • Try to keep babies and non-walkers out of direct wind. See the wind chill chart and keep in mind that babies are more affected by wind since they are much more sedentary outside.
  • Babies should be in a dry diaper when you head outdoors and fair better in disposable moisture wicking diapers (not cloth) when outdoors for extended periods of time.
  • Check the comfort level of the baby frequently. Feel the nape of their neck to see how their temperature might be.

Want to hear more tips for getting ready for winter – I shared some ideas in this recording: https://www.youtube.com/watch?v=rPhm0iZFDN8&t=530s

Winning at Winter Gear!

Today I recorded a video with tips, tricks and some “Functional Systems” for teaching and supporting children in getting ready to go outdoors in winter. I believe that by taking the time to teach and support children in learning to get ready for winter that I am building their skills and confidence. So instead of being overwhelmed by this transition, I look at it as a learning time.

Intentional teaching and support in this process is a great investment of my time as a preschool teacher….and remember, getting ready for outdoor time is part of the ‘curriculum’! Goals for winter dressing include:

  • Build their independence in getting ready 
  • Help children to become comfortable outdoors for extended periods of time
  • Communicate their needs and find support with the adults 
  • Reap the benefits of being outdoors in the winter


Resources mentioned in the recording:

Children’s Books for teaching about Winter Gear

The Jacket I Wear in the Snow by Shirley Neitzel
Froggy Gets Dressed by Jonathan London
Thomas’ Snowsuit by Robert Munsch
Mrs. Toggle’s Zipper by Robin Pulver
Under My Hood I Have a Hat by Karla Kuskin and Fumi Kosaka
Do I Have to Wear a Coat? by Rachel Isadora
The Mitten by Jan Brett
A Hat for Minerva Louise by Janet Stoeke
The Snowy Day by Ezra Jack Keats
What I Wear Outside in the Winter by Inhabit Education

Resources I mention in the video:

Free printable on TpT~ Visual Winter Dressing Sequence Strip: https://www.teacherspayteachers.com/P…

Two articles I like to share with staff & families about winter gear:
“How to Dress Your Kids for Outdoor Play” by Get the Kids Outside
“How to Dress Your Kids for Outdoor Winter Activities” by Nikki Sowder


NOW ENROLLING: “Wonders of Winter Master Class Series” – Ready to feel confident and excited to teach in the outdoor classroom this winter? Join me in January 2023 for a 20 hour professional development series that s designed to equip early childhood educators with the tools and resources to keep children engaged in learning throughout the entire winter. Each session we will dive into practical and actionable steps that educators can take to bring outdoor learning to life! Click here to learn more about the “Wonders of Winter Master Class Series”