Counting Practice Counting how many steps to get outside, counting how many sleds, counting the number snow trucks, …counting just about anything that we see!
Counting Tracks Notice tracks in the snow and see if you can count how many steps the animal took to get from one place to the other. Compare the steps for children and the adult.
Magic Number = Counting Sets “Today our ‘magic number is ___. Help me count everyone in line before we go outside to make sure we have our magic number!” (The magic number is the number of children who are here today and is an embedded counting routine we do several times a day. Try writing the numeral down to work on number recognition as well.
Sled Count “1-2-3 blast off”- count up to three before the sled riders get their push down the hill. Practice counting higher up to 10 if they are patient enough! Or try counting backwards 3-2-1!
Snowman Features – Practice counting groups by counting the number of buttons, eyes, mouth pieces, etc.
Snowball Fractions- Create several large snowballs and practice cutting them into ‘fair shares’ – talk about halves, quarters, and fourths! Make a ‘snow cake’ by using a large plastic tote as a mold and cut it into enough pieces to serve to every child! Count how many kids there are and then count to make sure there is enough for each child!
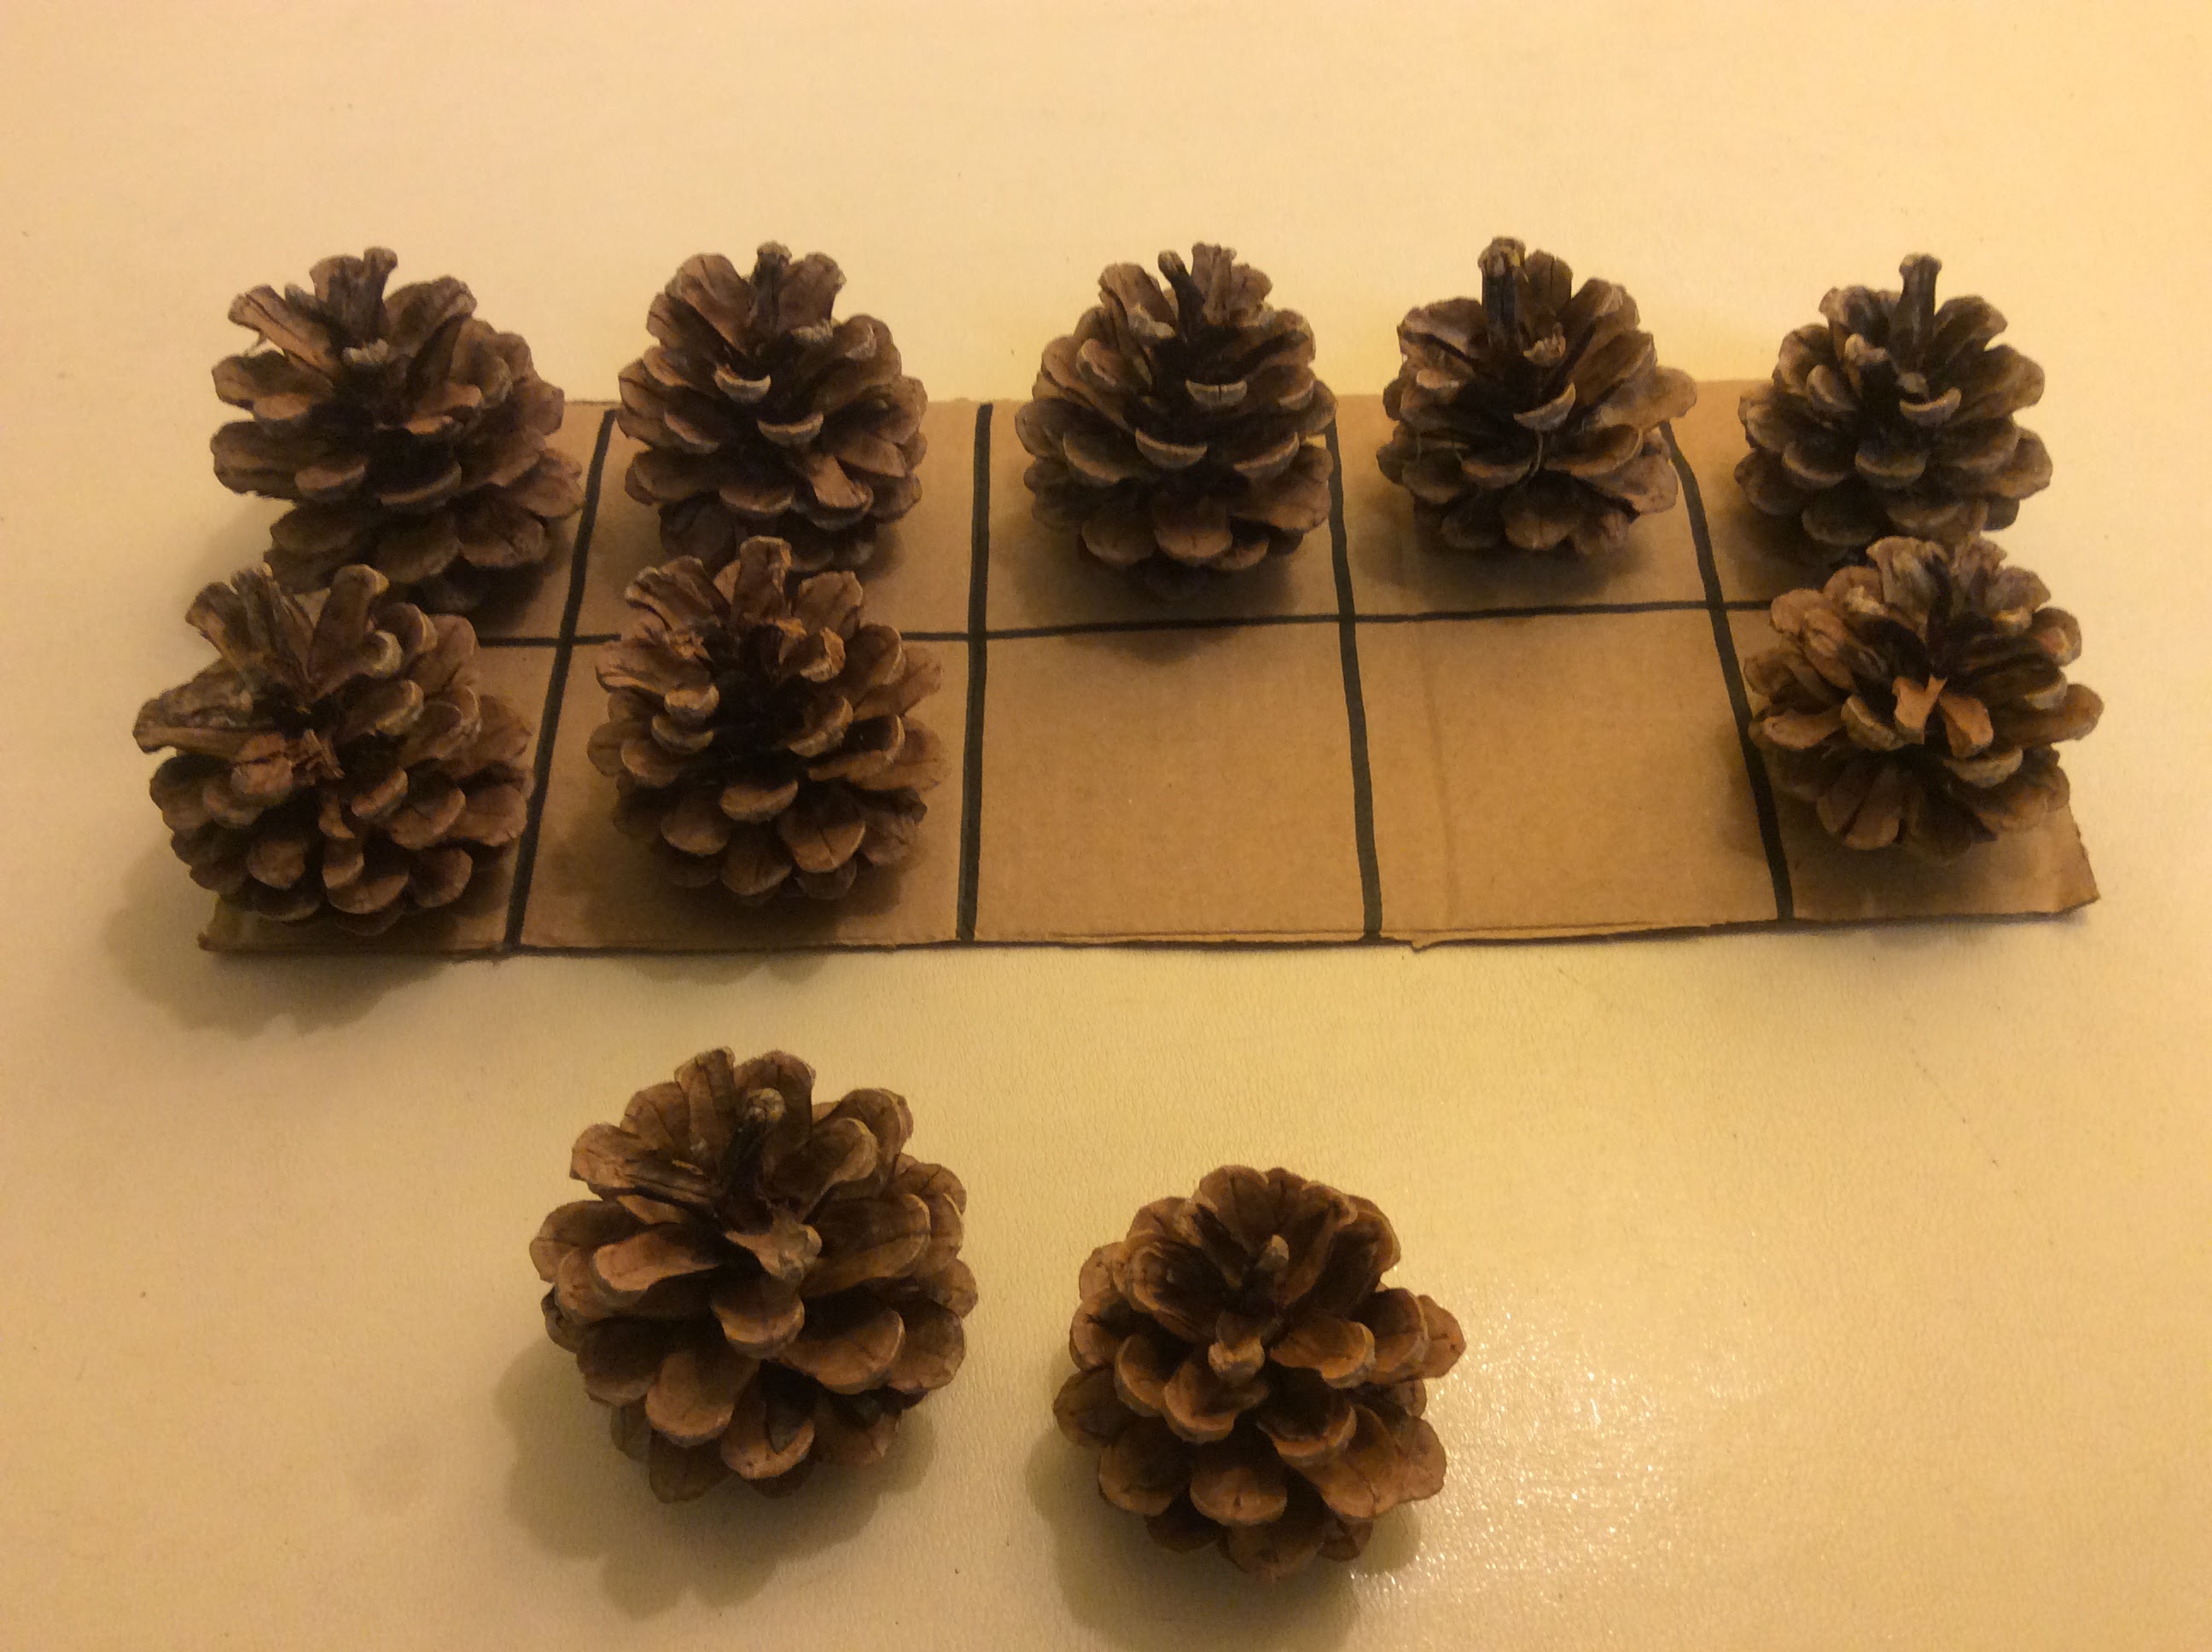
Snowball Groups – Create two different groups of snowballs – compare which looks like there is more. Count and discuss
Painting Numerals in the Snow
Tracking & Position Words – Even if the only ‘tracks’ on your playground are the neighbor’s cat or squirrels children will love to follow them and describe what the animal was doing. Ask leading questions that get the children to use spatial words.
Sledding Conversation Make sure the rope is inside the sled or it will slow your ride down. Both friends need their hands on top of the sled so our fingers don’t get pinched. Put your legs around the person in front. When you get down the hill move to the side of where we sled so no one bumps into you. Pull the sled up to the top of the hill.
Stick Shapes – explore building 2D shapes by offering a collection of sticks of various sizes. Squares, rectangles, triangles…as well as coming up with creative designs. Read the book, “Not a Stick”!
Shape Stamps – explore making 2D shapes by bringing out different shapes that you cut out of cardboard. Children can push the cut out into the snow to make designs or pictures.
3D Snow Shapes & Sculptures- explore making 3D shapes by making snowballs (spheres) and using plastic molds in different shapes. Orange juice container cut into smaller square (cubes); snow brick makers (rectangular prism), and 5 gallon food buckets (cylinder).
Measuring Snow – Set up a “Snow Measurement Board” by getting a 24×24 inch of exterior grade plywood. Have the children help you paint the plywood on both sides and edges with exterior white paint. Purchase a Measuring Stick that has easy to read numbers. Take a reading each day for total snow, and if you clear one half of the board each day you can measure ‘new snow’. Read more at this link for specific directions or just have fun exploring measurement when you think about it.
https://www.weather.gov/dvn/snowmeasure
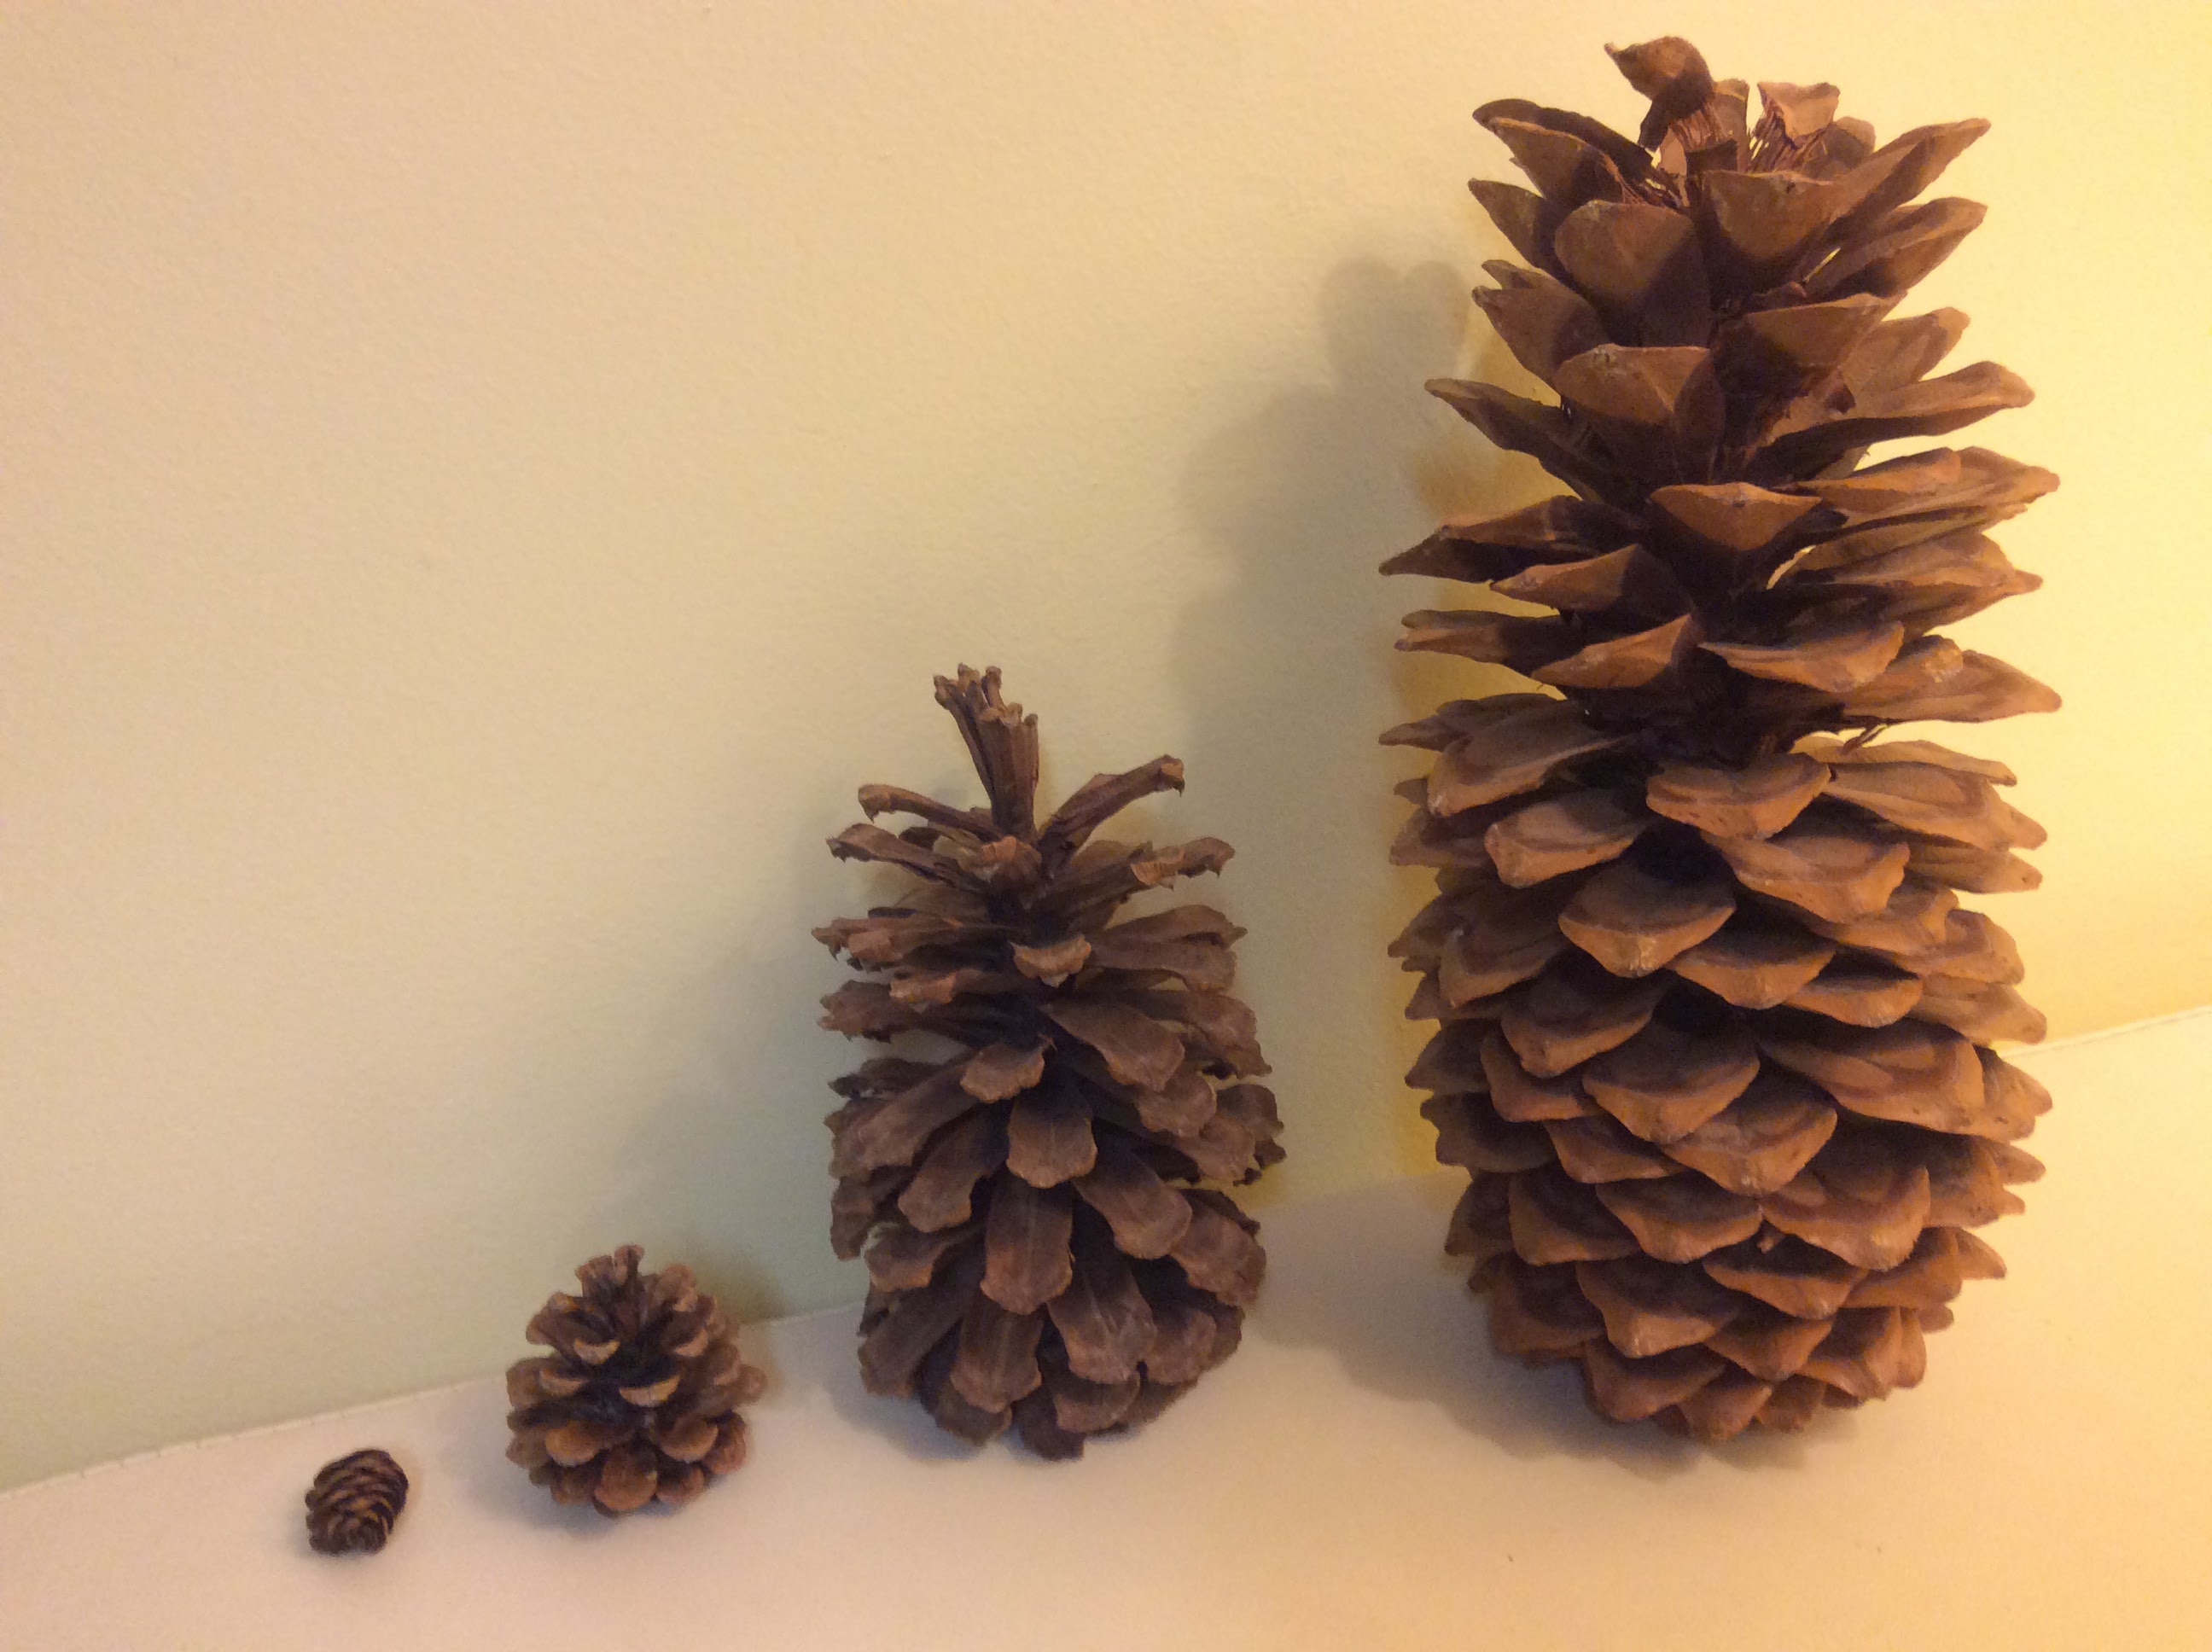
Measuring Snowmen – Create a snow family of different heights then compare and contrast the different sizes. Try measuring them using a tape measure or non-standard unit such as Yarn. Read the book, Snowballs by Lois Ehlert.
Measuring Snow Angels
Have several children lie down near each other to make Snow Angels. Afterwards talk about the different sizes and compare sizes of each child’s snow angel.
Walking Stick – Measuring – A walking stick can be a great non-standard unit of measurement. Create several different length walking sticks and use them to measure things in the outdoor classroom.
Measuring Icicles – children love to examine and investigate icicles. Talk about whether the icicles are short or long; narrow or wide; heavy or light. Make predictions about which one will take the shortest amount of time to melt and which one will take the longest time to melt. Photograph the icicles next to a ruler and compare every hour with a new photo. How does it change over time outside vs. inside?
Recipes in Snow Kitchen – children can explore measurement by adding plastic measuring cups and measuring spoons to the ‘snow kitchen’. Add various sized bowls or containers for scooping and pouring and packing…all great ways to explore volume with snow!
Snow Volume – have children fill up a variety of containers with snow. Pack the snow in tightly and look how full it is. When you go indoors take the filled containers with you and watch the snow melt. Compare how much water is left once fully melted.
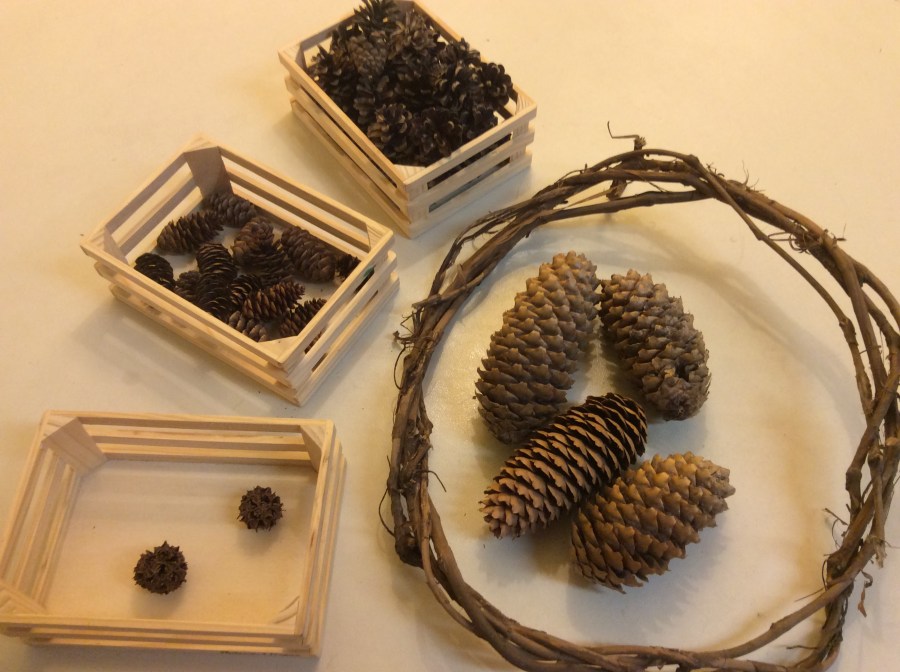
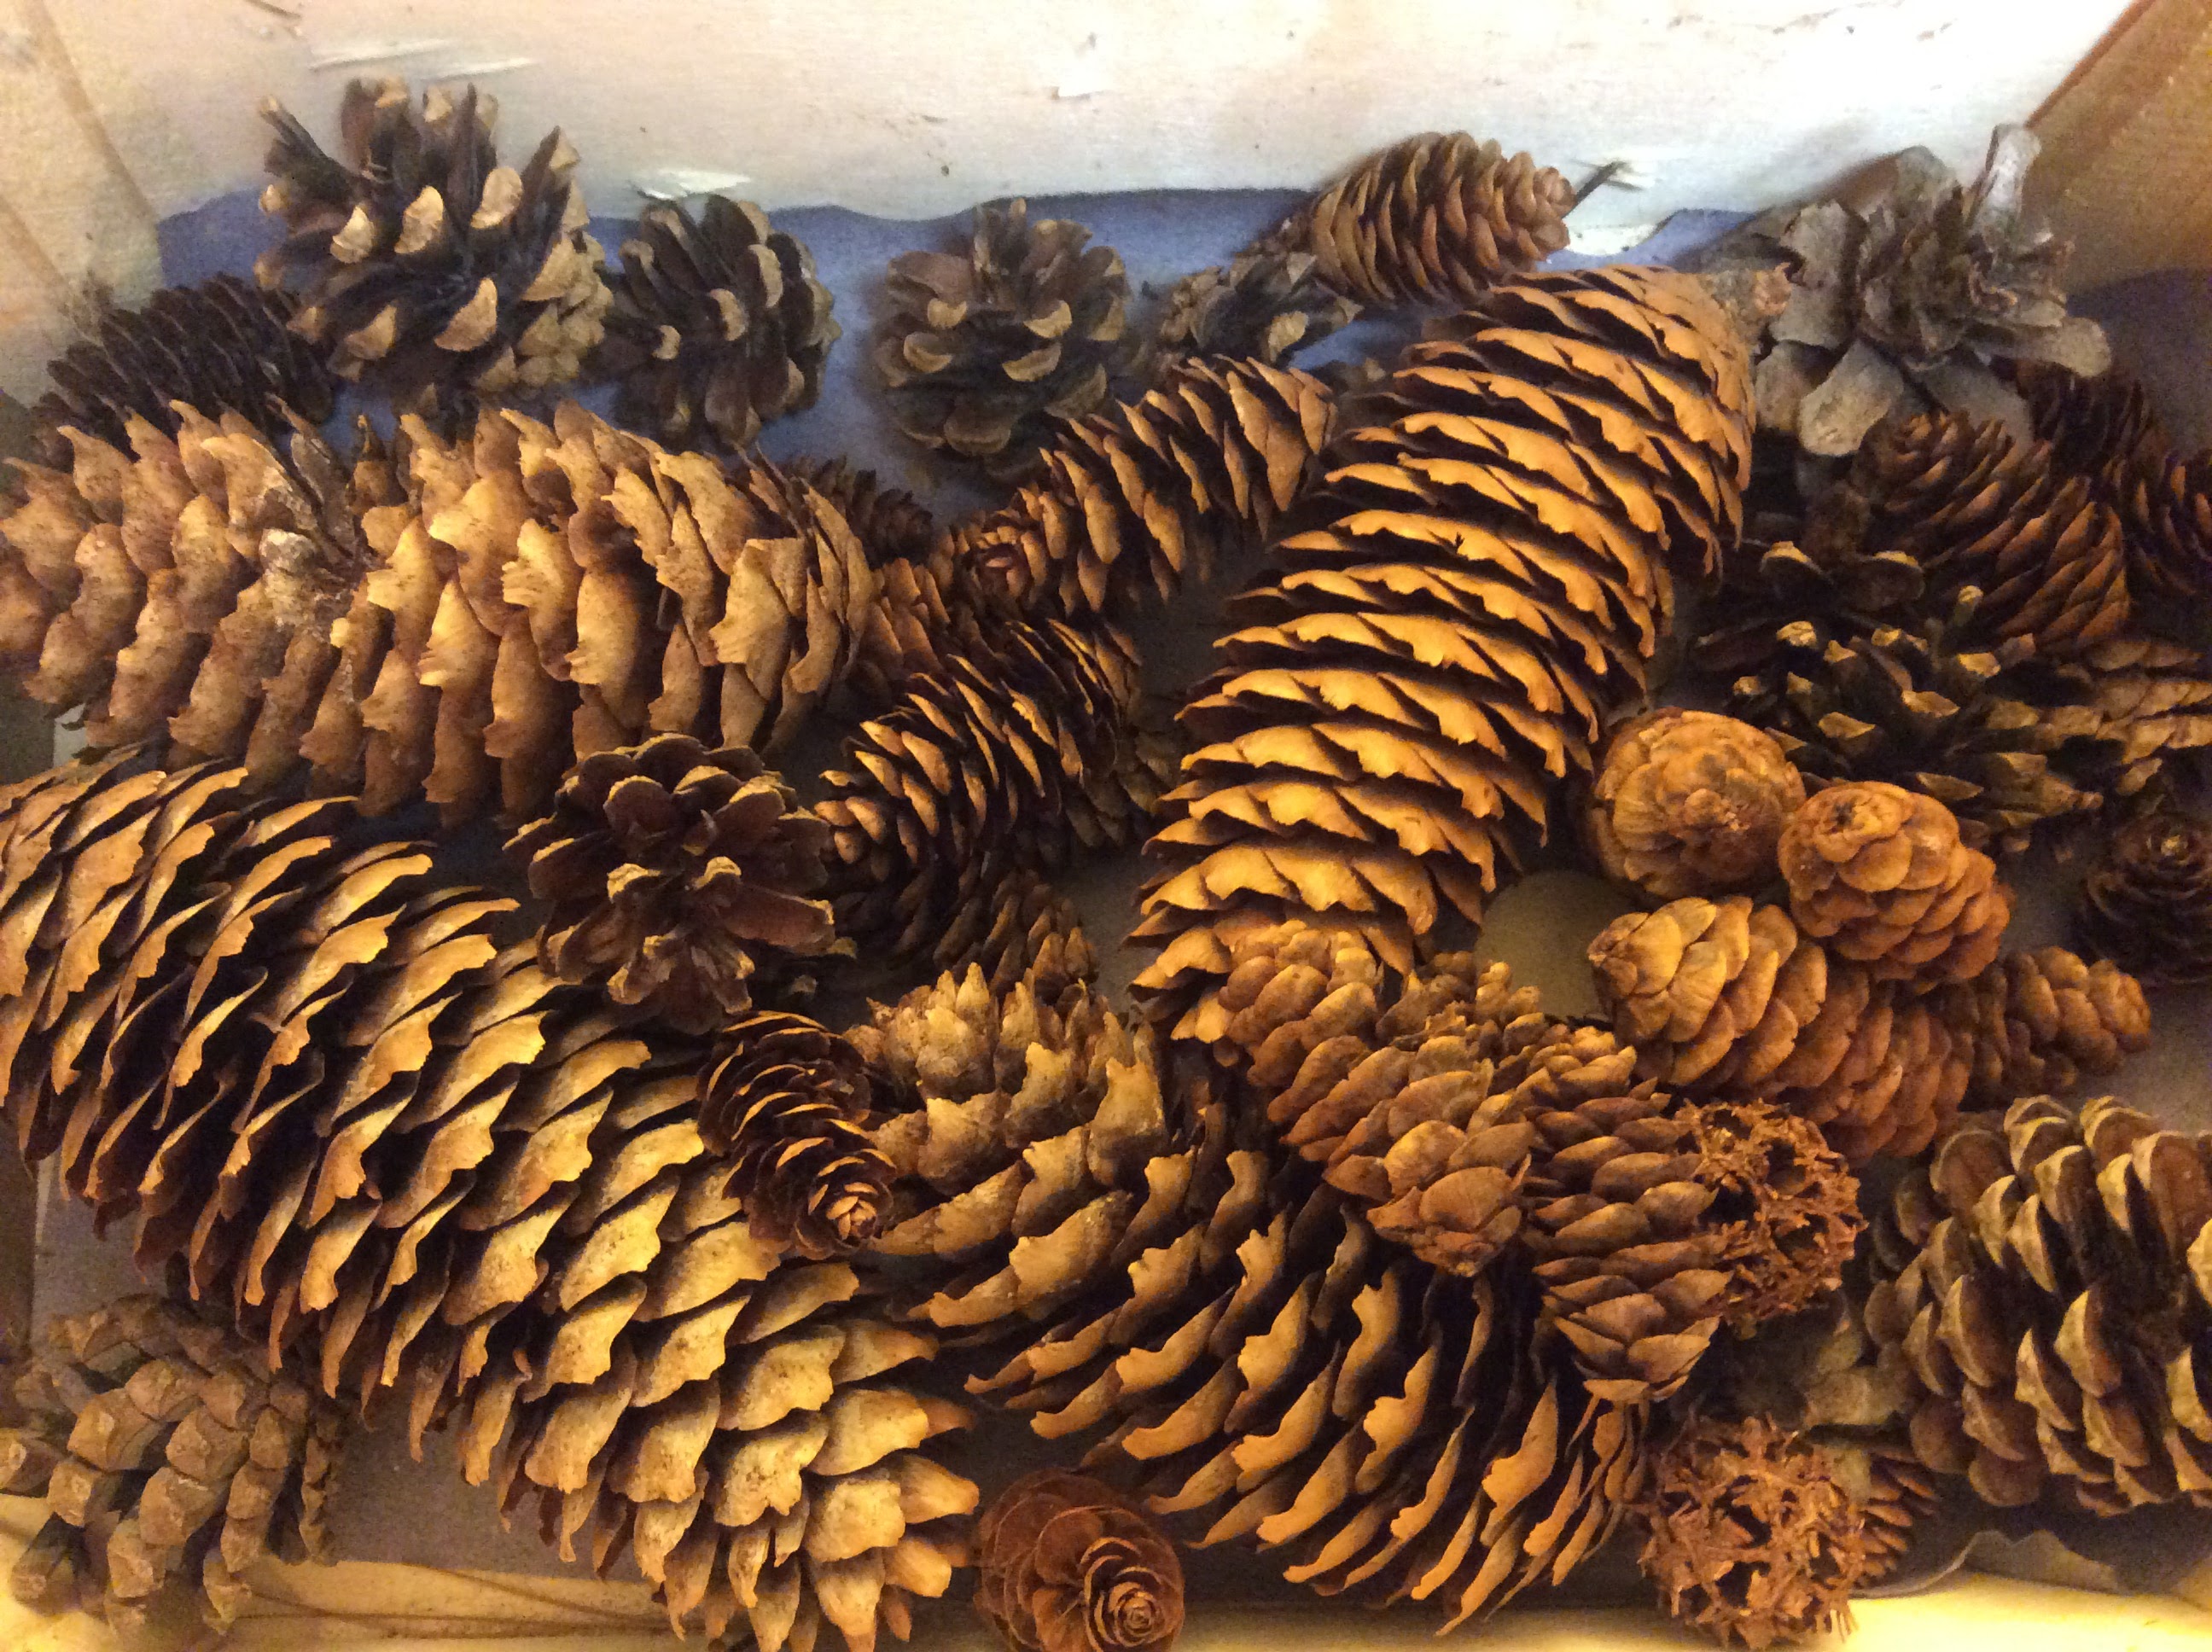
Patterns in the Snow – Use two different types of natural materials and create an AB pattern (such as pinecone, stick, pinecone, stick…). Have children help figure out what comes next and practice extending the pattern.
Pattern Making with Snowballs & Snow Molds – Use two or more different containers that can be used as a molds – create a pattern such as Snowball, Yogurt container, Snowball, Yogurt container…