Featured

Mud Play

I know that mud can feel like a HUGE barrier in an outdoor classroom. So NOW is the time to think through the obstacles. (Actually well before mud season is even more ideal, but let’s take action NOW.)

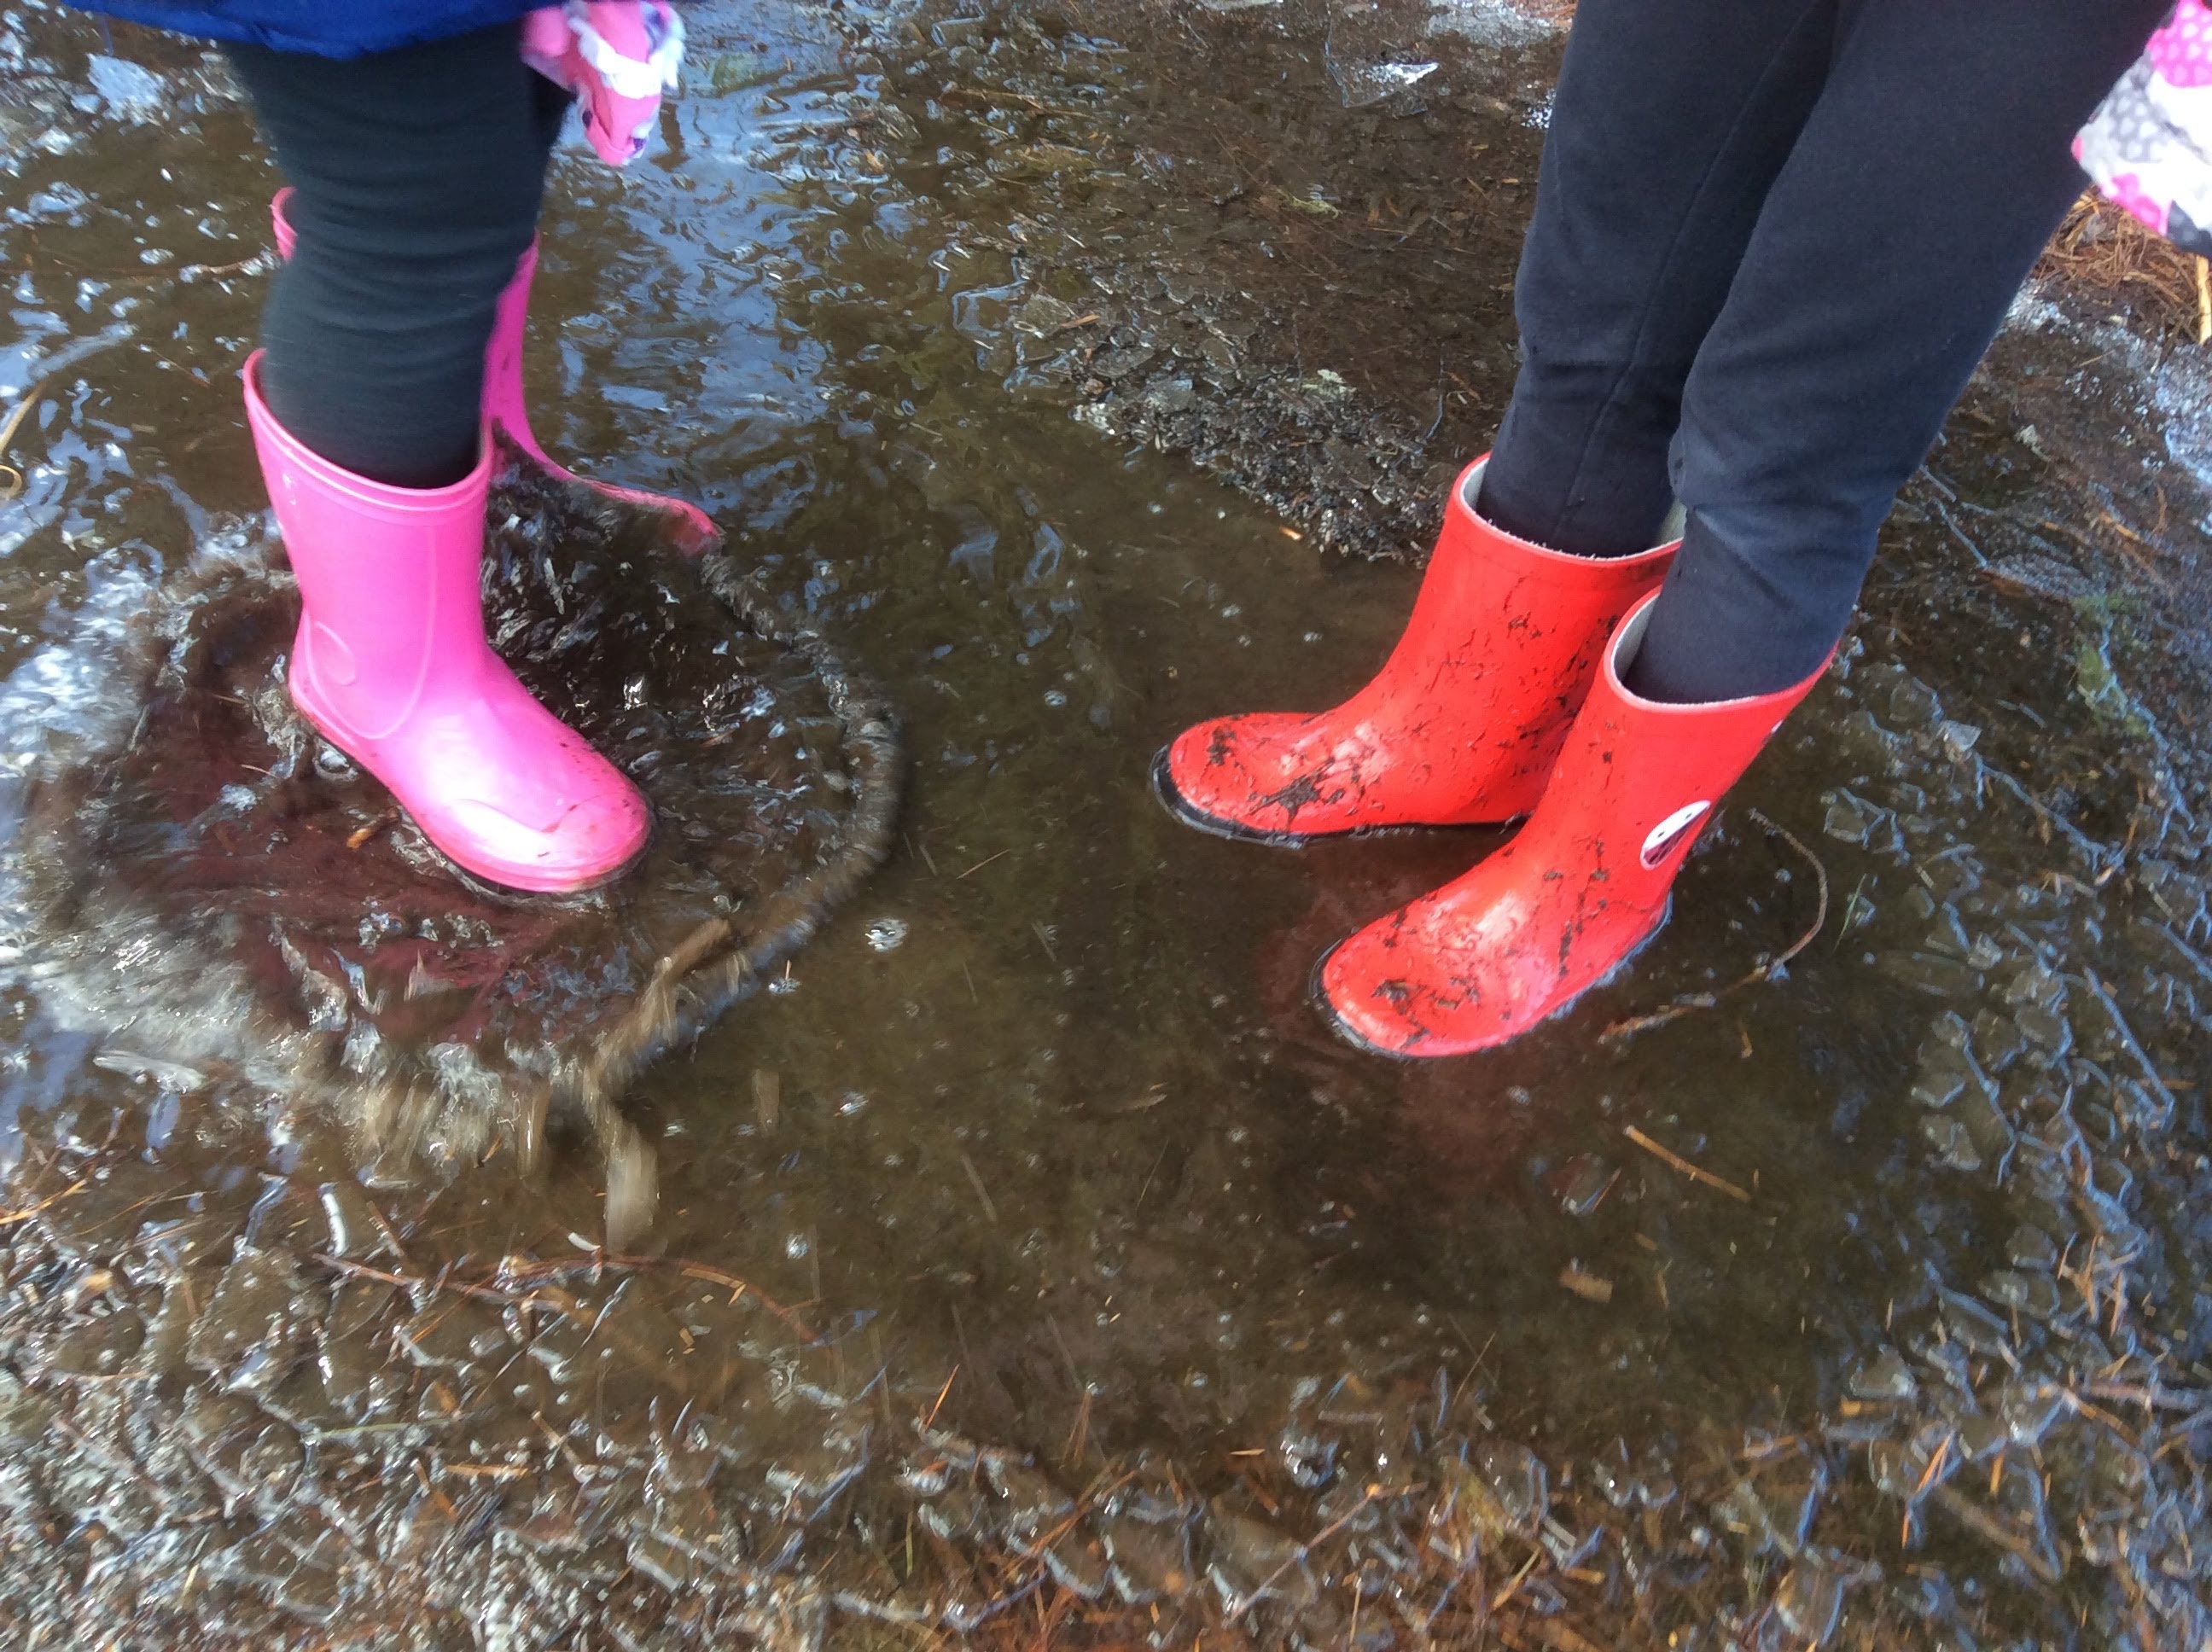
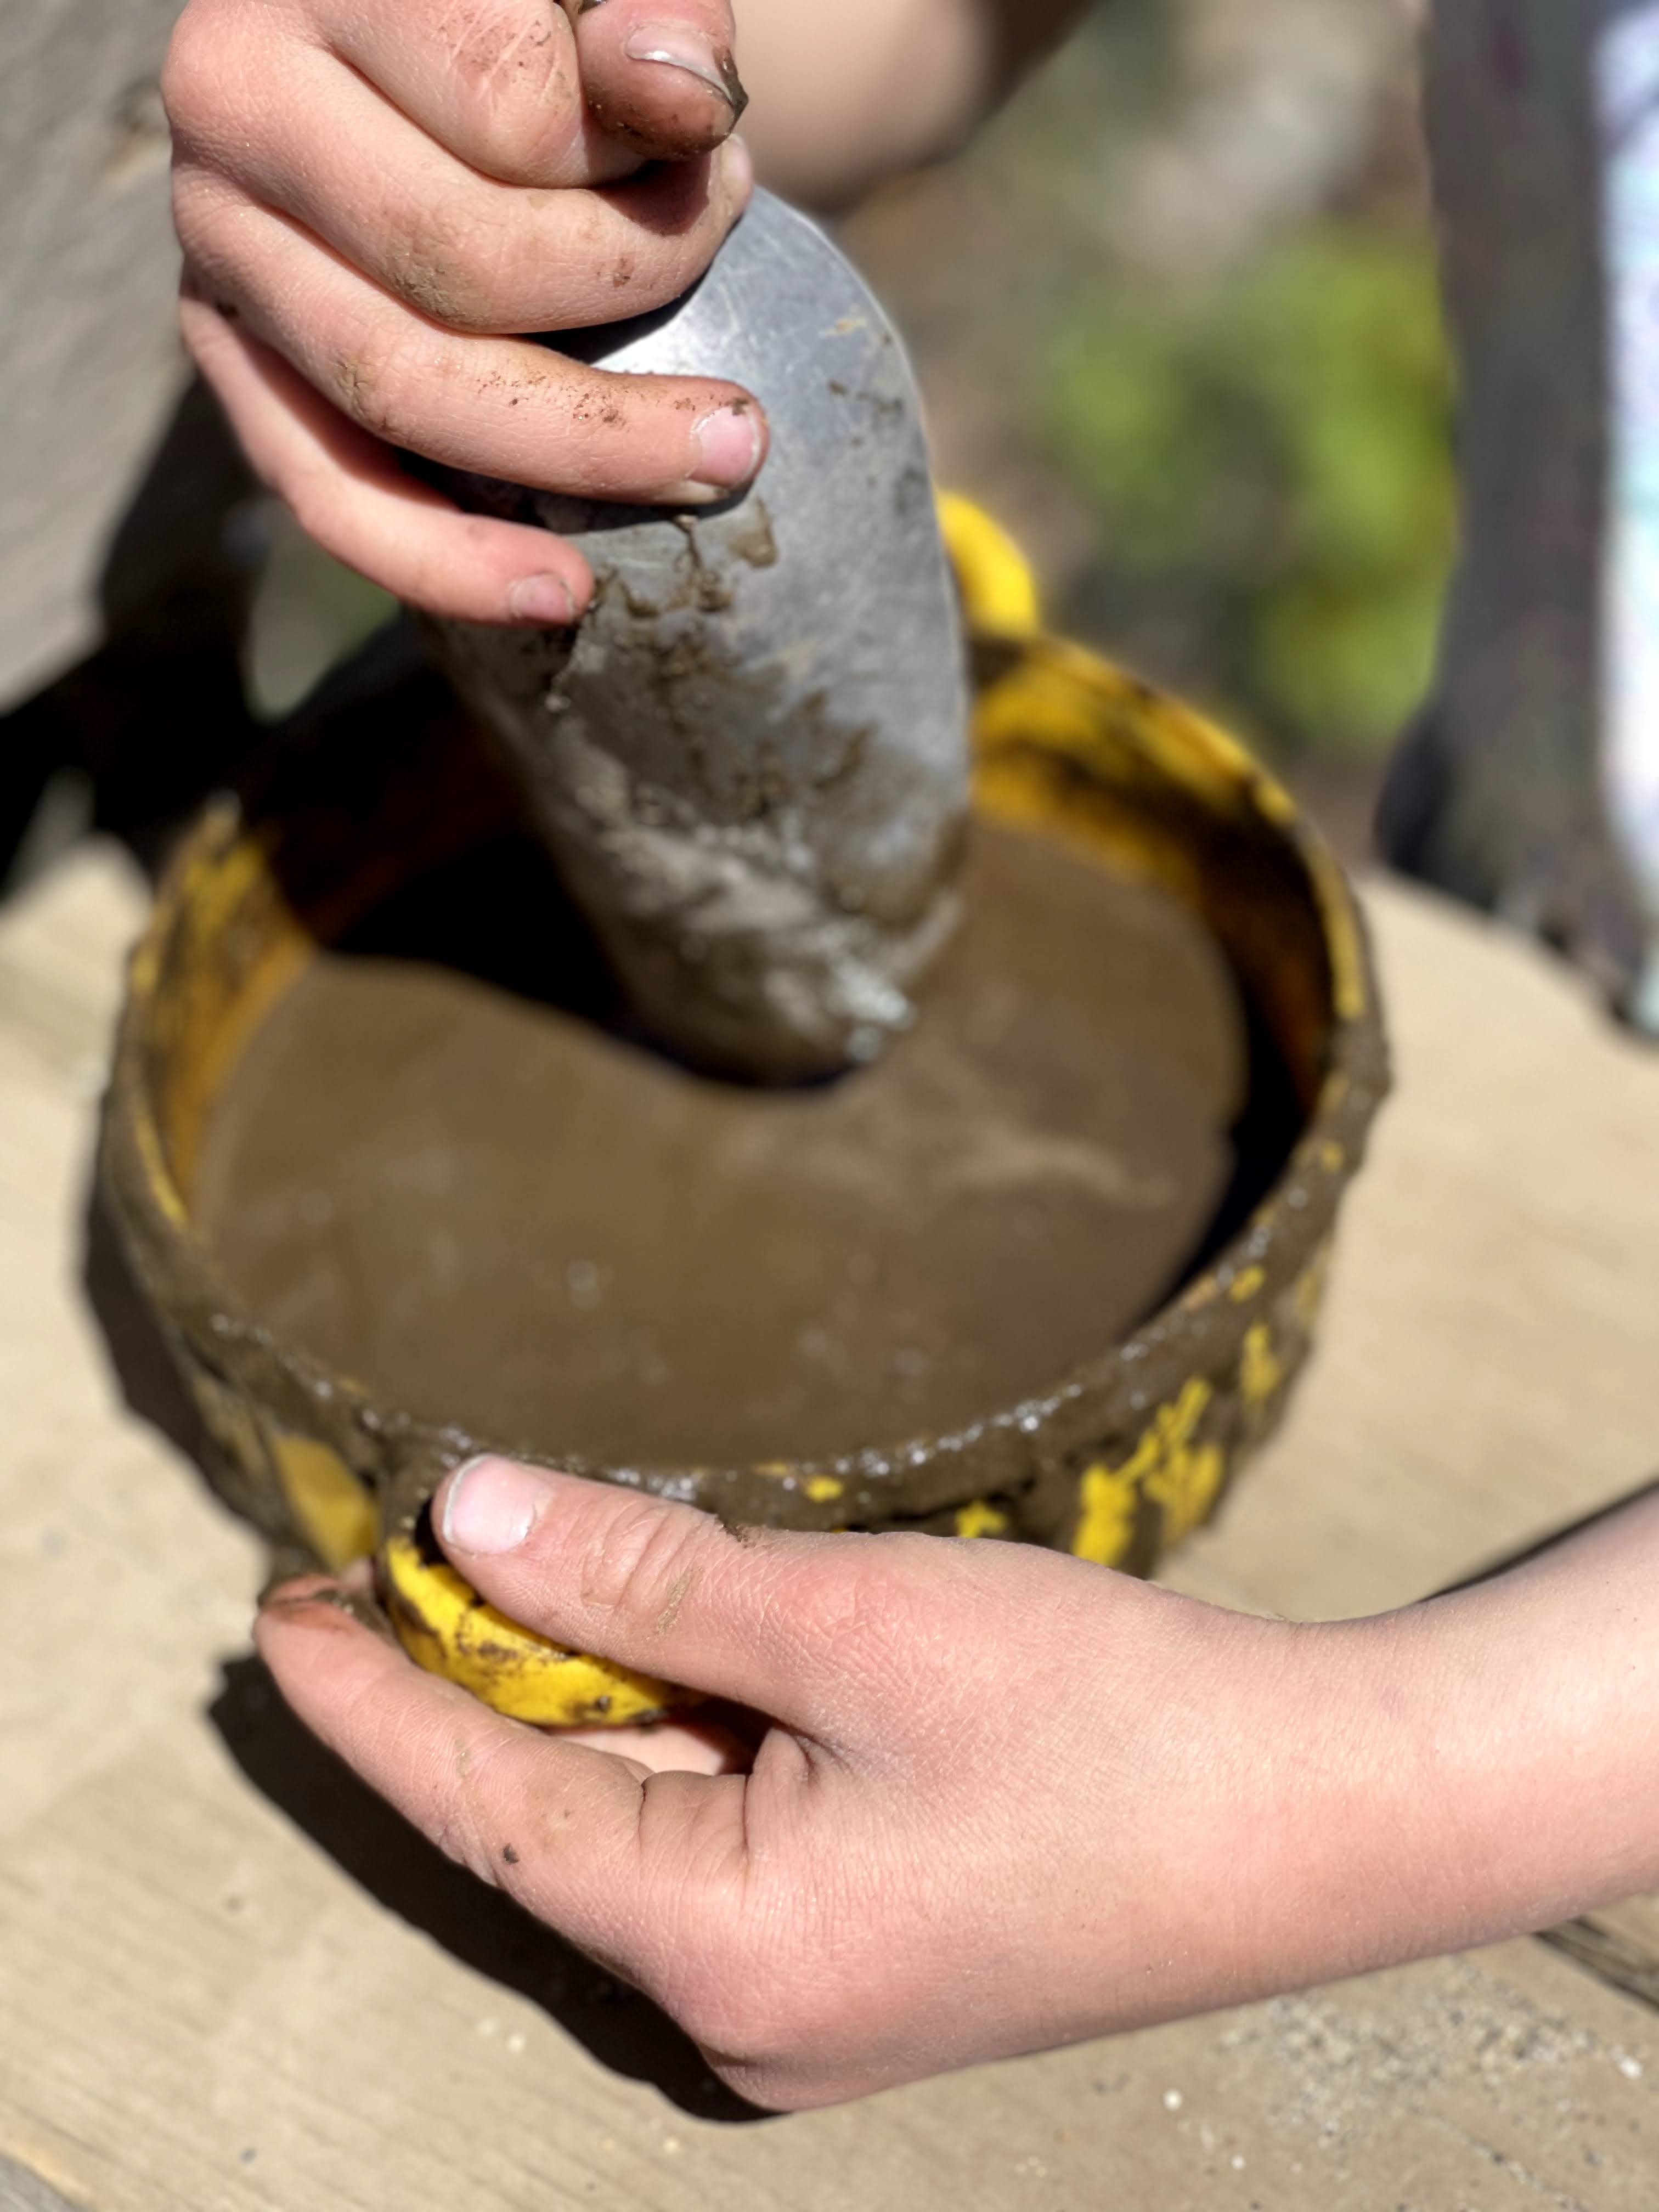
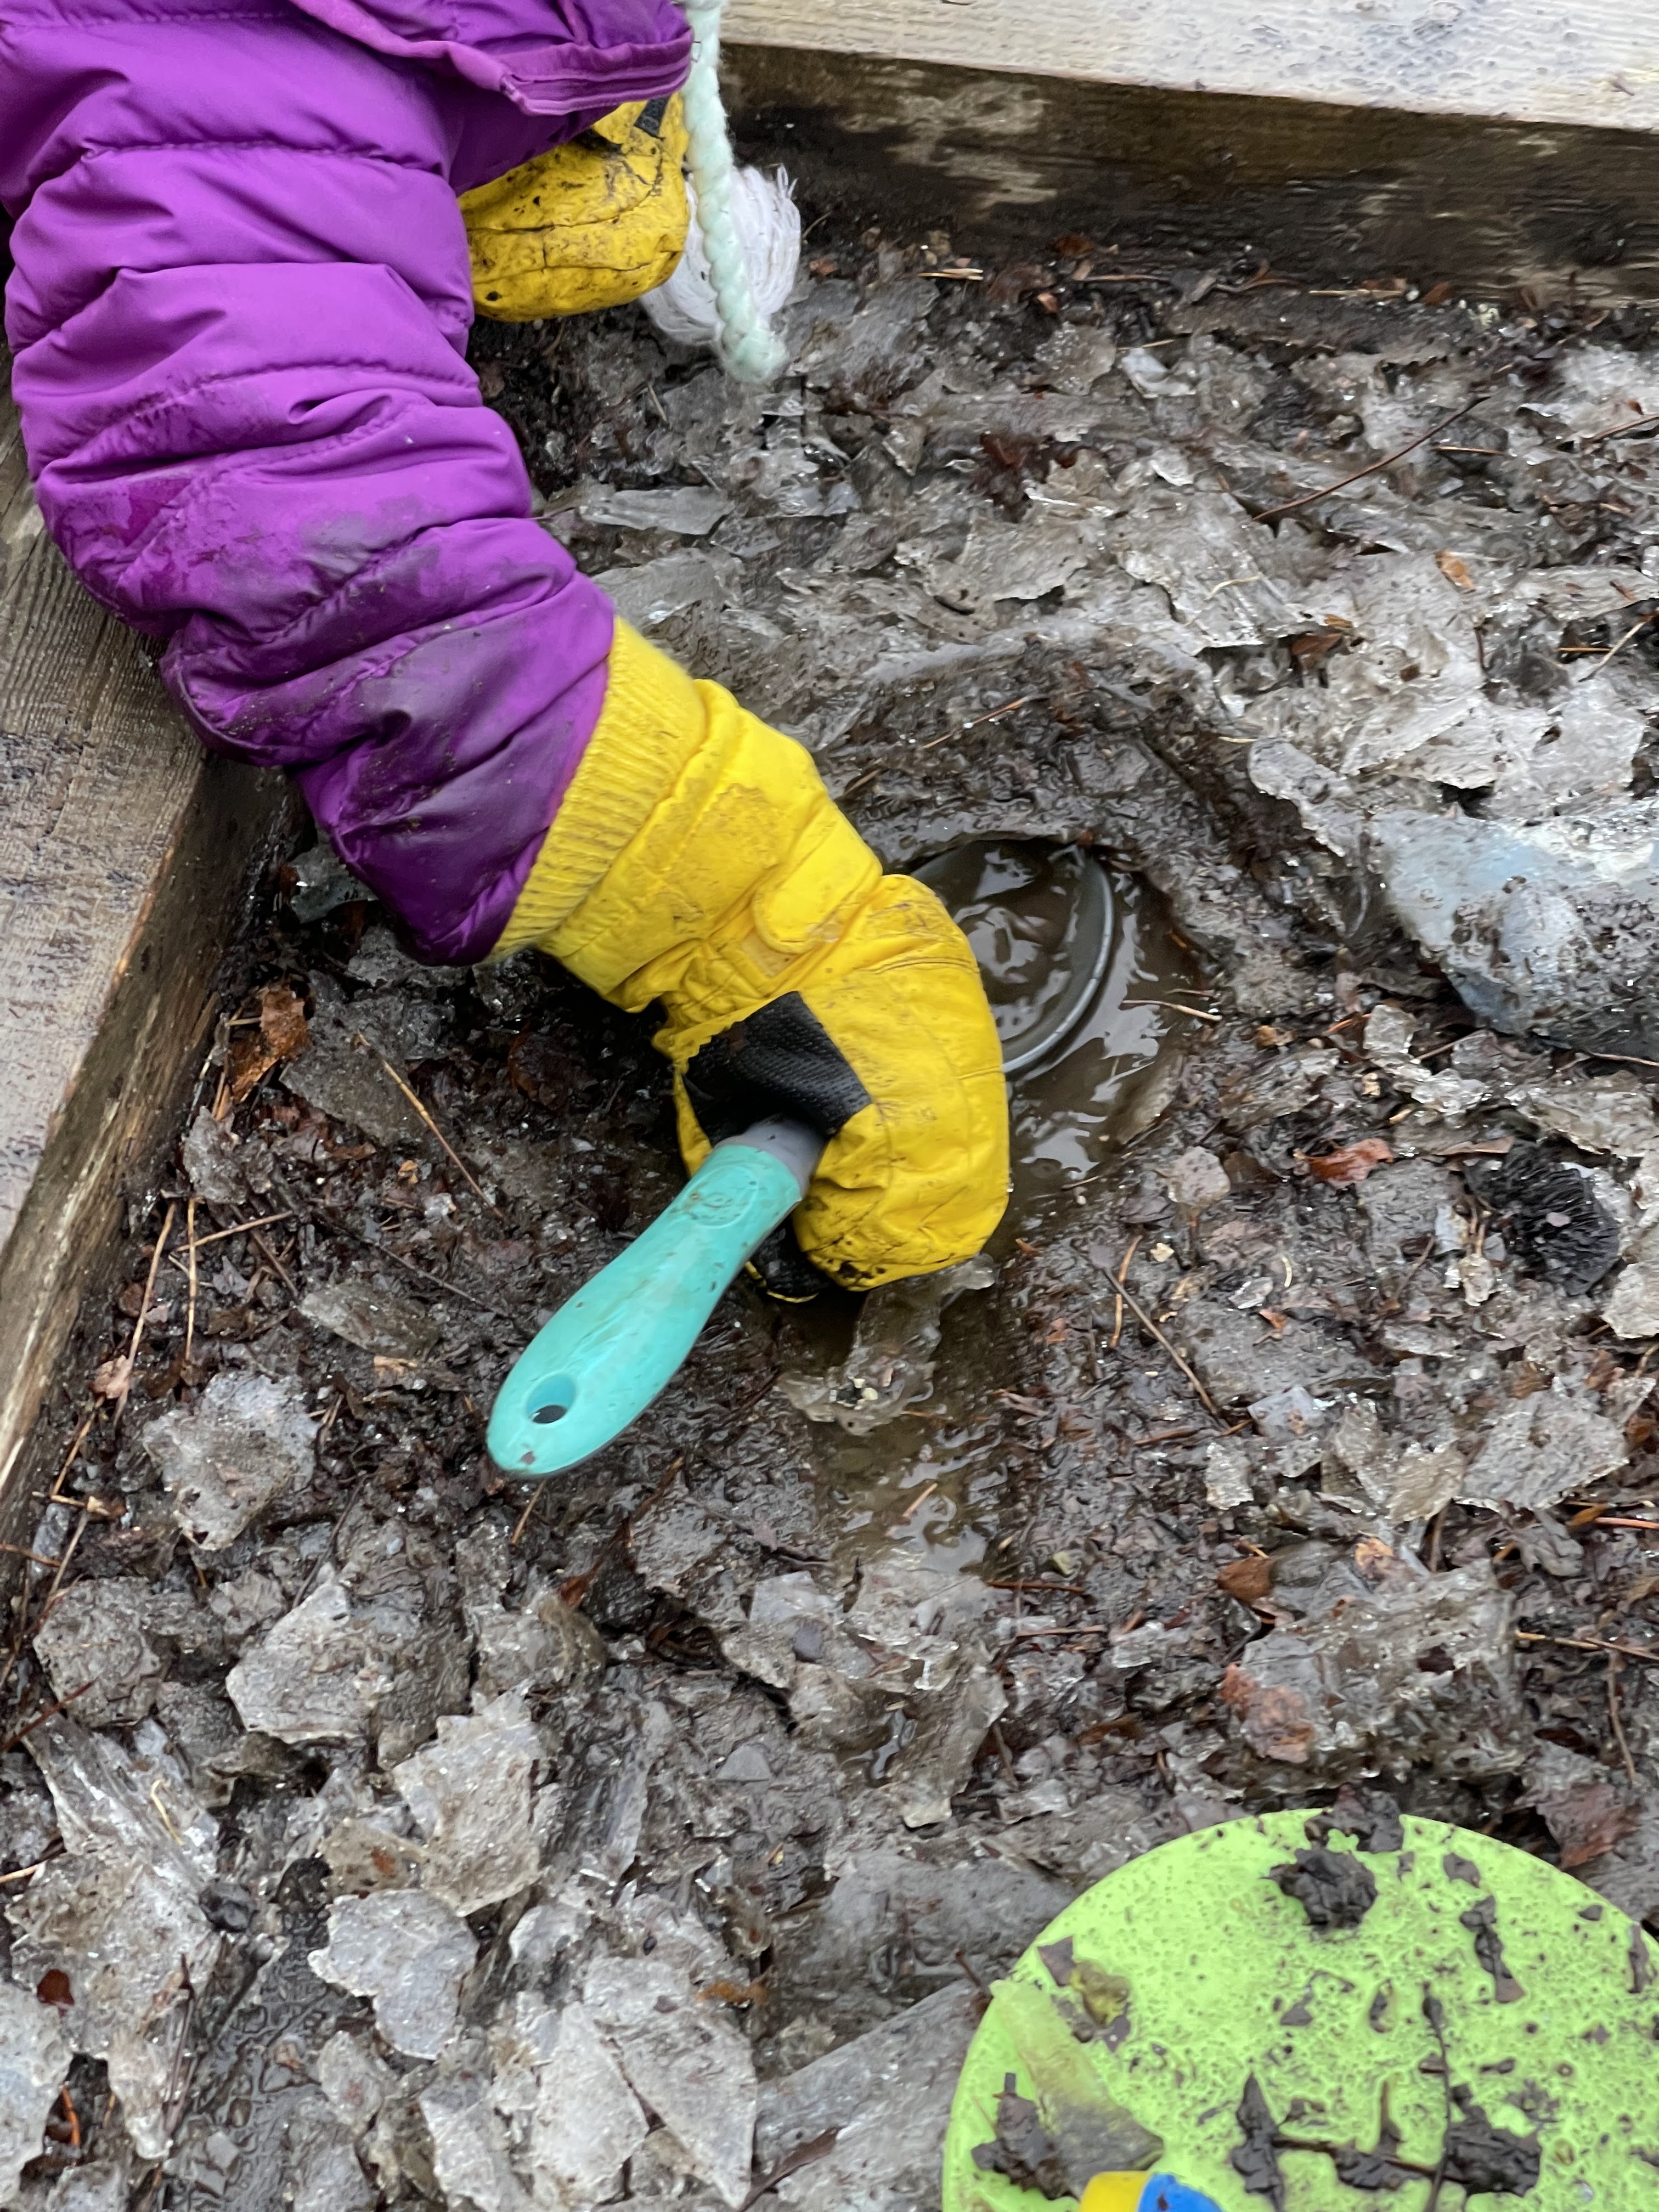
Set up a time to talk with your coworkers and share information with currently  enrolled families so that your muddy play area can be a YES space. Children thrive with daily outdoor time, so canceling outside play time for the entire mud season is NOT an option. Mud builds healthy immune systems, supports physical and cognitive development, and so much more.

I have compiled a FREE “Mud Play Resource” to hopefully make mud easier this year!  In this resource you will find links to:

  • Mud Play articles to share with families
  • Mud Curriculum Ideas for teachers
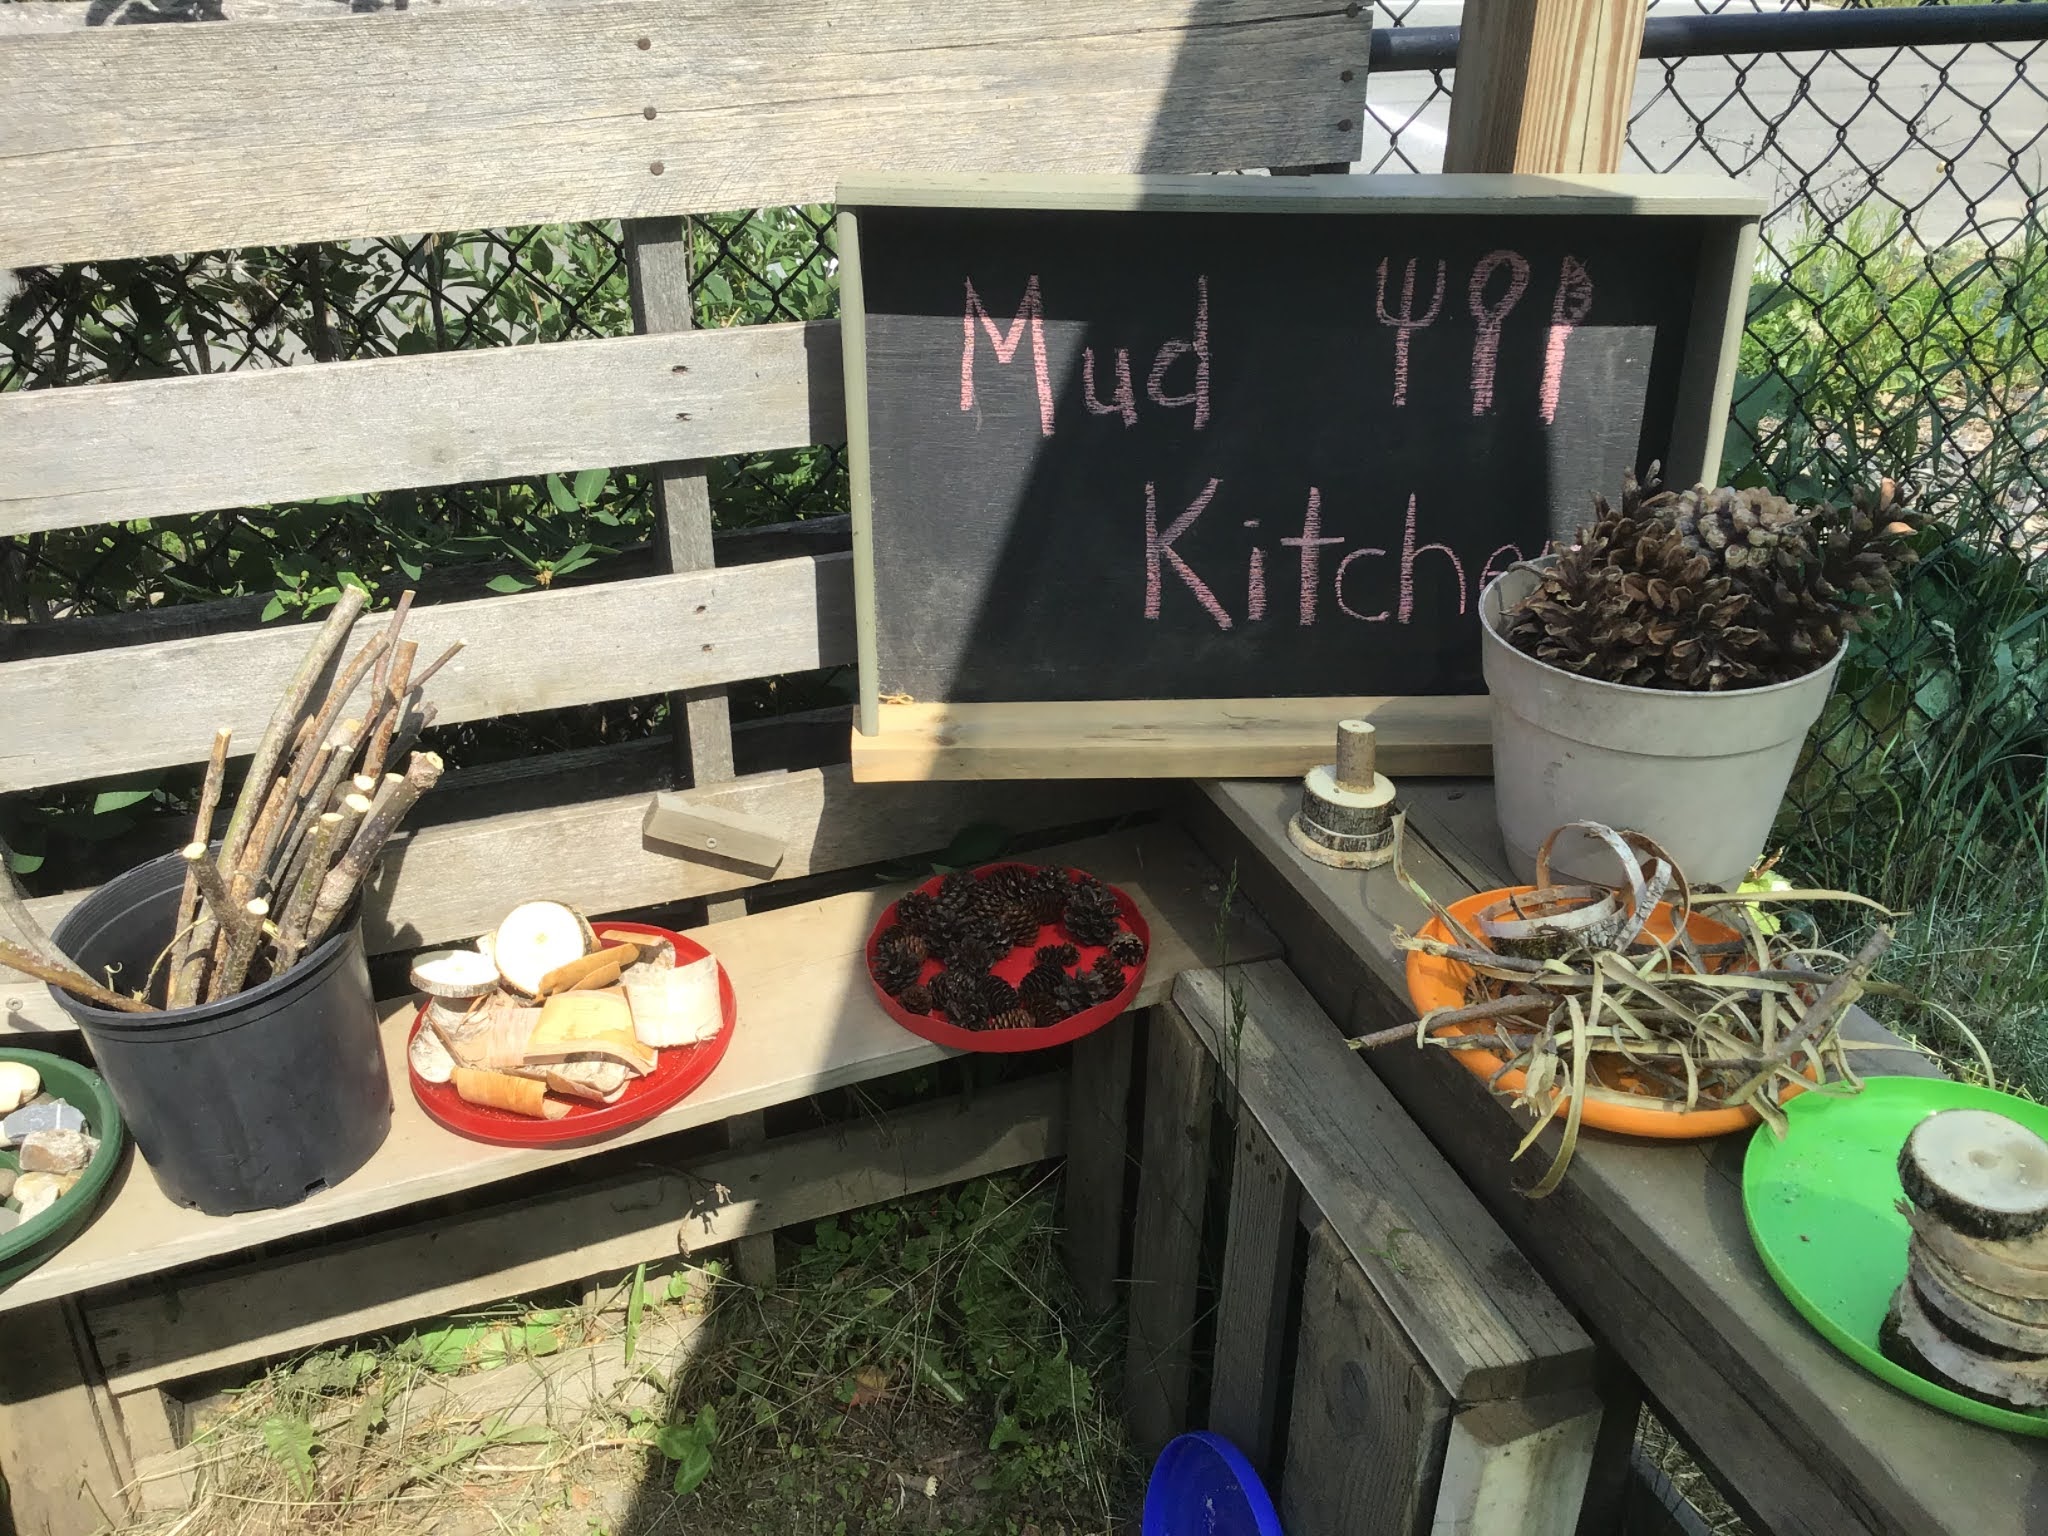
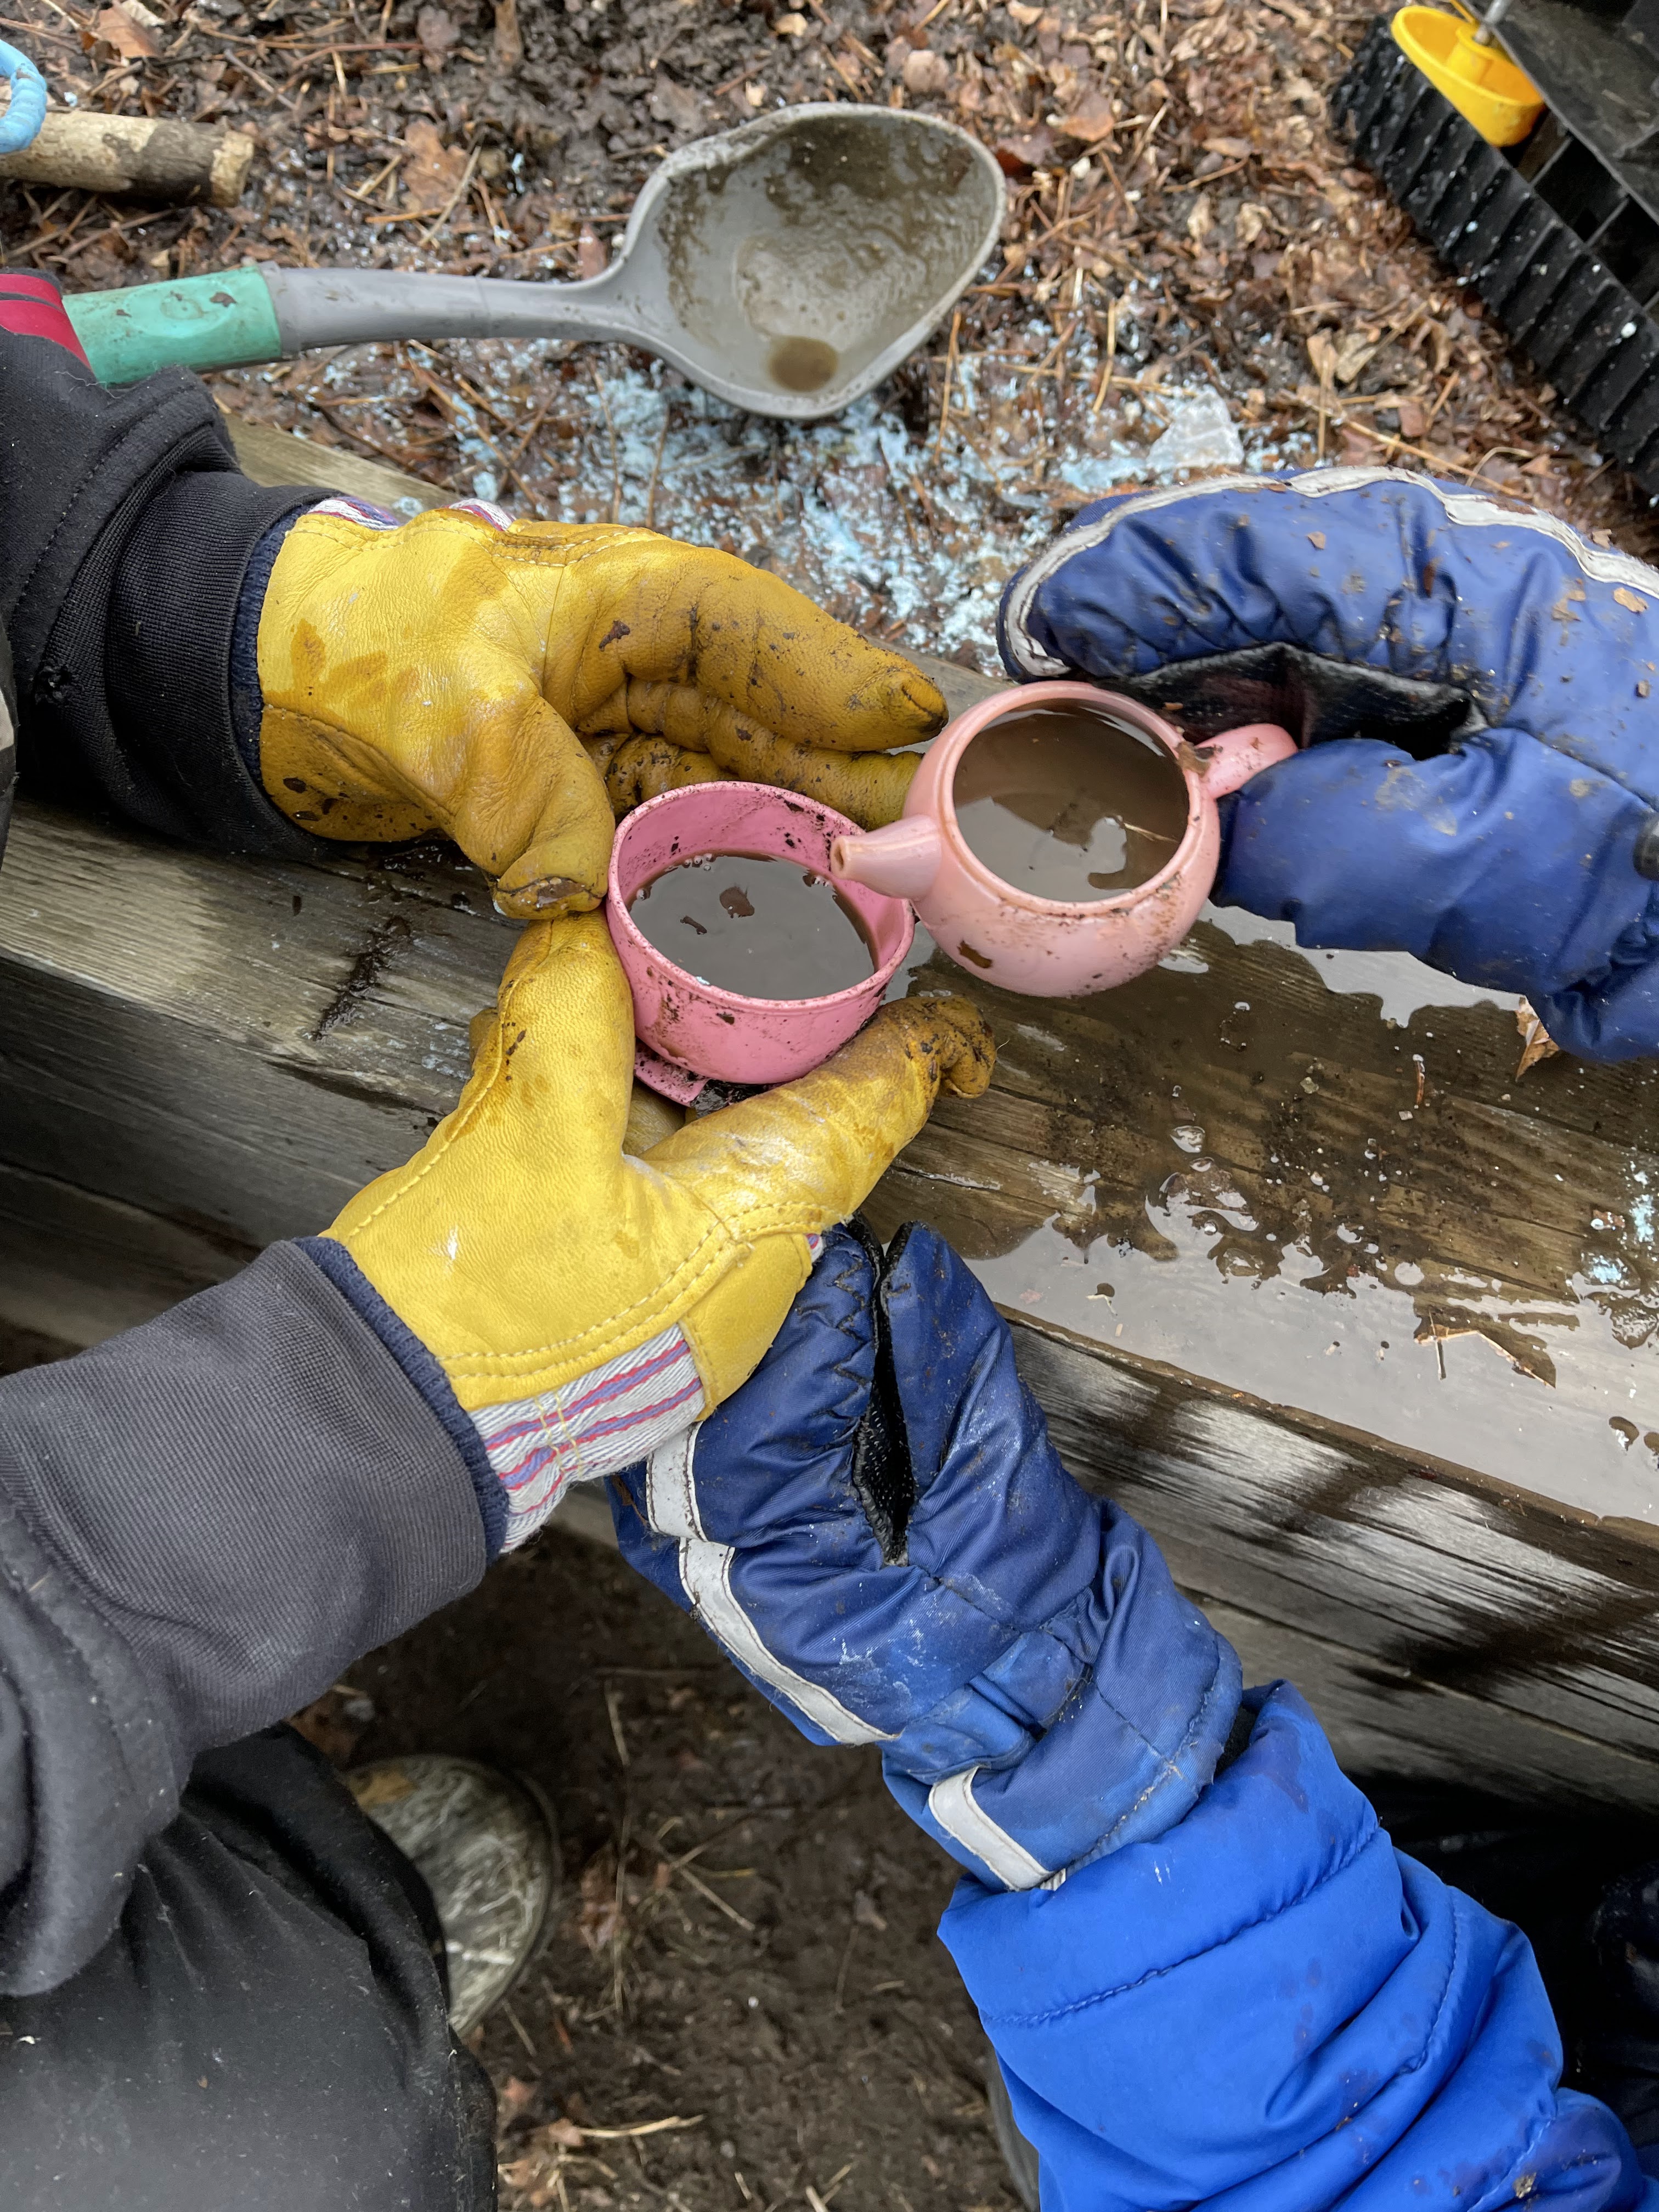
  • Mud Kitchen Resources for teachers
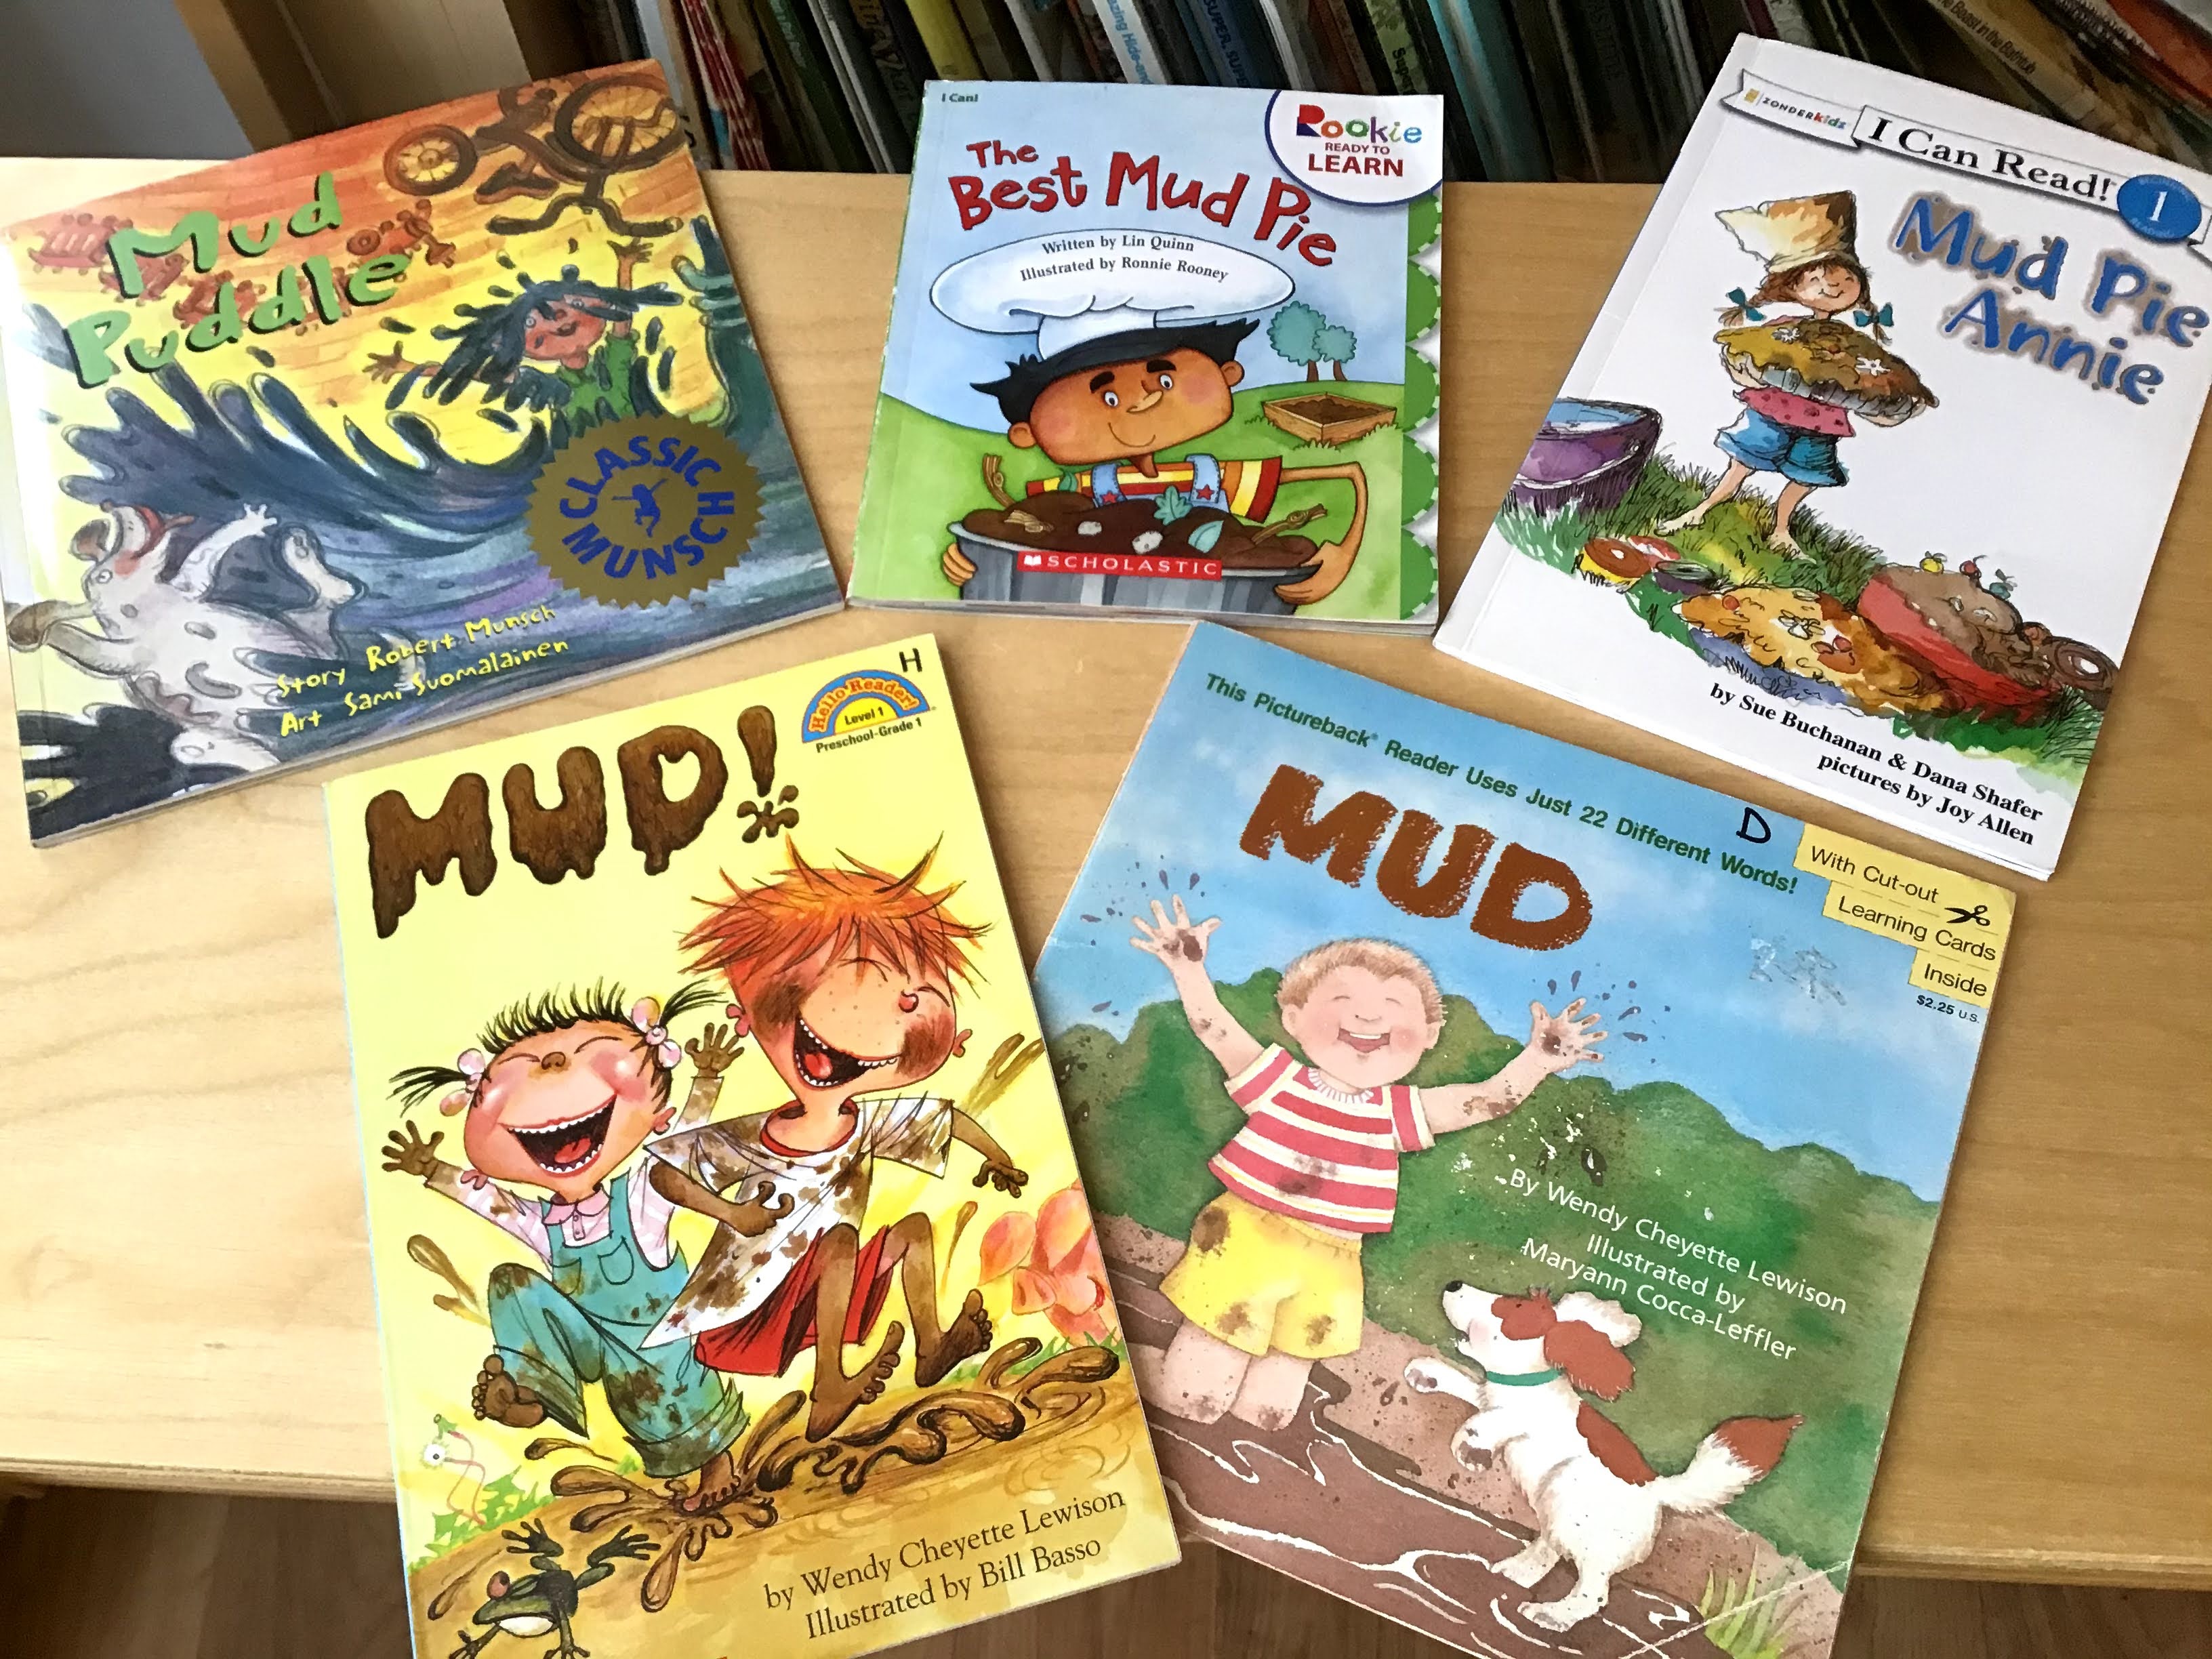
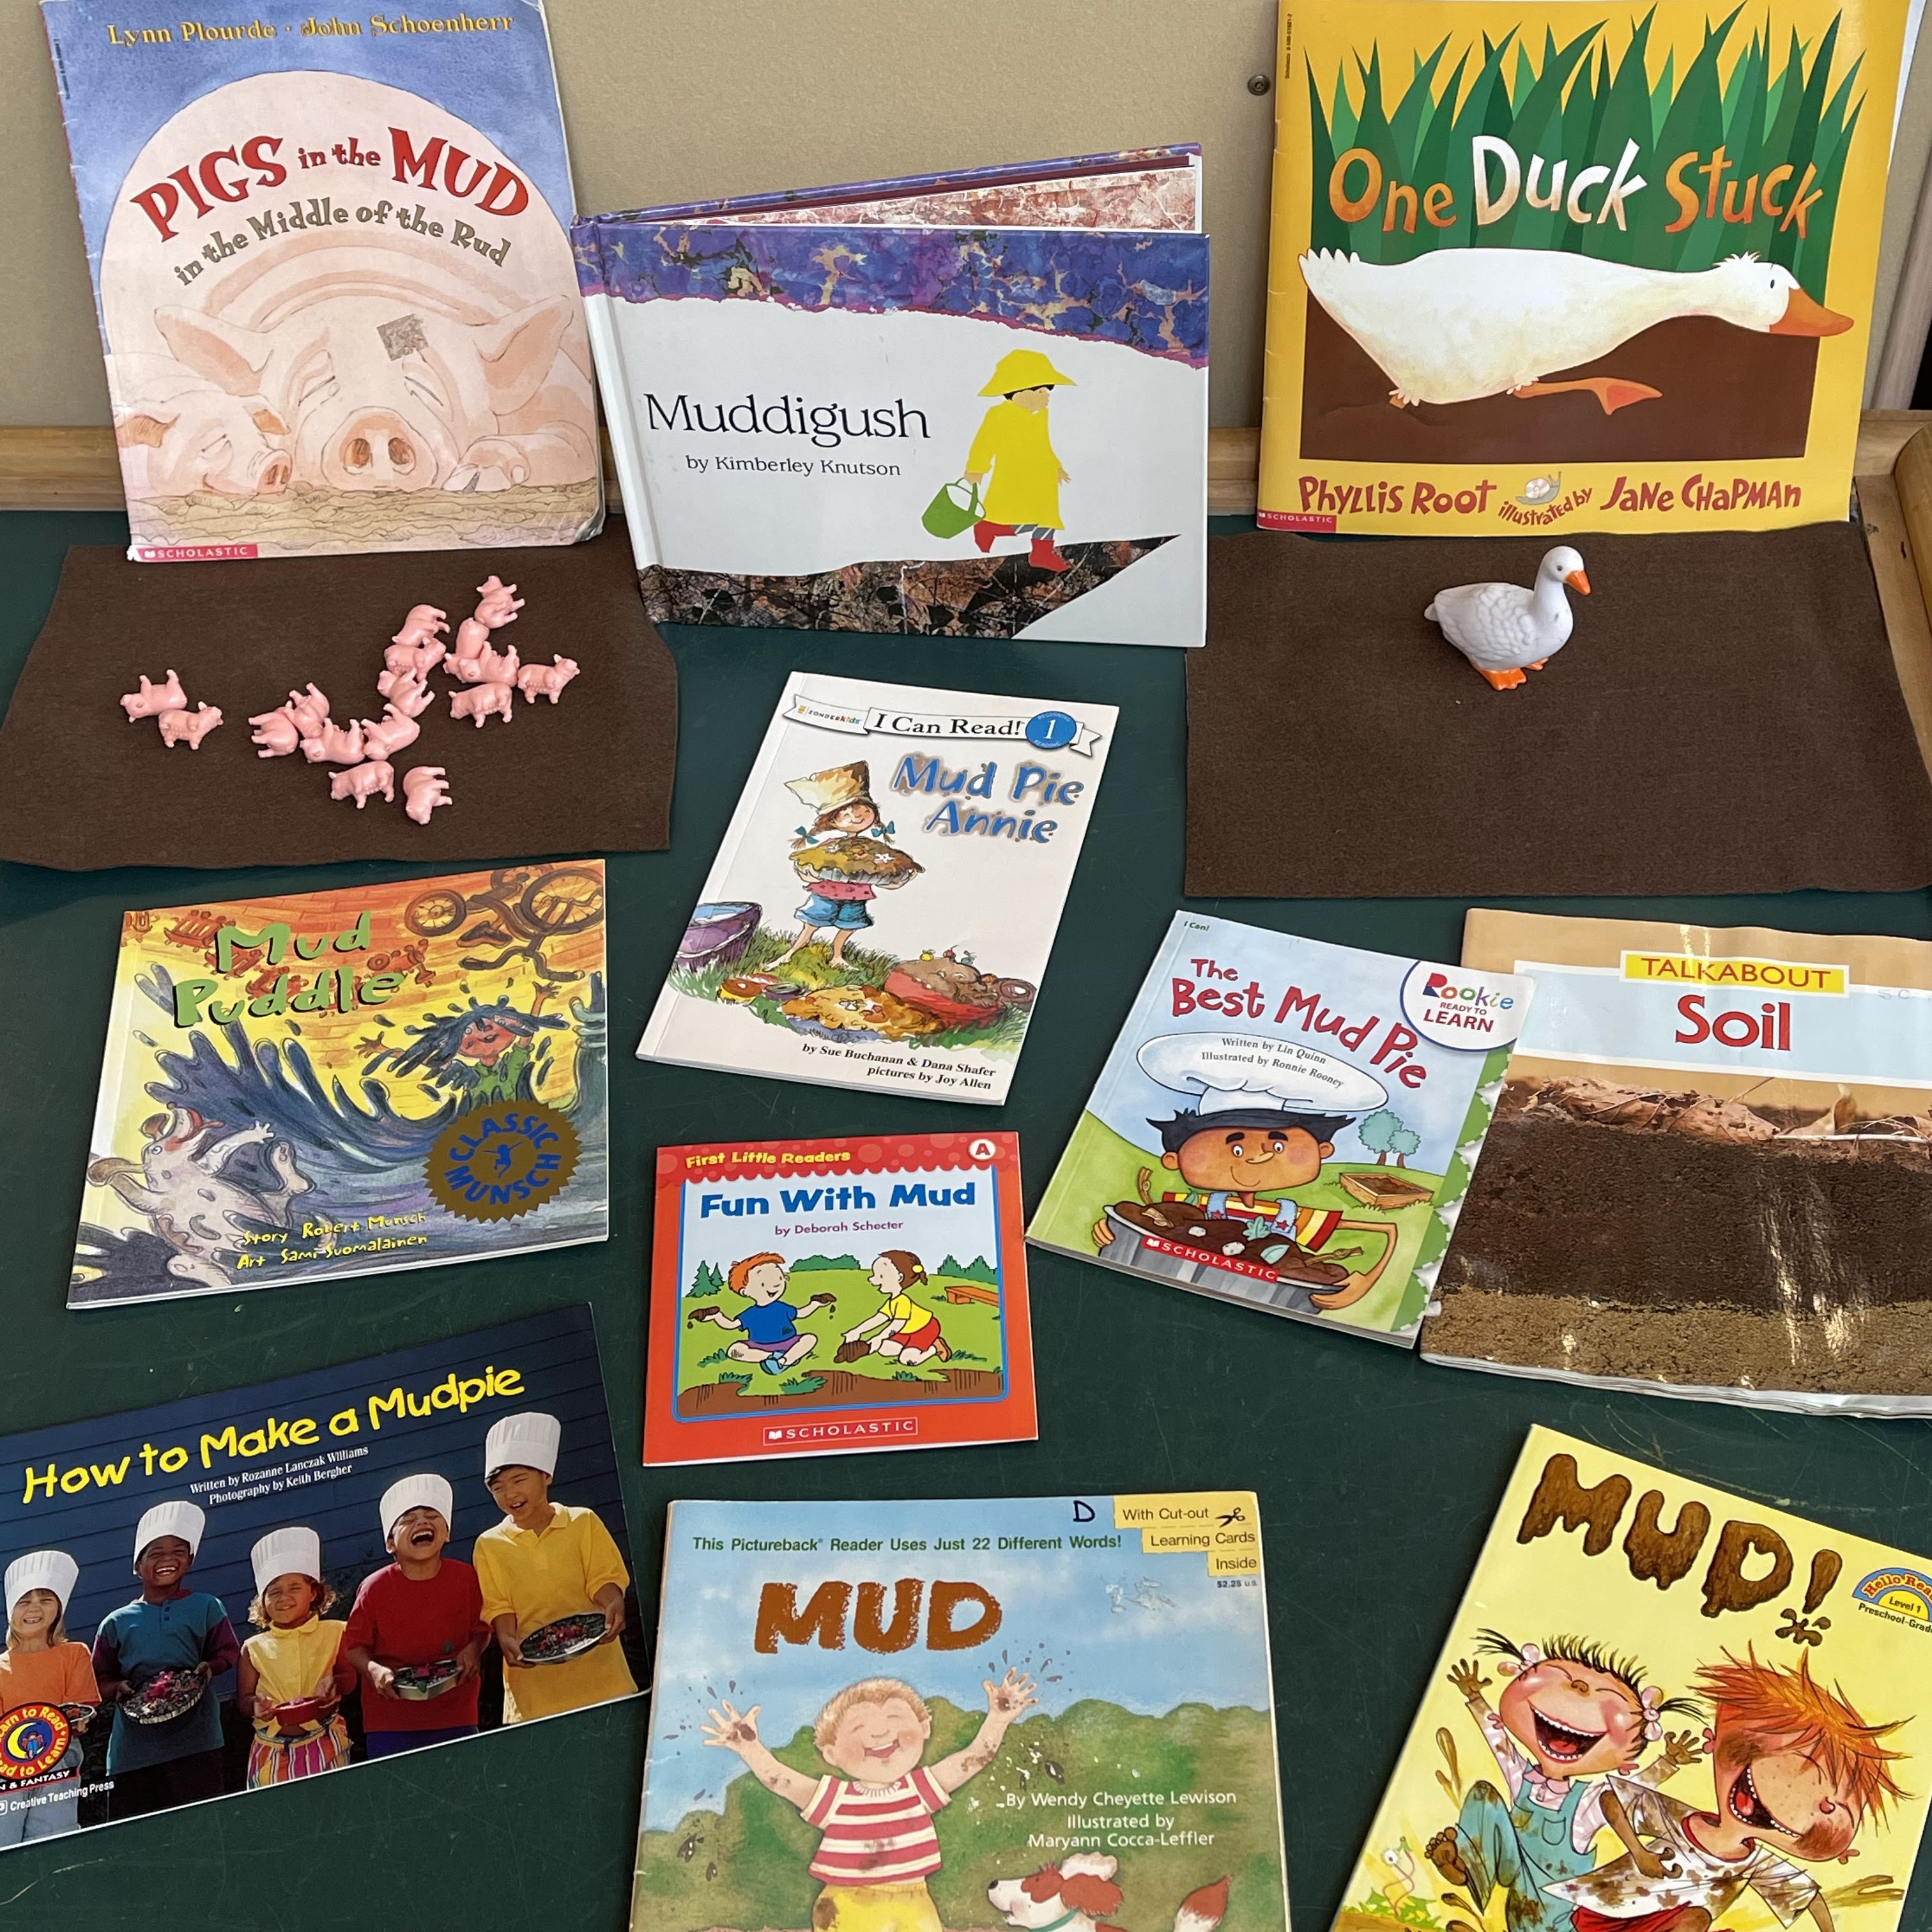
  • Children’s Books about MUD!

Three steps for embracing mud play! (And then three cheers for bringing back mud pies!)

Muddy Mindset for Staff ~ even BEFORE mud season, schedule a conversation with your teaching team about their perception of mud play. Come to a consensus about your program’s ‘mud rules’ and ensure that children hear the same message from all staff. Perhaps pre-read a Mud Play article and talk about the Pros & Cons at a staff meeting.  {During mud season, continue the conversation, document the children’s learning and JOY with mud. Then revisit your ‘mud rules’ after mud season. Step by step is how we make change.}

Muddy Solutions – if you have extended ‘mud seasons’ at the beginning and end of winter….consider investing in Muddy Buddy types of suits, have a place to hang them to dry, and a system for drying boots. Having functional systems for dealing with muddy gear when coming in and how to manage so the indoors space isn’t too hard to clean. {Would fundraising or grant writing make gear more accessible for your children? Think NOW about how to set yourself up for success in the future.}


Mud Chat with Families ~ even BEFORE mud season, prepare families for what to expect. Remind them of your messy clothes policy, share mud articles about why it’s valuable to play outdoors even when it’s muddy, get their support in sending in extra dry clothes, and build in an understanding of what you need for this season to be successful. We need to work in partnership with our families. If families have a bunch more laundry as a result of being in your classroom, they are going to understand the WHY.

Pinecone People

“Pinecone People” – Today I made “Pinecone People” with a group of 20 preschoolers out in the forest. I wasn’t sure how the natural materials would stick because everything was wet from two days of rain. I sort of cheated and pre-glue beads to the pinecones so there would be some level of success, even if the other bits were falling off, at least the heads would stay on! I also had some plain pinecones so children could create whatever they wanted.

Pinecones are challenging in that they tend not to stand up on their own and have very little flat area to glue onto. So this led to exploring the following ‘adhesive materials’ and I share some thoughts on how it went.

The next picture shows the art materials I gathered that I thought might be useful to adhere natural materials to the pinecones. I wasn’t sure how these would work but I wanted to have a variety of options to test out. (If I was making these indoors I would have used my trusty low-temp glue gun since it makes things stick even if the surface isn’t flat.) But that’s a challenge of being outdoors is figuring out how to make it work even in damp weather! Listed below are some thoughts on these materials!

Liquitex Acrylic Medium – I read about this in Sally Haughey’s book, “Wonder Art”, and thought I would give it a try. It’s much more expensive than glue but so worth the investment. A little bit goes a long way and it seemed to work well with a wide variety of textures. Obviously the drier the material the easier things seemed to stick, but even with some damp materials it all stuck really well. So I would definitely suggest adding this to your teacher art supply kit. I used a popsicle stick to get a little out at a time and kept it in a little scoop so I could keep track of it.

Glue dots sort of worked especially if stuffed into the pinecone. If the materials were lightweight and dry, they seemed to hold fairly well. Today with the damp though, wet materials did not stick well.

White glue was all but useless since pinecones have very little flat surfaces and take way too long to dry. This was frustrating for some kids and though they can be independent with the glue it really didn’t work well.

Twine & yarn was woven into the pinecone independently as decoration and with adult support the yarn was used to tie the leaves on like a belt or scarf.

Fuzzy sticks (pipe cleaners) ended up being a great tool. Many preschoolers could independently twist them onto the pinecone and have their people holding acorn babies or used to hold on their wings.

Air Dry Clay was not really great to get the materials to stick together but some enjoyed squishing materials into the clay and squishing small bits into the pinecones.

Wool roving wasn’t in my materials bag today but in hindsight I could see the kids enjoying weaving it into the pinecone, creating hair, or making arms with it.

Moss also wasn’t in my materials bag today but would have been fun to add for hair or decorations.

Milkweed Pods all the little pinecones became ‘babies’ and I was wishing I had some little pods to use as cradles!

A related discovery was that using washable markers on wooden beads led to smears and bleeding. I discovered that the wooden beads and colored pencils worked well though the color was light. I was tempted to use a permanent marker but knew that many other aspects of the projects needed adult support.

Have you ever made “Pinecone People”? Any tips or tricks that you discovered?!