Happy Lunar New Year! Today begins the “Year of the Pig” in the Chinese Zodiac! There are so many amazing activities that could be created for children to learn about the Chinese New Year, or an educator could take the opportunity to teach about pigs. As a nature inspired and Farm-to-School loving teacher, I would likely take the route of learning about how pigs are raised and maybe even try to visit a pig farm. In my experience children are shocked at how noisy and messy pigs can be, which is quite different from the cute pink pigs illustrated in children’s books.
I was inspired this morning to get out some supplies and try my hand at seeing if pigs really could fly. Turns out that this apparatus worked, but luckily, our beloved piggy bank didn’t want to fly too far from home!
May all April’s Teaching Tree readers have a year filled with abundance of love, comfort, health, good fortune, honesty, and prosperity. If you haven’t already please follow my blog by entering your email on the right. I promise never to share your email or treat you like a pig! 💗🐷
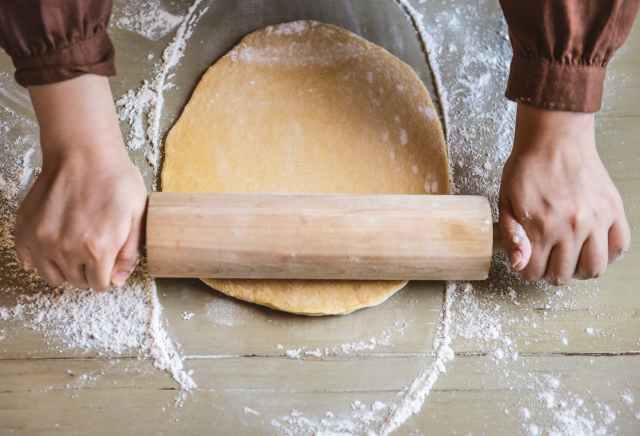
Feel free to print out this list to share with families. You might even attach a little note that says “Our class KNEADS fresh play dough every two weeks. Can we count on you to mix us up a bunch?”
Directions: gently stir the two ingredients together until well mixed. Add scoops, spoons, measuring cups, sand molds, silicone bowls, plastic cookie cutters, and popsicle sticks for cutting.
To color cloud dough: add crushed chalk, powdered paint, or “candy coloring” or “oil based food coloring”. (Regular food coloring is water based and will not mix with oil in the recipe.) To contain the mess: put the dough into a under the bed storage bin and lay it on a tarp
No Cook Play Dough
Materials: 2 cups flour, 2 tablespoon vegetable oil, ½ cup salt, 2 T. cream of tartar, up to 1.5 cups boiling water (adding in slowly until the texture feel right), food coloring.
Directions: Mix the dry ingredients together. Add food coloring to the boiling water and then stir into the dry ingredients. Stir until the dough combines. Allow to cool a bit and then knead for a few minutes until the dough feels smooth.
Kool-Aid Play Dough
Materials: 1 ¼ cup flour, ¼ cup salt, 1 pkg unsweetened Kool-aid powder, 1 cup boiling water, 1 ½ Tbsp vegetable oil
Directions: In a bowl, mix flour, salt and kool-aid. Stir in water and oil. Knead with hands for about 5 minutes. Store in ziploc bag or air tight container. This play dough smell great which may be too much temptation for younger children, but it’s vivid color is awesome!
Seed or Grain Dough– make homemade dough as usual. When offering it to the children, set out small bowls of a variety of seeds or grains. Children can pretend to plant the seeds into the dough. Once the seeds are kneaded into the dough it has a great texture. Seeds to try —sunflower, flax, squash, pumpkin, wheat berries, corn, rice, poppy, or any excess seeds that you gathered from the previous growing season.
Bright White Play Dough
Materials: 1 cup cornstarch, 2 cup salt, 1 tbsp oil, 1 tbsp cream of tartar, 1 cup boiling (or nearly boiling) water, few drops liquid glycerin (makes it smoother), silver glitter
Directions: In a bowl, mix all the dry ingredients, then add the oil, grown up pours in boiling water, and mix. Let cool for a bit, then knead until smooth, add in glitter.
White Play Dough is great for making snowmen, add items to encourage snowmen creations: buttons, small piece of shiny pipe cleaners, beans, and beads!!! Maybe for carrot noses make rolled orange paper beads?
Salt Dough
Materials: 1 cup salt, 2 cups all purpose flour, 1 cup luke warm water
Directions: Mix the dry ingredients together, then gradually stir in the water until it forms a dough consistency. Knead the dough for 5 minutes so that it is smooth. Let children create ornaments or 3D creations out of the salt dough, if the item will be hung, use a straw to poke a hole in it prior to baking.
Bake at 200F until dry. Most thin ornaments will dry in 1 hour, but thicker creations may need 2 hours. Check on the items, and if anything seems to be curling, flip over part way through the baking time.
After cooled, children can paint their creations with acrylic paint and a grown up can seal with clear varnish or polyurethane spray.
I’m working on creating an alphabet frieze inspired by nature to add to my preschool classroom. I want to make letter sound correspondences for all 26 letters using materials from by bioregion (Northeastern U.S.). This is a work in progress, and I will update this blog post as I progress. I hope to have it ready to share at a workshop I am teaching at the fall conference for the Vermont Association for the Education of Young Children.
To construct them I have cut out cardboard letters and attached the materials. I want them to hang in my class all year, so I am using Mod Podge to add some durability to them. I want to use materials that are readily available and will be recognizable to my preschool students. I want these to be real materials, that will lie mostly flat, and will dry and still look nice. My list so far:
A- acorns,
B – bark, butterfly, buds, bugs, Birch Bark
C – clay, coneflower
D – dirt
E – eggs, eggshell
F – feathers, fur
G – grass
H – horsetail, hay
I-
J – Juniper
K – knot weed,
L – leaves, lichen
M- moss
N-nuts
O- oak leaves
P- pine needles, pine cones, pebbles
Q – quills (anyone have some to donate?)
R- rocks, roots
S – snakeskin
T- twigs
U-
V-valerian (though kids wouldn’t know this one)
W – wheat, weeds
X-
Y- yarrow (need to find some to dry)
Z -Zebra mussels (and teach about invasive species?)
Some of the letters are kind of stumping me, but I’ve asked a few friends to help me brainstorm a materials list. A special thanks to all the smart folks on the FaceBook groups “Loose Parts and Intelligent Playthings” & “April’s Teaching Tree”!
“Chubby Little Snowman” is a classic poem that has been part of my teaching repertoire for almost two decades! I’m not sure of the original source, but I think most early childhood teachers know the poem by heart.
A chubby little snowman
Had a carrot nose.
Along came a rabbit
And what do you suppose?
That hungry little bunny,
Looking for his lunch,
ATE the snowman’s carrot nose…….
Nibble, nibble, CRUNCH!
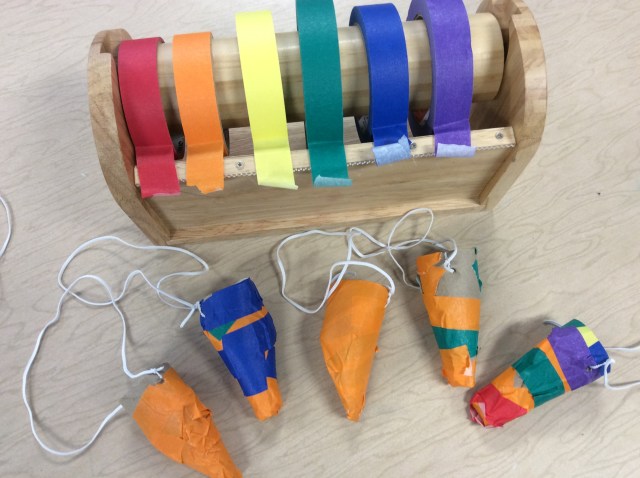
After my students learn the rhyme, we create props to act it out. To create the noses, I cut toilet paper tubes and help the children roll them to create a cone shape. Using orange masking tape the children layer on until the whole outside is covered. This year the kids decided they wanted noses of multi-colors…why limit yourself to just orange! Then we use a whole punch and add thin elastic to make a way to tie the nose on!
For the bunny, we cut out a bunny shape from card stock and tape it onto a tongue depressor. The children then have a set of props that they can use to retell and act out the poem.
Simple and almost free…which are often the most beloved projects we do!
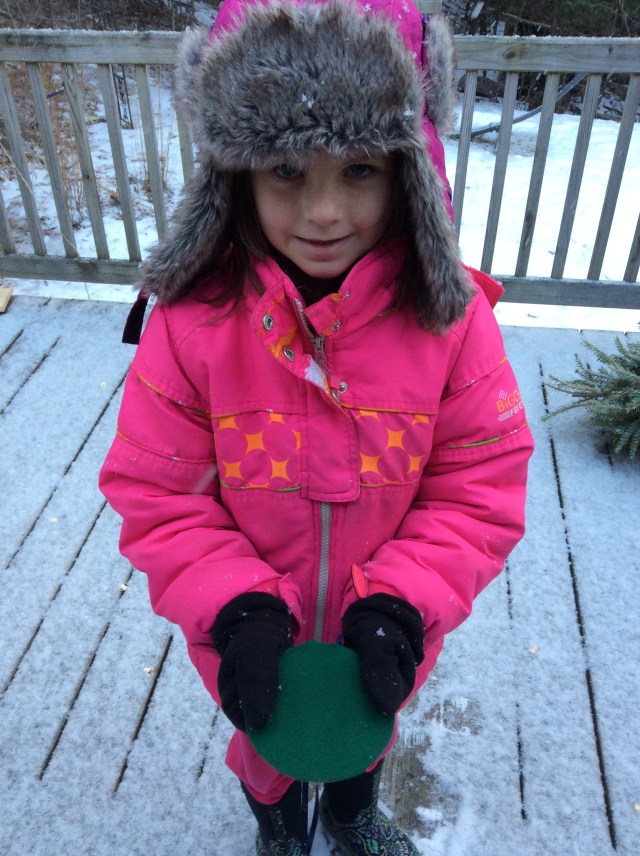
I had this brainstorm a few years ago when I was outside with my son. We were trying to catch snowflakes on black felt and black construction paper but they kept bending in half and blowing in the wind. My son had his mittens on so he was even more frustrated by not being able to hold the paper well.
That’s when it hit me, I need to make some “Snowflake Catching Necklaces”!
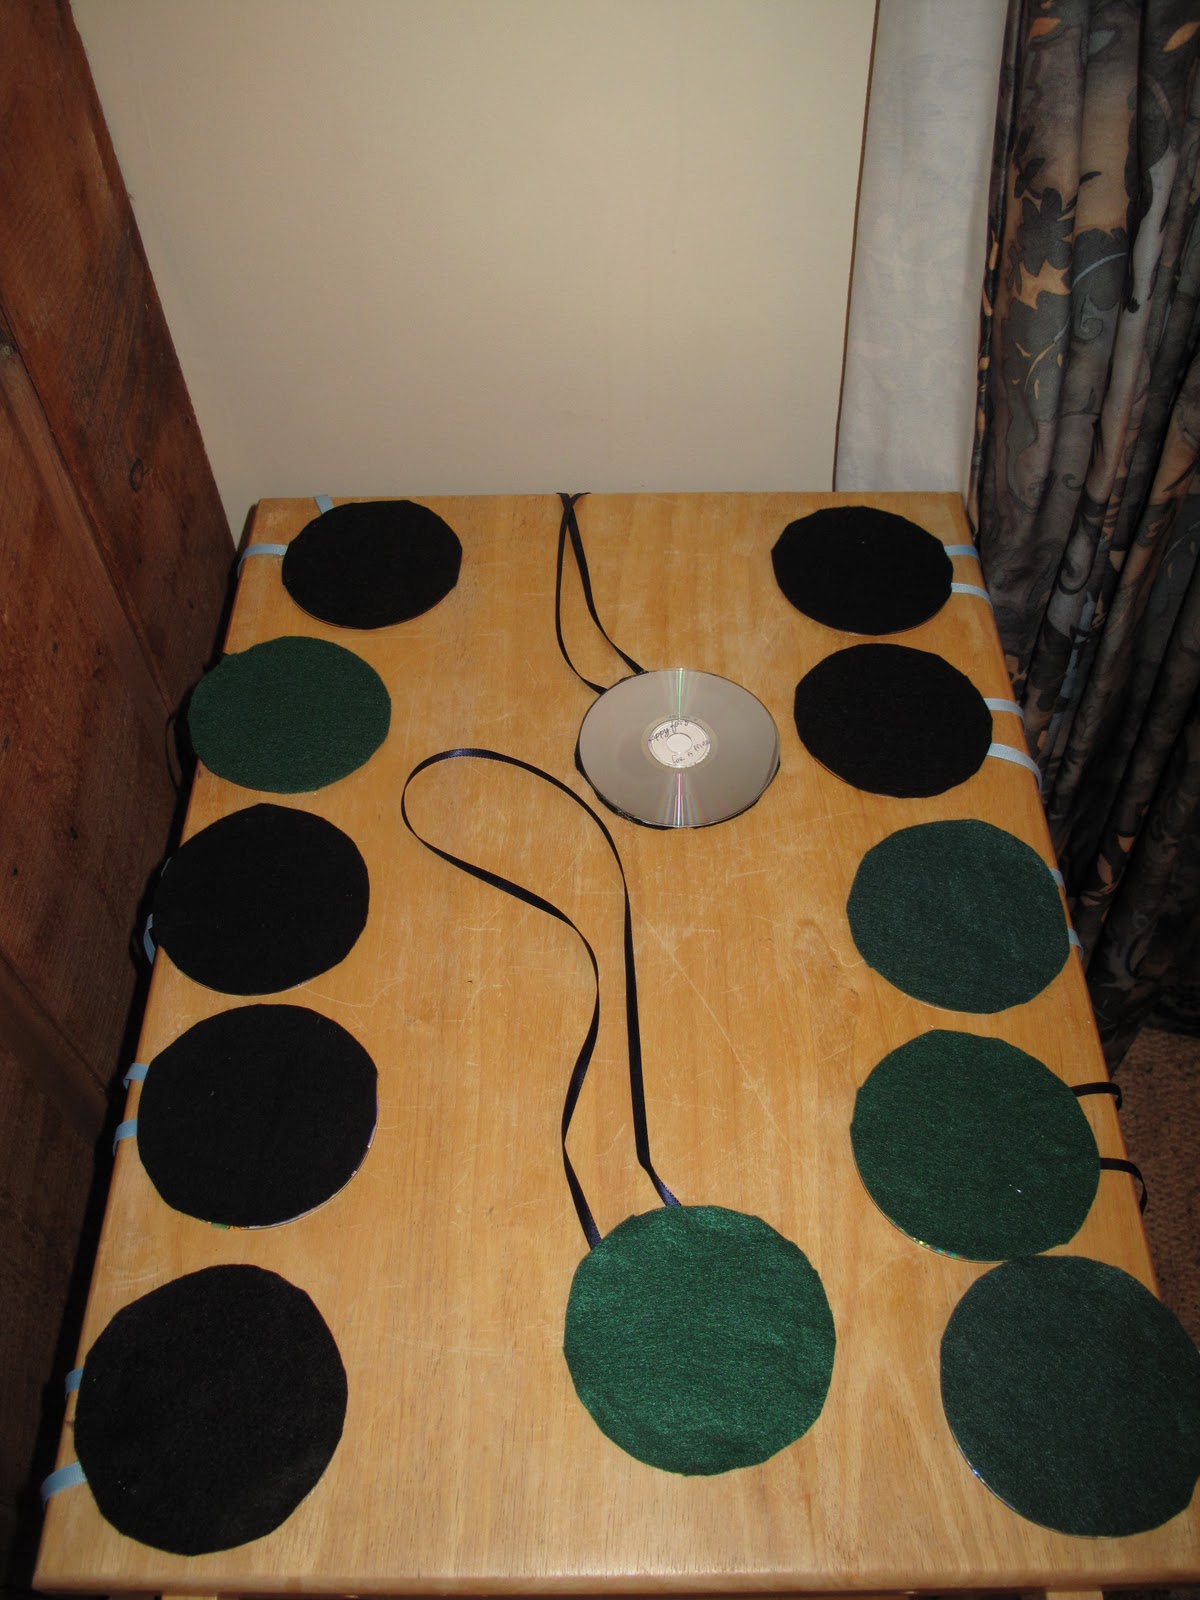
I wanted something that could hang around his neck so when he lost interest it could just hang there. I also wanted it to be firm enough that it wouldn’t fold or bend. I decided an old CD with a ribbon attached could fit this purpose.
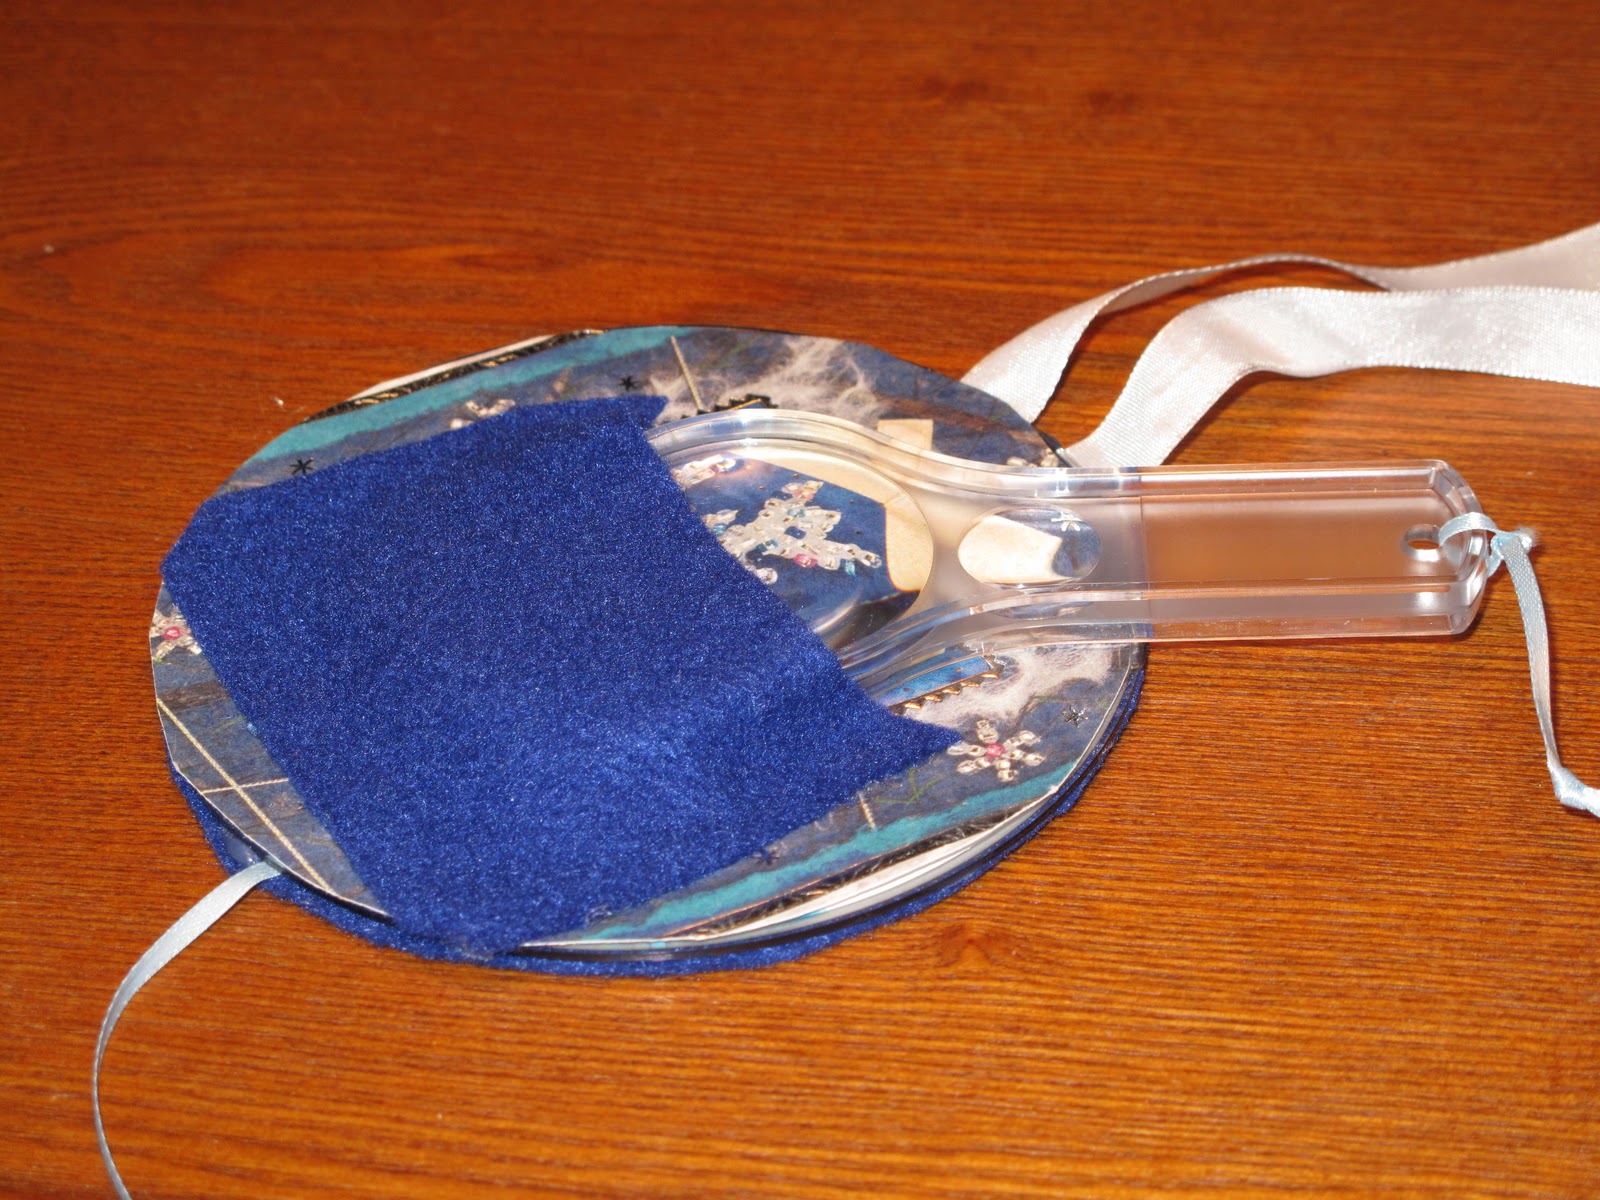
To make them I covered one side with dark colored felt. The felt works well because it’s fuzzy texture kind of makes the snowflakes stand up so you can view it from multiple angles. I also made sure that the ribbon was long enough to easily fit over a hood or hat since these will be used while we have our big winter coats on.
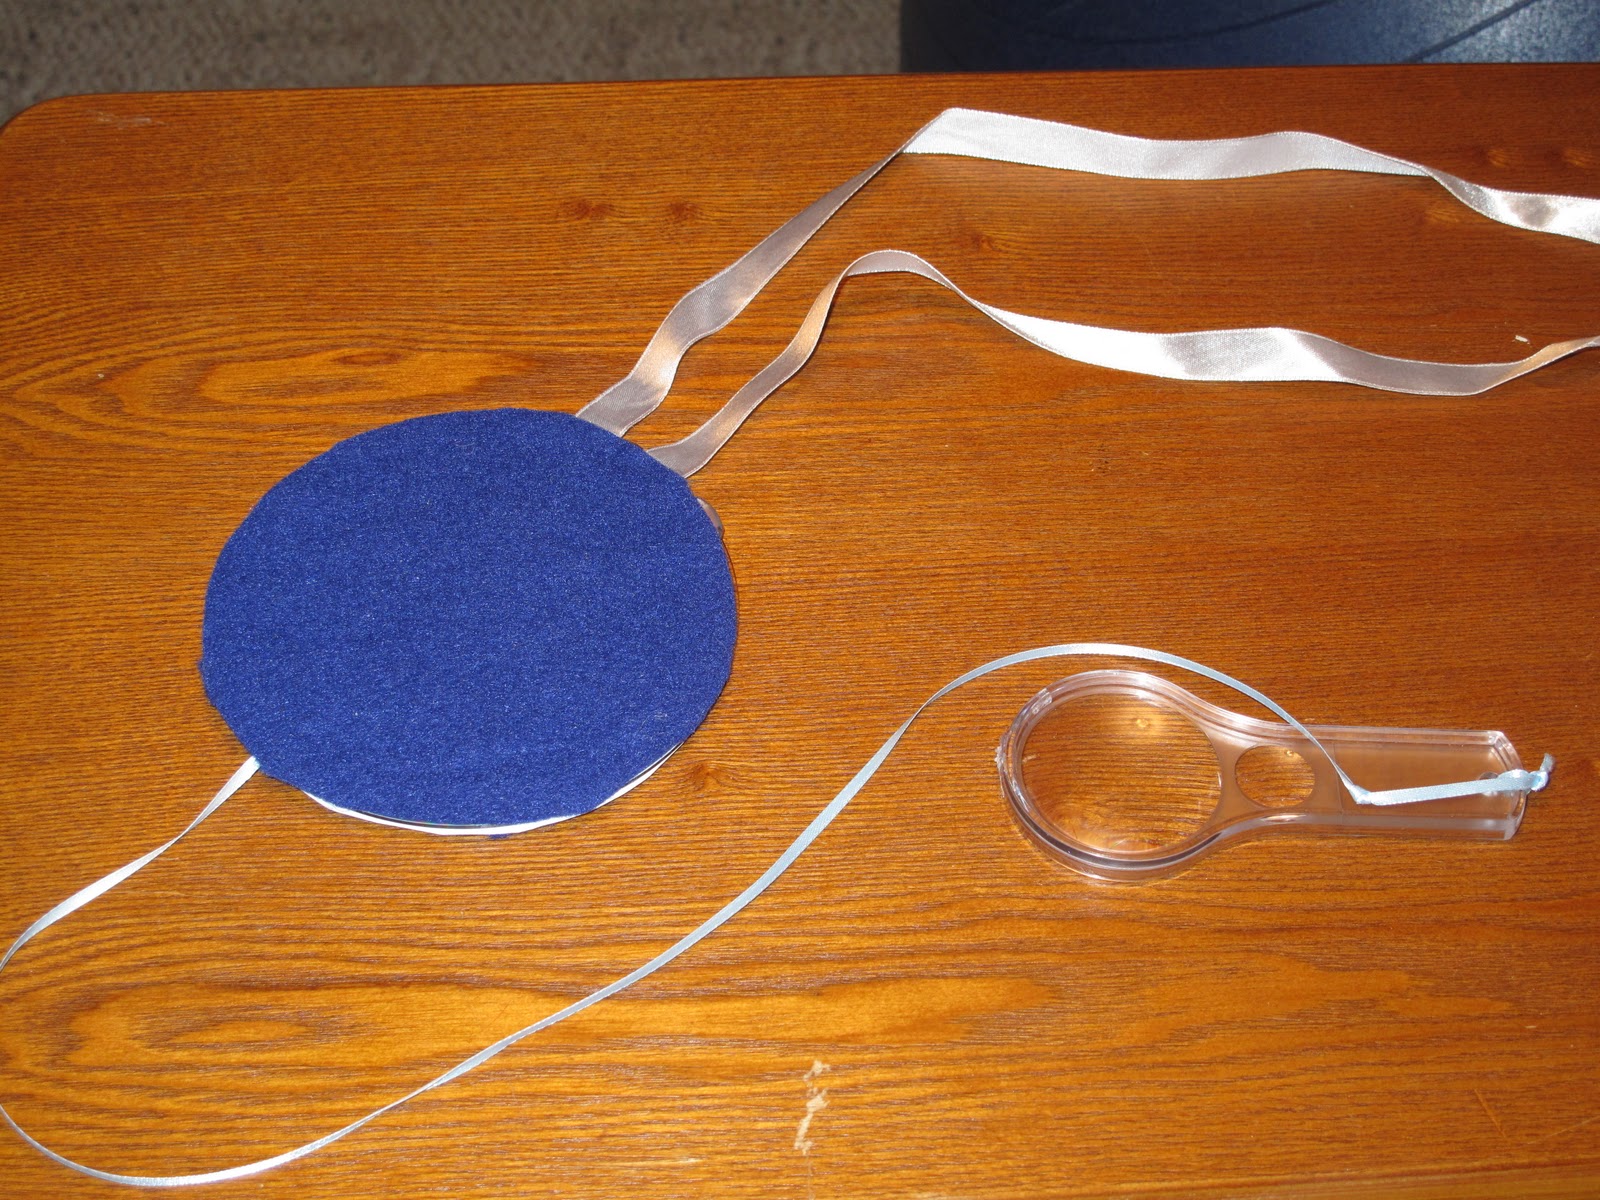
For the reverse side of the snowflake catchers I have made a couple of different versions:
* For some I added a felt pocket where a magnifying glass could be stored. To make it more portable, I attached a plastic magnifying glass onto another ribbon so it would all stay together. (This option proved a little hard for 3 year olds to operate though.)
* Another idea was to draw a few types of common snowflakes to use as a quick reference.
* My favorite choice for preschoolers is to the leave the back side blank so they have a “mirror”. They like to check themselves, especially if they are trying to catch falling snowflakes on their tongues! This mirror would also be fun to show them how to make reflections with the sun and send an S.O.S. message!
Class set for my preschoolers…now if only we could have a nice snowfall!
Happy Snowflake Catching! Be sure to look up the life story of Snowflake Bentley, whose passion was catching and photographing snowflakes!
I also have a great Pinterest board of fun ideas to do outdoors in winter!