There are so many wonderful ways to explore our sense of hearing!

Outdoor Exploration: “Listening Walk” – guide the children in becoming still, closing their eyes, and listening for sounds for 20 or 30 seconds. Then try for 1 minute. Go longer if they are attentive. When my daughter was two she loved to play this game on our walks…mostly because we had lots of woodpeckers and she was an expert at hearing and then locating them! We would walk through our woods and stop and listen for sounds. She loved to be the first to point out a woodpecker or identify another sound in nature! Before going on the sound walk, read aloud the wonderful book The Listening Walk by Paul Showers.
“Bird Sounds” – encourage children to listen to the birds in the outdoors, try to see if you can figure out where the sound is coming from, and if possible, identify the bird. Young children enjoy mimicking the bird sounds, though their enthusiastic crow calls might scare off the rest of the birds! To learn more about bird sounds, consider downloading a bird call app and learn many of the bird calls in your area!
Try setting up some bird feeders outside your windows for the children to observe and listen carefully to their sounds. Children soon discover that the quieter they become, the louder the birds will become!

“Echo Game” – explain to the children what an echo is, and then have them echo some sounds or words that you make. Then the children spread out throughout the play space and you echo the sounds that each other makes. Pick someone to be ‘IT’ and then they pick the next child to be it. Try spreading out and seeing how it becomes more difficult to hear when the children are farther away.
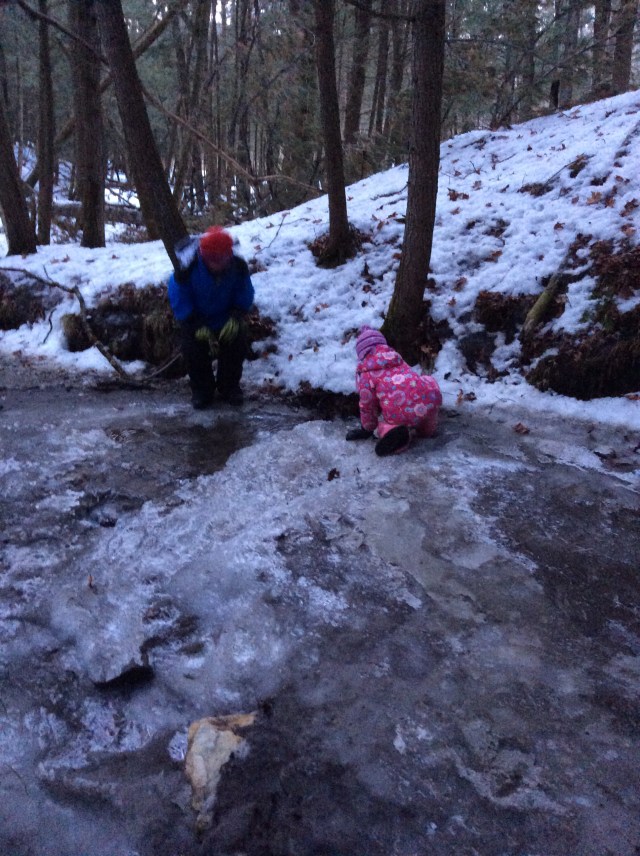
“Listening to the Creek” – explain that the creek makes different sounds depending on the season. What does the creek sound like today? How would it be different in another season? We have discovered that at times it’s a quiet trickle and others a loud rushing ‘river’, and at other times the water actually runs underneath the ice and creates a muffled sound. Oh the opportunities to learn vocabulary in nature!
“Outdoor Sound Wall” – in the outdoor play area, create an interactive sound wall by hanging a variety of old pots, pans, metal lids, plastic containers, bells, wood blocks, different lengths and widths of pipes, hollow tubes, PVC pipes, and anything else that makes interesting sounds! Provide mallets or sticks for the children to use to create sounds. *Check Pinterest for additional ideas in creating a sound wall!
Gross Motor Games: “Follow that Noise” – the adults in the room each have some sort of noise maker in their pocket. The adults spread out, kids close their eyes, and one adult makes a noise. The kids are told to open their eyes and walk to the adult who they think made the sound. Once there, the children try to guess the sound. (Try: cricket clicker, jingle bell, keys, clap, snap, etc.)
“Bells on Boots” – tie a jingle bell onto each child’s boot laces. Then have the children dance, hop, stomp, and walk around the room or yard. Try a game of hide-and-seek with the bells on and talk about why it’s easy to find other kids when their bells shake.
An easy way to make these is to use small jingle bells, thread a twist tie through the hole on top, and then twist onto shoe laces. I find if you put the bell on the child’s zipper pull they will hold it and muffle the sound…which could be a whole other type of learning.
“Bubble Wrap Walk” – lay down a large section of recycled bubble wrap for children to run and jump on. What sounds do we hear?!
Dramatic Play: add instruments and dress up clothes and props so children can pretend to be musicians. Perhaps 80s Rock Stars?!
Science Center: “Sound Station” – create an interactive set of noise makers that the children can explore. Some ideas include: set of hand bells, clear rain stick, toy cell phone, cat “meow” or cow “moo” toy that makes sounds when you turn it upside down, toy microphone to amplifies, wooden or metal xylophone, wind chimes, jingle bells of various sizes, and a stethoscope. The sound station is usually of high interest but monitor the noise volume so it isn’t disturbing other children in the classroom.
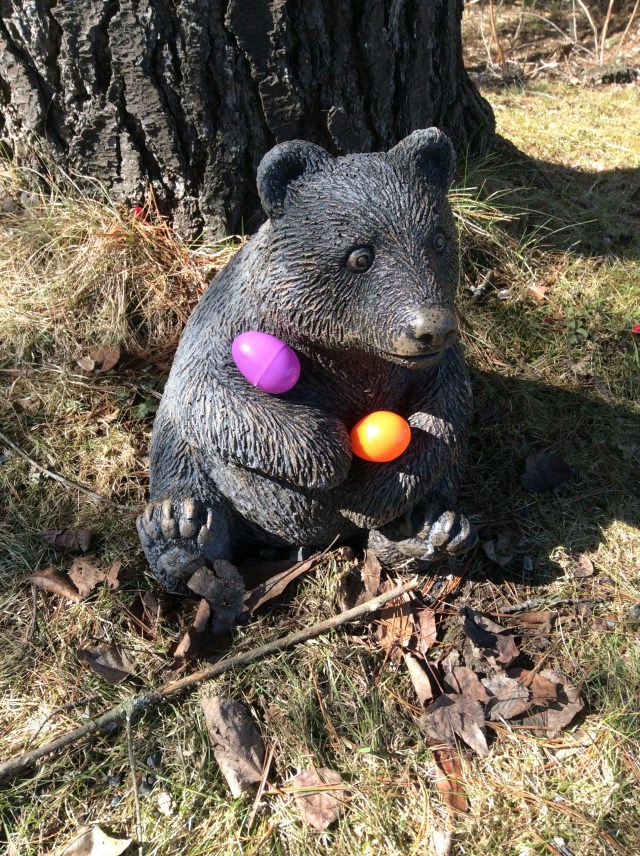
Guided Activity – “Matching Sound Eggs Game”: Make two each of the sound eggs (plastic Easter eggs) before the children arrive. Children shake them and try to find the two that match. Contents include: dry beans, coins, corn kernels, salt, cotton balls, and paper clips.
Another option would be to use one container that was see-through and one that was not. Then the kids would have to match the sound but wouldn’t have to open the containers.
One year, we took our ‘sound eggs’ outside to play a version of Hide and Seek and “Matching Sound Eggs Game” together. Children come up with the best games don’t they!
Music: Listen to a variety of world music and try to identify some of the instruments. Compare the sounds to the instruments you have in class. Sing a song or chant a poem using an echo. One of my favorite echo songs to sing is “Down By the Bay”.
Fine Motor Skills: Instruments provide many new fine motor skills for children to explore. If possible, bring in a variety of instruments for children to strum, pluck and drum on. Practice using a mallet on tambourines, chimes, or xylophones. Boisterous jam sessions with a wide variety of percussion instruments build fine motor skills and teach about sound. Ask the children, “Can we make soft sounds, loud sounds, gentle sounds, wild sounds, etc! A keyboard with headphones is one great way for children to play without disturbing the rest of the group.
Language and Literacy: depending on the age of the children you are working with, there are a wide range of phonological awareness activities that you could incorporate into your “Hearing” activities. Check out the wonderful U.V.A. website for hundreds of activities for teaching Phonological Awareness including beginning sounds, blending, rhyme, and sound to letter segmentation! https://pals.virginia.edu/tools-activities.html
Writing Center: my preschoolers love using paper crimpers to make textured papers. I have a set of three crimpers and we discovered that each one makes a different sound! Another way to bring sound to the writing center would be to tie bells onto markers and pencils and children will create sound as they write!
Art Project: Rain Sticks using paper towel tubes that have tape on one end, let the children fill their tube with dried beans using a wide mouth funnel. Then the adult helps close the other end with tape. Paint, collage, or draw onto the paper tubes. Later add mod podge to make them more durable. If you are making these with just one or two children, you might consider poking toothpicks or pieces of popsicle sticks into the sides of the tube so that the ‘rainfall’ is even more pronounced! Just be sure to cover with felt or card stock so the sticks don’t pop back out.
Play Dough Center: Muffling Sounds with Play Dough – show children how to add beans or pebbles to plastic eggs. Compare the sounds of the eggs when one is covered in play dough and one is left plain. Why are there different sounds? Sound exploration with play dough – what else could we add to this activity to explore different sounds? Small jingle bells, metal washers, dried seed pods, etc.
Water Table: add objects that make noise. Take a variety of clear plastic containers and fill them with various objects (dice, sand, rice, mini jingle bells, beans, and cotton balls). Seal them with electrical tape and ask the kids to keep them sealed. Kids can scoop them out of the water and shake them. Making matching pairs would be another fun idea!
Sensory Table– dried beans as base, small container (plastic & tin) for the kids to scoop and fill, and then close to make shakers. One another day try adding a variety of crunchy & noisy objects – cellophane, wax paper, bubble wrap, painted paper.
Blocks & Building – add a few hand bells to see if children incorporate them into their building.
Math Activities –there are many ways that we can integrate exploring sound and learning math!
Clapping Patterns – children can working on repeating simple patterns by echoing the clapping and tapping patterns that the teacher makes. Begin with an easy pattern, such as “Clap, tap, clap, tap.” Encourage children to follow along, then ask a student to create a new pattern to copy. (Use as a transition activity!)
Count My Claps– explain to children that you want them to use their ears to count, so they need to close their eyes. Then clap a couple of times and ask children to show with their fingers how many claps you made. Practice with small numbers and then work towards larger numbers. Use instruments such as a drum or xylophone to count the beats!
One Duck Stuck – read the story “One Duck Stuck” by Phyllis Root and explain to children that they will help with the refrain, “Help, Help, Who Can Help?” and the other refrain “I can, I can”. Then practice verbally counting to 10 as the number of animals increase on the pages. After reading, use plastic animal counter to reenact the story. This book naturally lends itself to active participation with its excellent rhythm and is a great book to work on counting skills!
Guess My Sound – With their eyes closed, the adult makes a sound and the child guesses what made the noise. Try: clap, stomp, pretend sneeze, snap, whistle, cough. Instead of guessing the sound the kids could mimic the sound.
Family Connections: Encourage families to play a CD or recording of common sounds and then have the children guess the sounds. Create their own recording using a tablet or phone while outside and then have another family guess what the sounds are!
Thematic Healthy Snacks: Bring in an air popper and make fresh popcorn with the students. What sounds do we hear as the snack is popping?!
Circle Time Learning – Show a picture of the inside of the ear & explain briefly how our ears work. One important thing about our sense of hearing is learning how to change the volume of our voice, especially when we are indoors. Can you show me your indoor voice, how about your whisper voice, and your outdoor voice? Read aloud, Listening Time by Elizabeth Verdick (explains how to be a good listener at rug time) and reinforce how our sense of hearing is important in being a good listener, especially at circle time!
Online Resources for more ideas about Sound & Hearing:
Sound cups activity & kids making their own sound cups: http://www.playbasedlearning.com.au/2010/08/sound-cups/
Water & Music Play
http://childsplaymusic.com.au/2012/01/17/water-play-music-play-children-a-natural-combination/
Books for teaching about Hearing:
Hearing (The Five Senses) by Rebecca Rissman
Hearing Things by Allan Fowler
Listen, Buddy by Helen Lester
Listening Time by Elizabeth Verdick (explains how to be a good listener at rug time)
Mr. Brown Can Moo, Can You: Dr. Seuss’s Book of Wonderful Noises by Dr. Seuss
Polar Bear, Polar Bear, What Do You Hear? by Bil Martin & Eric Carle
Shhh…A Book About Hearing by Dana Meachen Rau
Sound: Loud, Soft, High, and Low (Amazing Science) by Natalie M. Rosinsky
Sounds All Around by Wendy Pfeffer
Sounds My Feet Make by Arlene Blanchard
The Ear Book by Al Perkins
The Listening Walk by Paul Showers
Too Loud Lily by Sofie Laguna
Too Much Noise by Ann McGovern
Who Hears? by Anne Miranda (reference
Check out my Pinterest board for even more Five Senses teaching ideas!


 Flowers — are always enjoyable because of their color and aroma, favorites include: